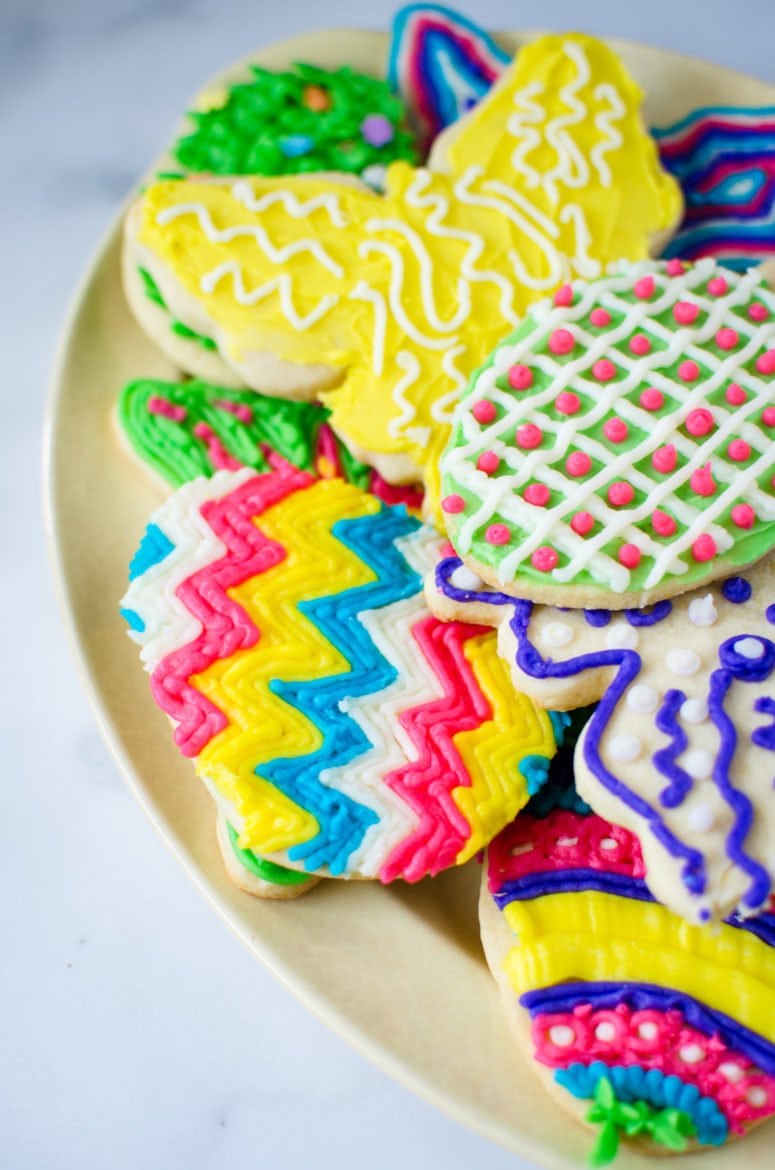
Time to tie on your apron, pull out your rolling pin, get a little messy, summon your inner artist, and indulge in these darling cutout cookies with buttercream frosting.
Soft, buttery sugar cookies slathered with an even more buttery frosting have been a weakness of mine for some time. These types of cookies are my 2nd all-time favorite cookie, next to fresh-out of the oven soft and chewy chocolate chunk cookies. Sometimes I can satisfy a craving by just admiring them at the bakery counter or watching cookie decorating videos on YouTube. Did you ever realize that cravings have a visual component? They do for me anyway...I get such a kick out of just looking at food sometimes! Hence the term "food porn" I suppose...
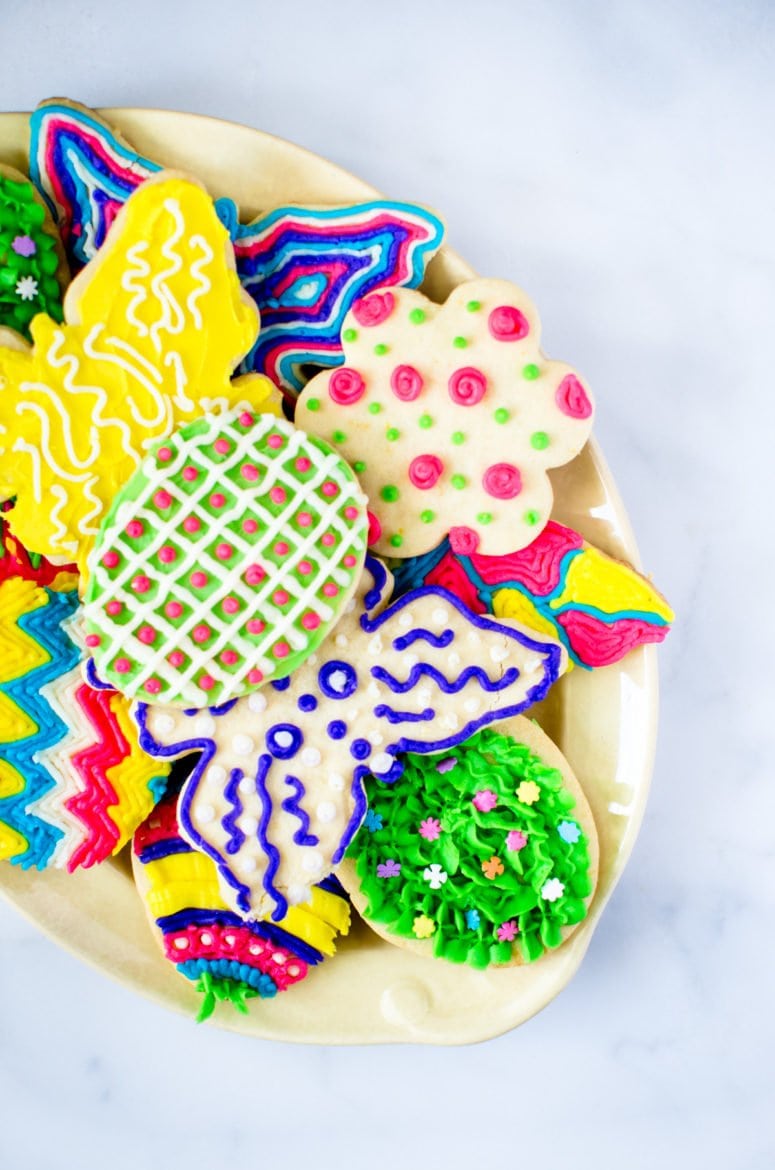
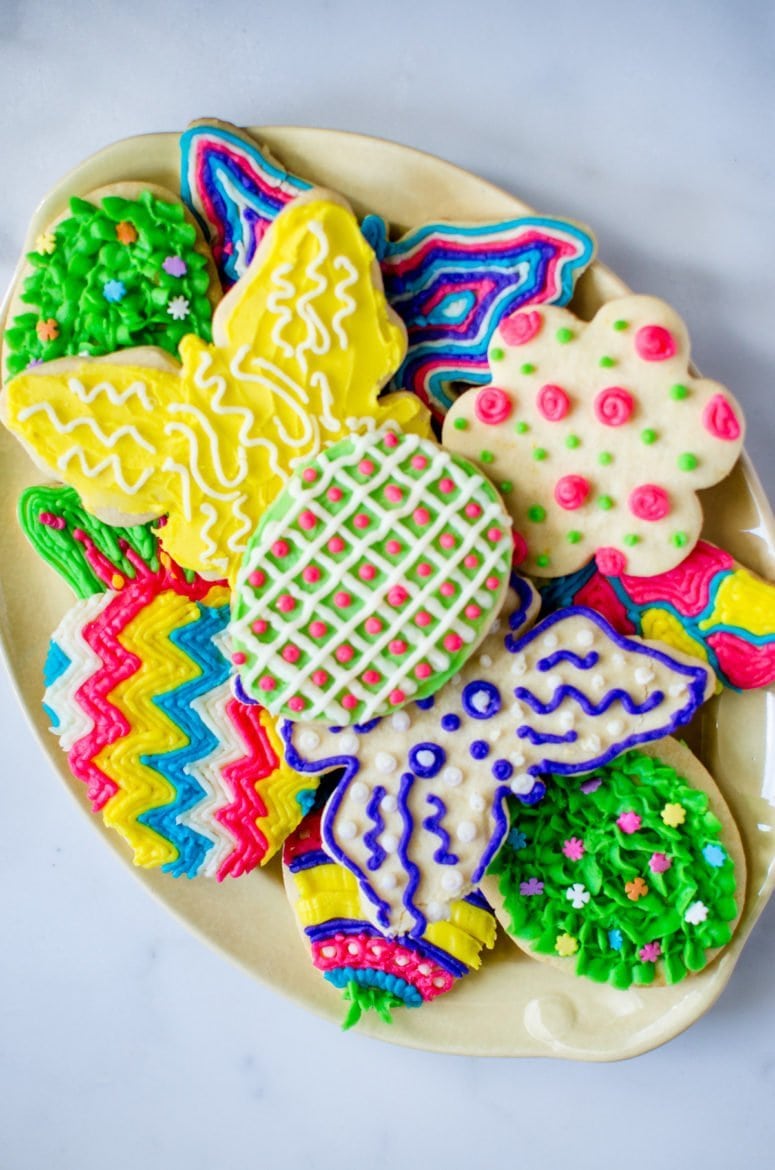
Ryan and I are both sugar cookie fanatics - we've adopted his family's tradition of decorating sugar cutout cookies at Christmas and expanded that over three annual cookie decorating occasions: Christmas, Spring/Easter, and Halloween. It's a "thing" we look forward to doing as a couple - we love getting lost in smears of frosting and scatters of sprinkles on a Friday night - it's almost a form of stress relief after a long week! He is definitely the artist when it comes to decorating....I'll be honest, most of my cookies look like a 5 year old decorated them. I'm absolutely terrible when it comes to anything that involves drawing, painting, or even making pretty letters! So don't ask me to decorate your birthday cake...I can make a great cake, but you're better off having someone else do the decorating.
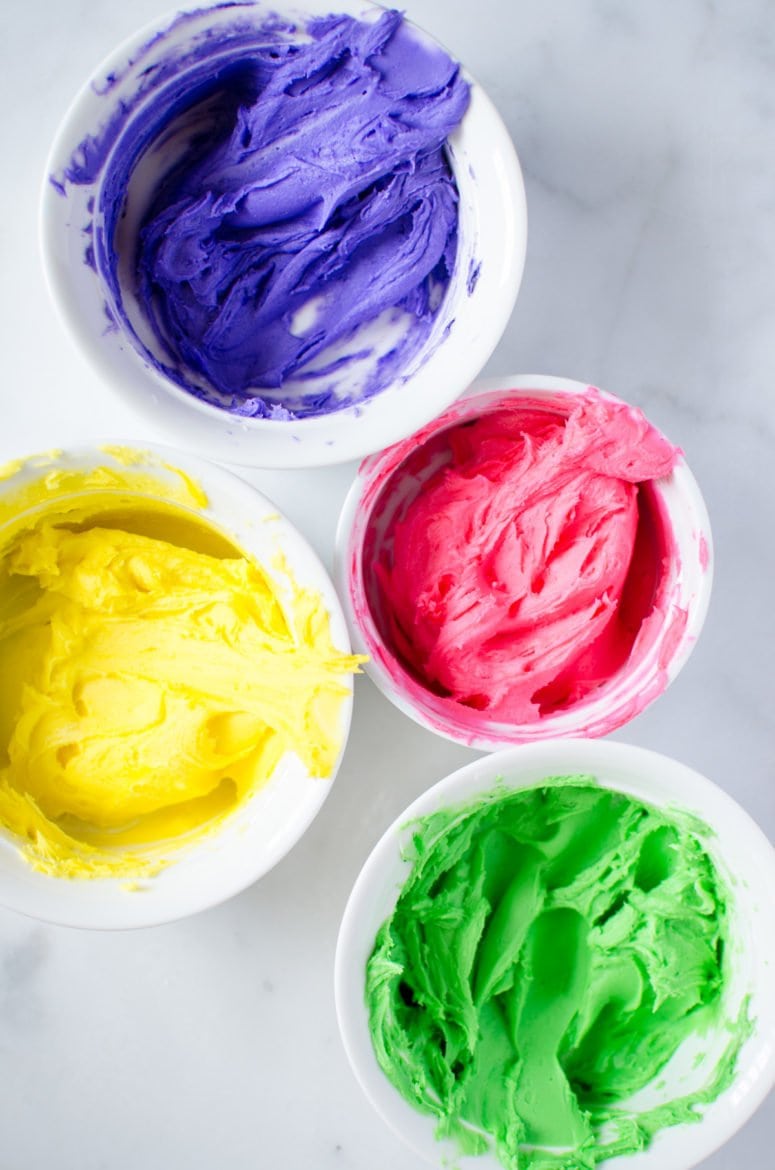
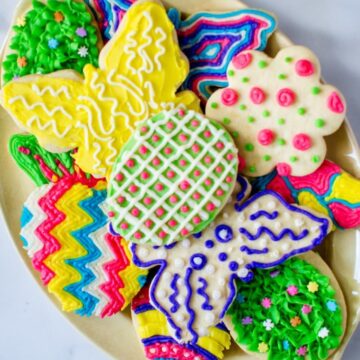
I've really been into citrus-flavored baked goods lately, so a cookie dough with lots of lemon zest sounded good for this year's cookie dough. We've toyed around with royal icing vs. buttercream frosting over the years and I like both for different reasons. Buttercream won this time around - in shades bright neon! Take one glance at these colors and just try to tell me they don't put a smile on your face!
I highly recommend making the cookies over two days so you don't stress about it - make your dough and frosting and dye your frostings on day one. On day two, roll/bake the cookies, let them cool, then decorate. Decorating is WAY more fun if you do it with someone else or a group of friends! Plus, then you aren't as tempted to eat them all yourself.

Tools
- Wilton Food Color Gels
- Wilton Pastry Bags
- Wilton Decorating Tip (recommend no. 4 or no. 5)
- Wilton Pastry Bag Couplers
- Parchment Paper Sheets
- Wide Spatula
Did you make this recipe? I'd love to see how it turned out for you! Leave a comment below or post a pic to Instagram and tag @sweetcayenne5 . Follow my once-per-week newsletter for more delicious recipes!
Recipe
Spring Cutout Cookies with Buttercream Frosting
Ingredients
For the cookies:
- 1 cup (2 sticks) unsalted butter, softened at room temperature for 1-2 hours
- ¾ cup granulated sugar
- 1 large egg
- 1 teaspoon vanilla extract
- 1 tablespoon finely grated lemon zest
- 3 cups all purpose flour
- 1 ½ teaspoons baking powder
- ½ teaspoon salt
For the buttercream frosting:
- 1 cup (2 sticks) unsalted butter, softened at room temperature for 1-2 hours
- 3-4 cups of powdered sugar
- [Wilton food coloring gels|
Instructions
For the cookies:
- Combine the butter and granulated sugar in the bowl of stand mixer fitted with the paddle attachment (or a large bowl if you plan to use a hand mixer). Cream the butter and sugar on medium speed until the mixture is pale in color and fluffy; this should take 2-3 minutes. Scrape down the sides of the bowl as needed. Add the egg, vanilla, and lemon zest, beating in on medium speed just until incorporated.
- In a separate large bowl, combine the flour, baking powder and salt. Stir with a whisk or fork to make sure all the ingredients are well-combined.
- Gradually add the flour mixture in 1 cup increments to the butter mixture. Mix on low speed after each addition and scrape down the sides of bowl as needed. Mix just until the ingredients are fully incorporated and a soft ball of dough has formed.
- Divide the dough into 3-4 portions and place each on a sheet of plastic wrap. Press the dough balls down into disks that are ½ inch thick. Wrap each disk in the sheet of plastic wrap and refrigerate for a minimum of 1 hour or freeze for later use (thaw in the fridge the night before you need it).
- Once the dough is chilled, preheat your oven to 350 degrees F. Have your baking sheets ready and line them with parchment paper or a silpat.
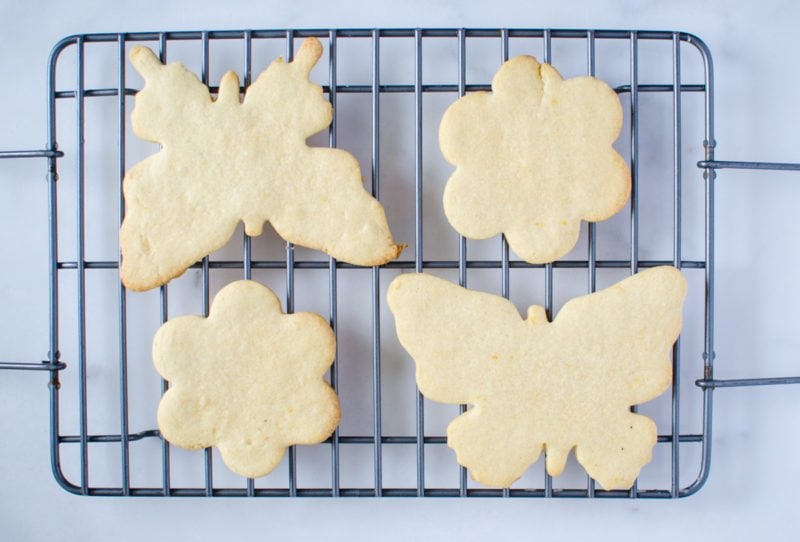
- Remove each disk of dough from the refrigerator as you need it. Place the disk on a well floured surface. Roll each disk to a thickness of ¼’’. Use a ruler to measure the thickness if needed. Use cookie cutters to cut the cookies into the desired shapes, then carefully transfer the cut cookie dough to the baking sheets (you may need a wide spatula to do this).
- Bake the cookies for 8-12 minutes, depending on the thickness, until the dough is set in teh middle and the edges have started to turn golden brown. Remove from oven and let cool on the baking sheet for 5 minutes before carefully transferring to a wire rack to cool completely. Cookies must be completely cooled prior to decorating.