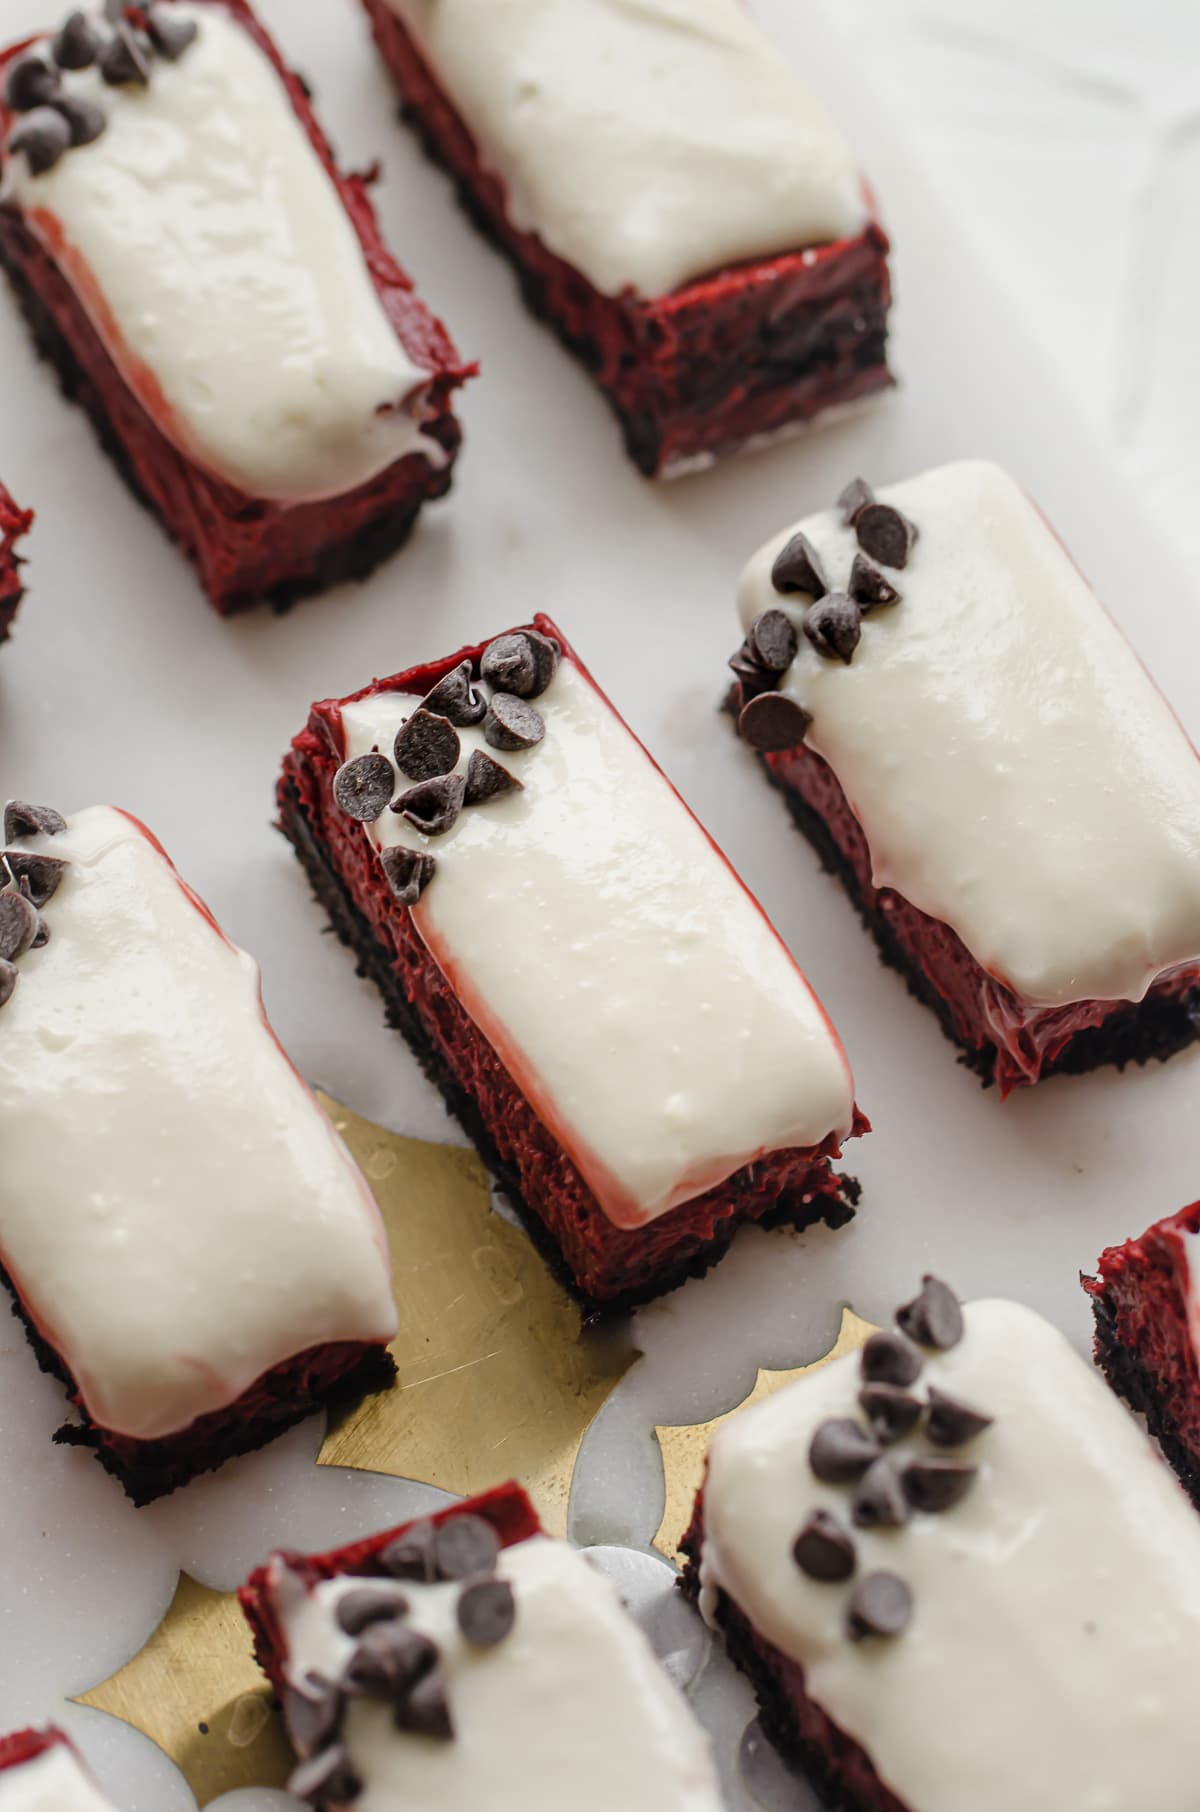
This easy recipe for Red Velvet Cheesecake Bars features a creamy and luscious filling baked into a chocolate cookie crust and topped with cream cheese frosting. These little bars are a perfect treat for any red velvet or cheesecake lover!
About the recipe
Red Velvet Cheesecake - or red velvet anything, for that matter - is a favorite dessert of mine that I LOVE to make every year for Christmas or Valentine's Day. It's gorgeous to look at and dreamy to enjoy, but SUPER rich and decadent.
I have often found myself wishing for a bite-sized version that we could enjoy in smaller portions, and so I set out to develop a cheesecake bar recipe for this very purpose. The serving size is much more manageable than your average slice of cheesecake, and I personally think the ratio of crust to filling is much better!
These Red Velvet Cheesecake Bars are a great option for a make-ahead dessert, as the cheesecake part can be made a few days in advance or even frozen ahead of time prior to frosting and serving. You've got several options here depending on which best suits your schedule, and you can make the bars as small or large as you like!
Video
Ingredients

For these homemade cheesecake bars, you will need:
- Chocolate sandwich cookies, such as Oreos
- Block cream cheese - sometimes I use ⅓ less fat
- Sour cream - sometimes I use Light
- Butter
- Granulated sugar
- Eggs
- Natural cocoa powder - use one you really love the taste of! I love Callebaut and Ghirardelli
- Buttermilk, low-fat is fine
- Vanilla extract
- White vinegar
- Red gel food coloring - I recommend Americana Super Red
- Powdered sugar
Instructions
Making a red velvet cheesecake from scratch is easier than you might think! You can make it in a food processor, as I did, or mix it by hand with a hand mixer.
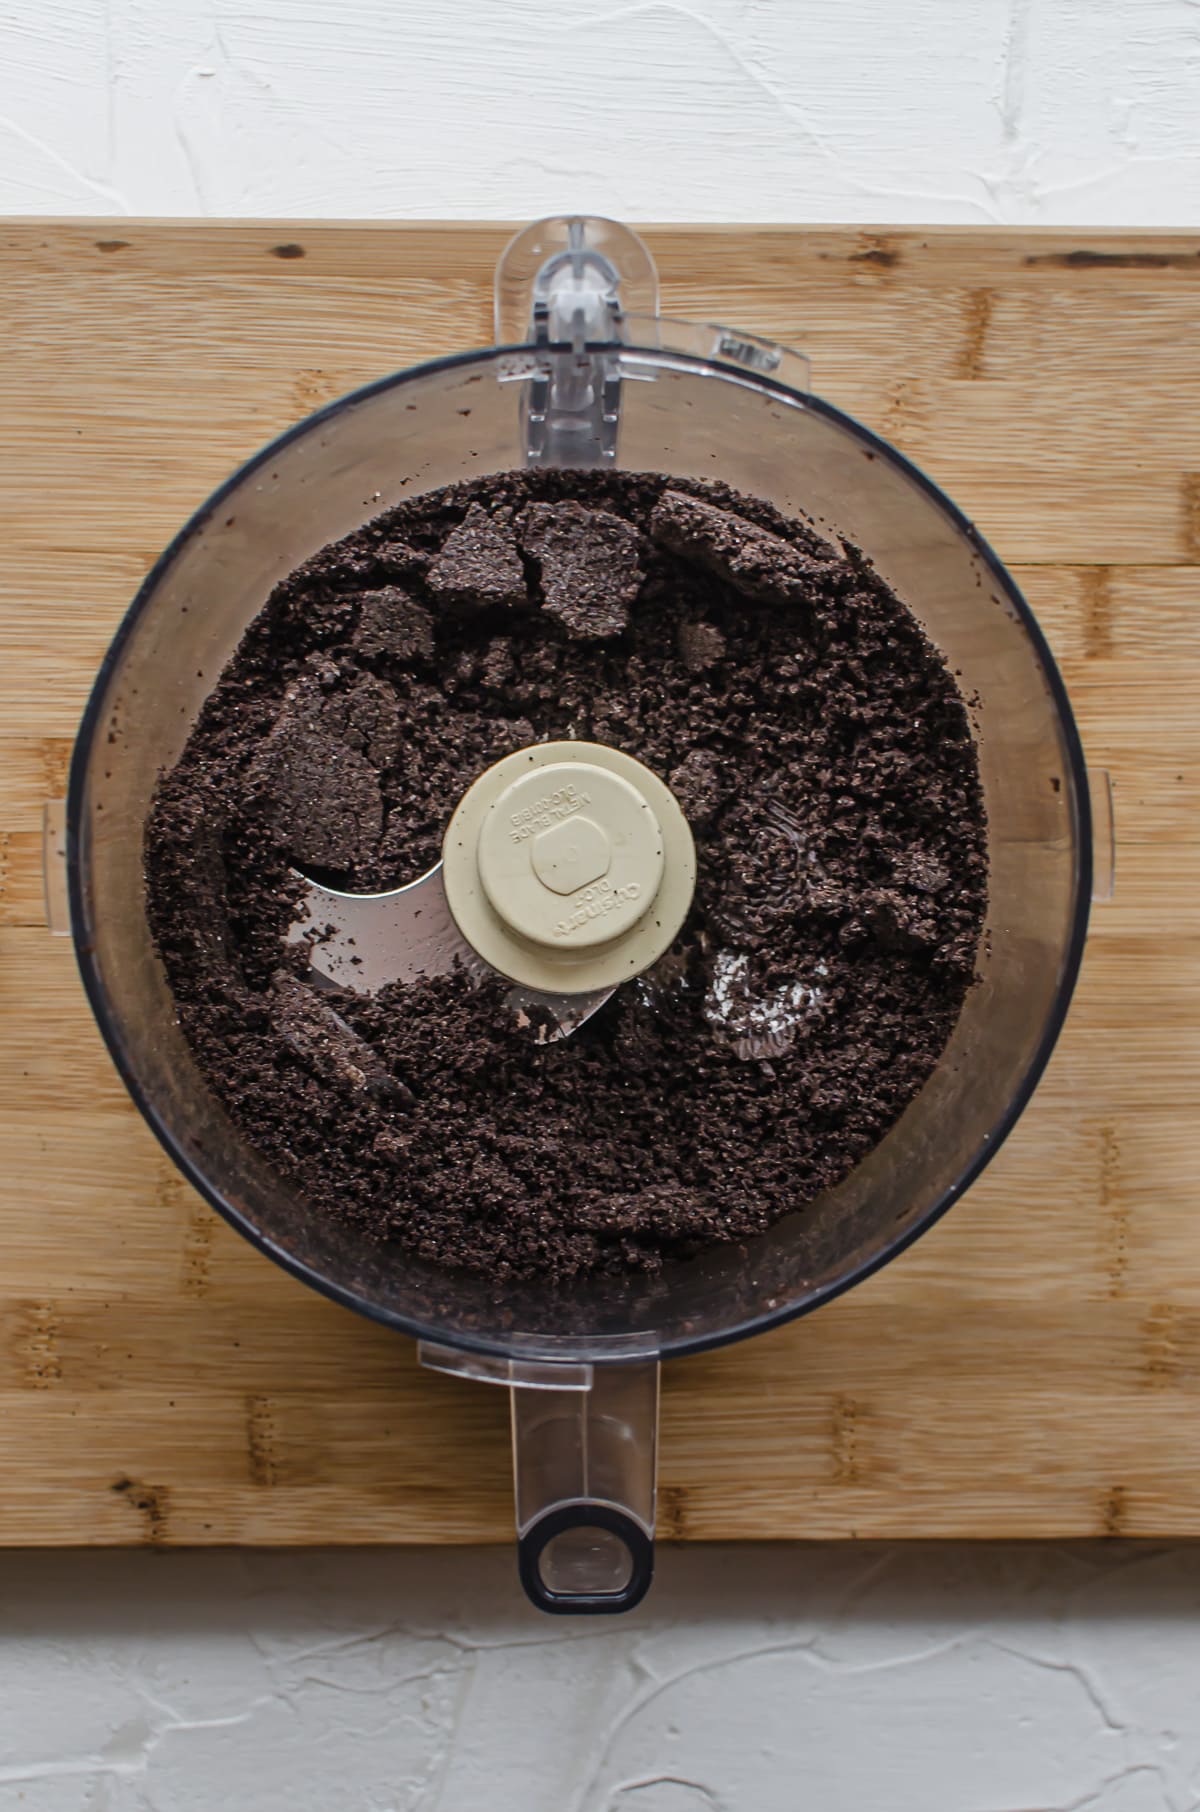
Step 1: Make a cookie crust. You'll crush together the chocolate sandwich cookies in a food processor or with a rolling pin and Ziploc bag until fine crumbs form. Mix the cookie crumbs with melted butter until the mixture looks like damp sand.
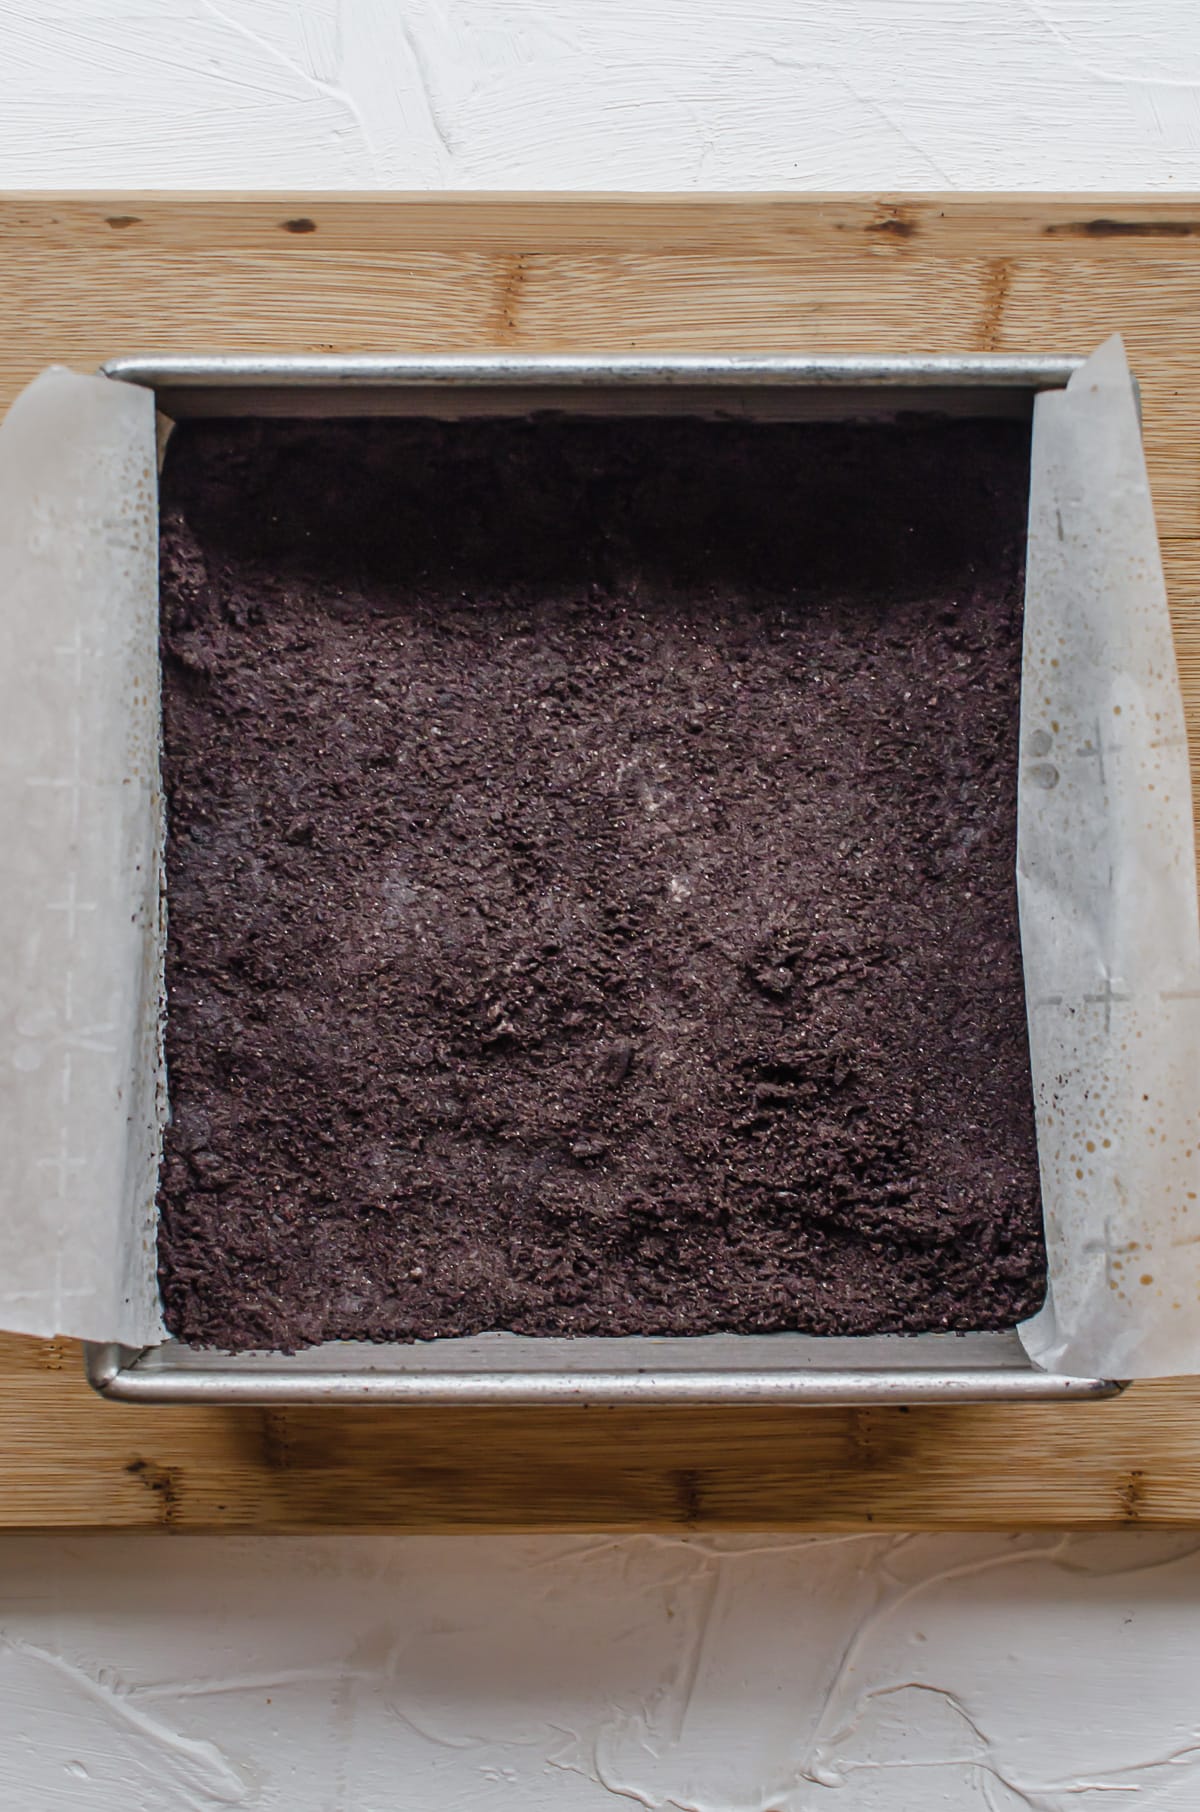
You'll want to press the cookie mixture into a baking pan that's been sprayed with cooking spray and lined with parchment paper so that there is an overhang on two sides of the pan. This allows for the cheesecake to be easily lifted from the baking sheet once it's chilled so you can frost and slice it.
Step 2: Make the cheesecake filling. You can blend the filling together in the food processor bowl after wiping it clean from the cookie crust. Alternatively, you can mix it in a bowl with a hand mixer. Be sure to scrape down the sides of the bowl a few times through the mixing process so there are no lumps and the ingredients are thoroughly combined.
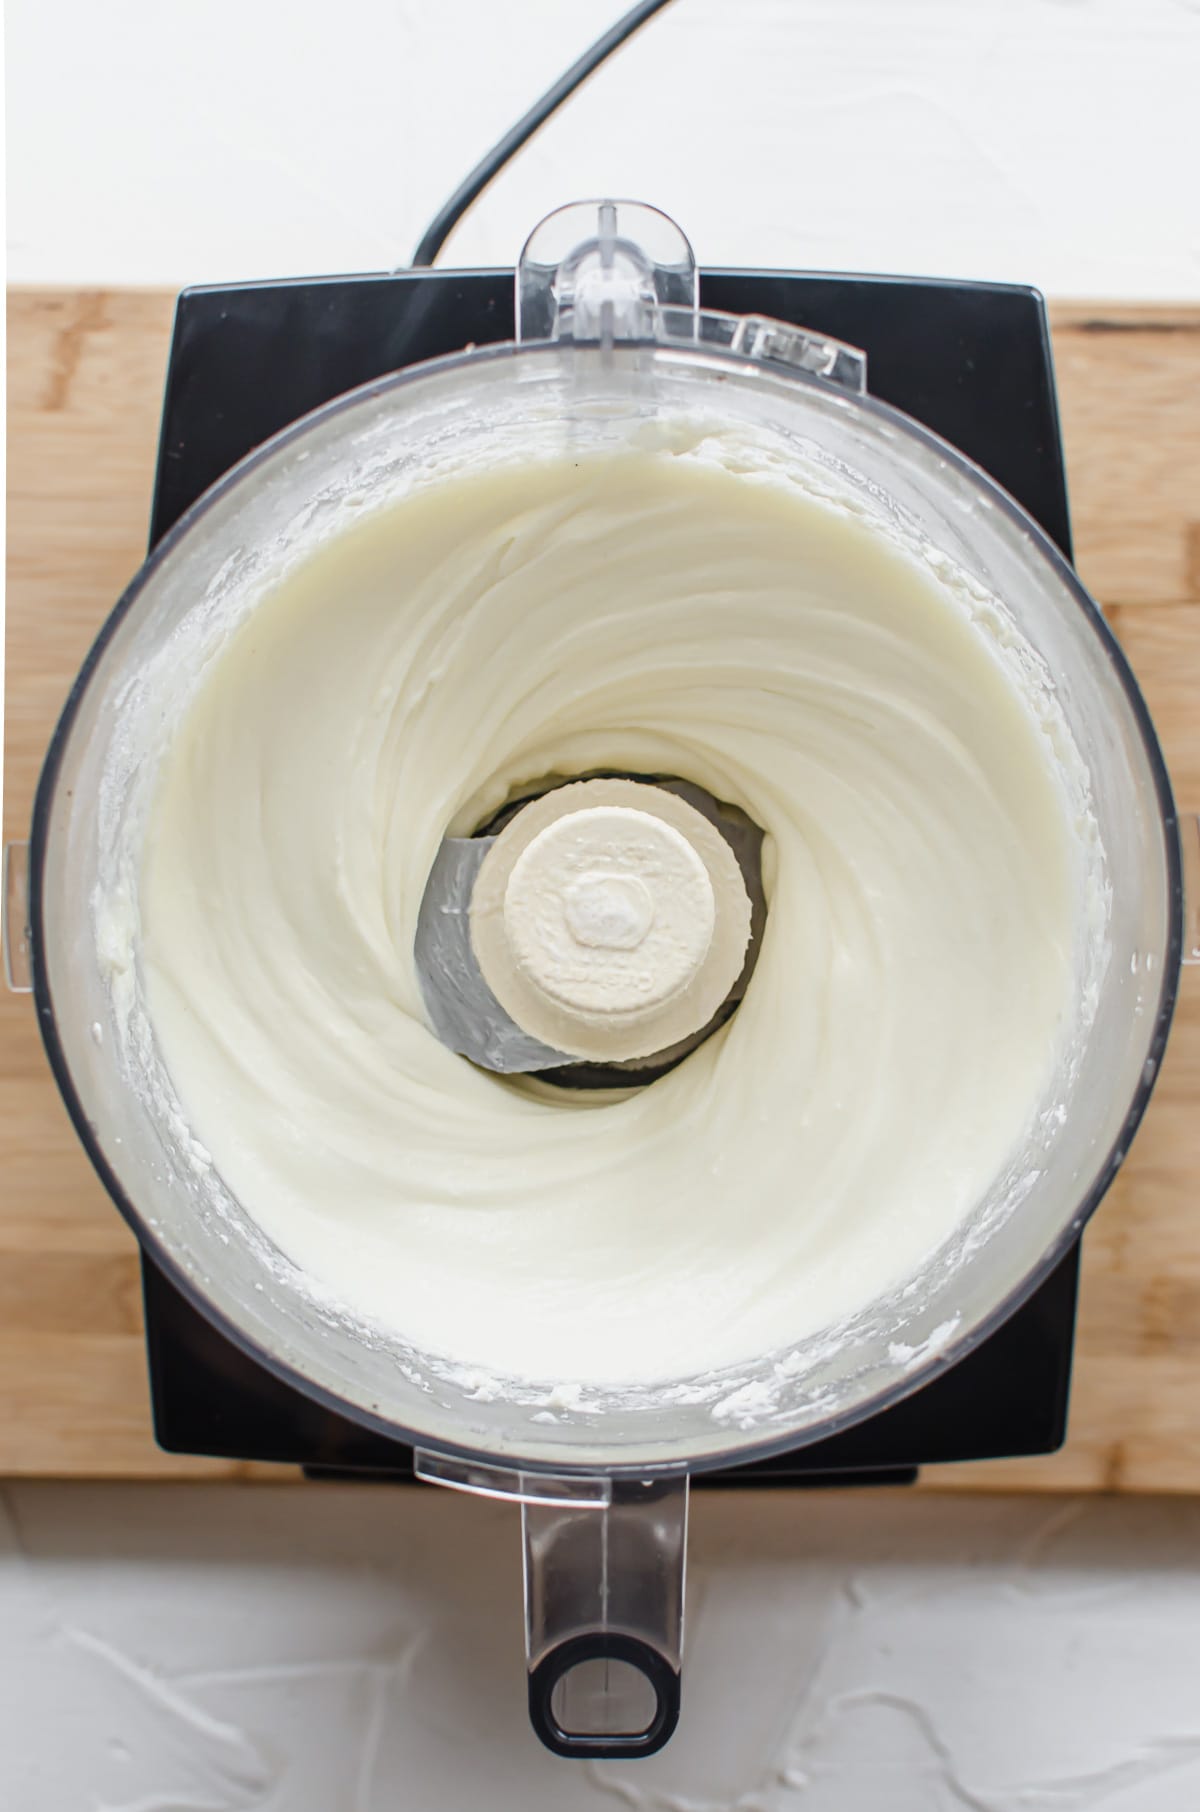
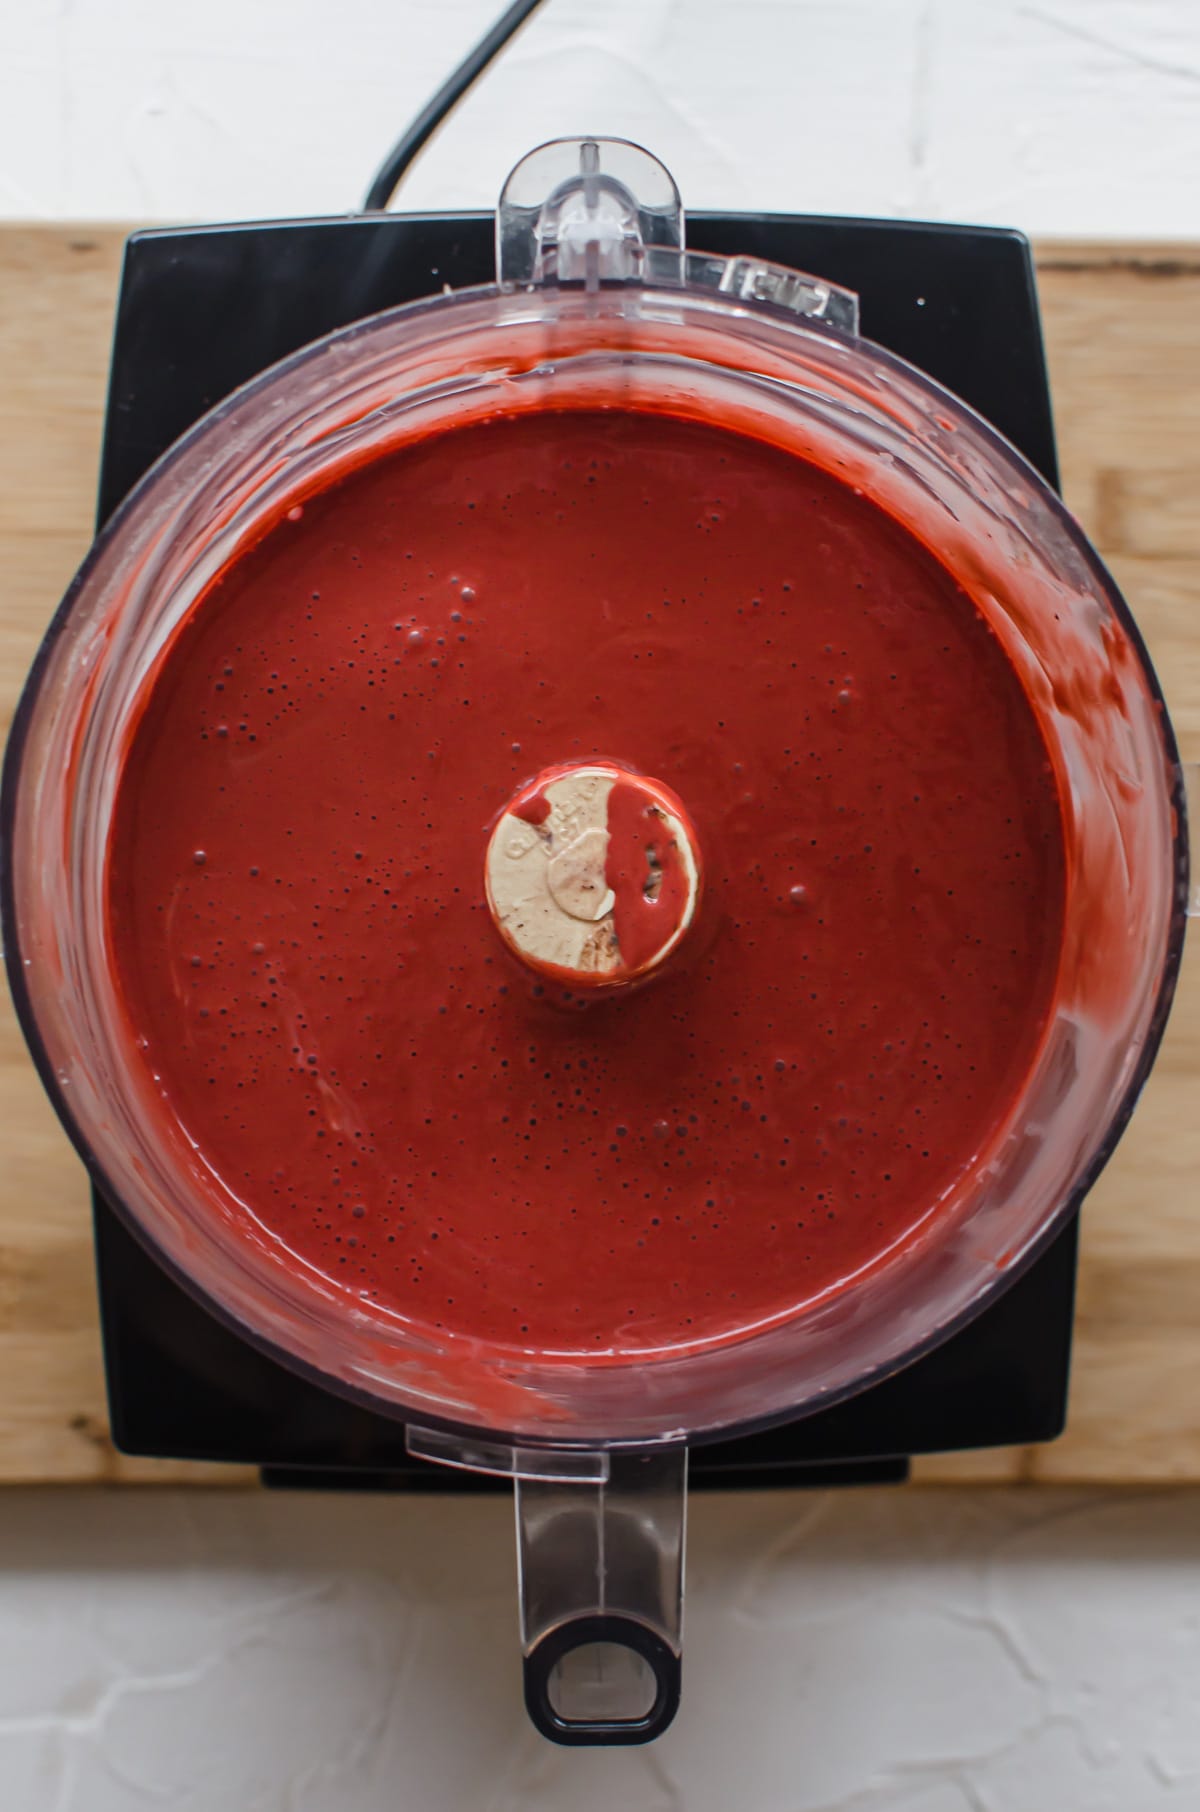
Once the cheesecake filling is nice and smooth, it's time to add the food coloring. I used Americana Food Coloring Gel in Super Red. It's so concentrated that you will only need about ¼-1/2 teaspoon to make the filling a gorgeous, vibrant red. I like to start with a ¼ teaspoon, then add more drops as needed until I reach the color I'd like.
Step 3: Prepare a water bath for baking the cheesecake, then bake. My 8x8 square pan fits perfectly inside a 9x13 rectangle pan, which is what I use for the water bath. This helps the cheesecake to bake gently and evenly, and also prevents cracks from forming in the center.
You want gently simmering water for the water bath. Just pour enough water in the lower pan so that it comes halfway up the sides of the cheesecake pan.

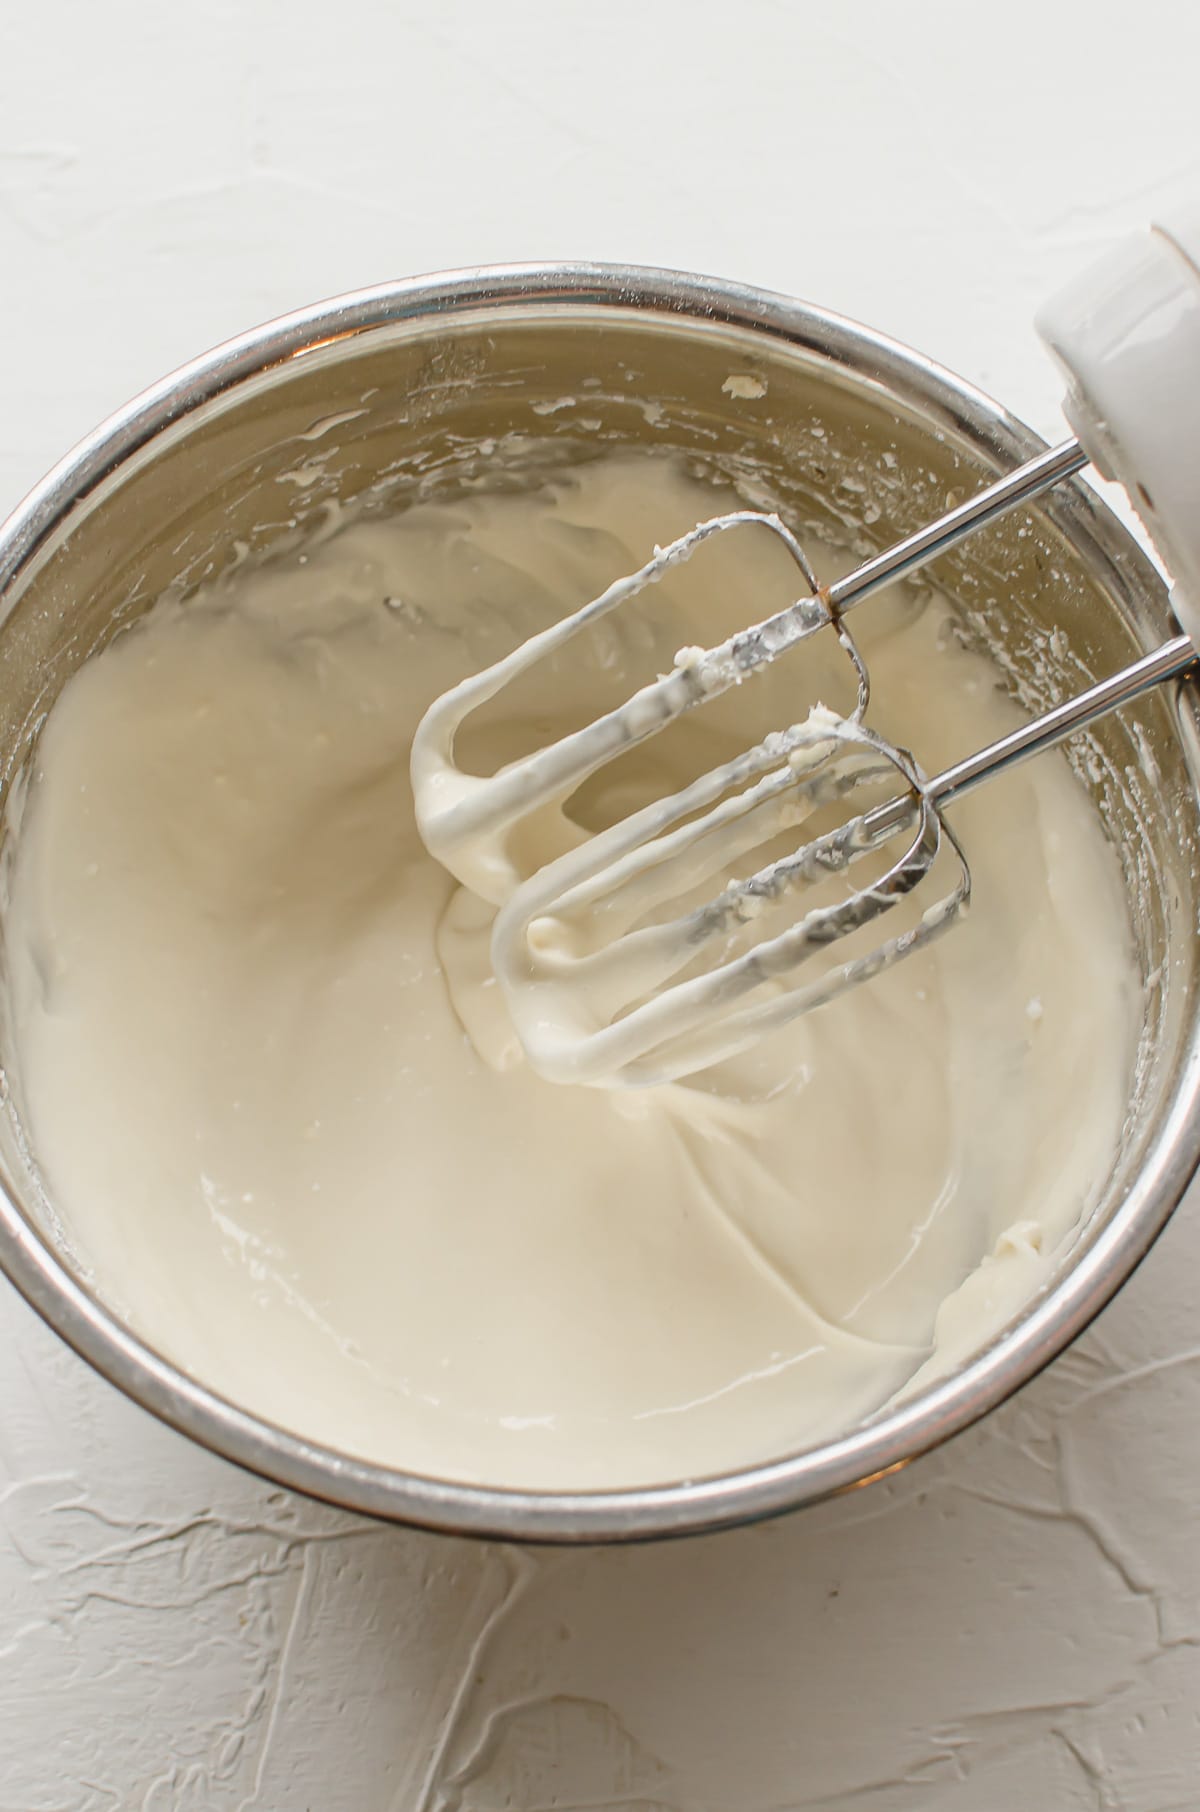
Step 4: Make a cream cheese frosting. While your baked cheesecake is chilling, whip up a simple frosting with a hand mixer to spread on top of the chilled cheesecake. You can do this up to 2 days ahead of time, letting the frosting sit out at room temperature for an hour or so to become spreadable again.
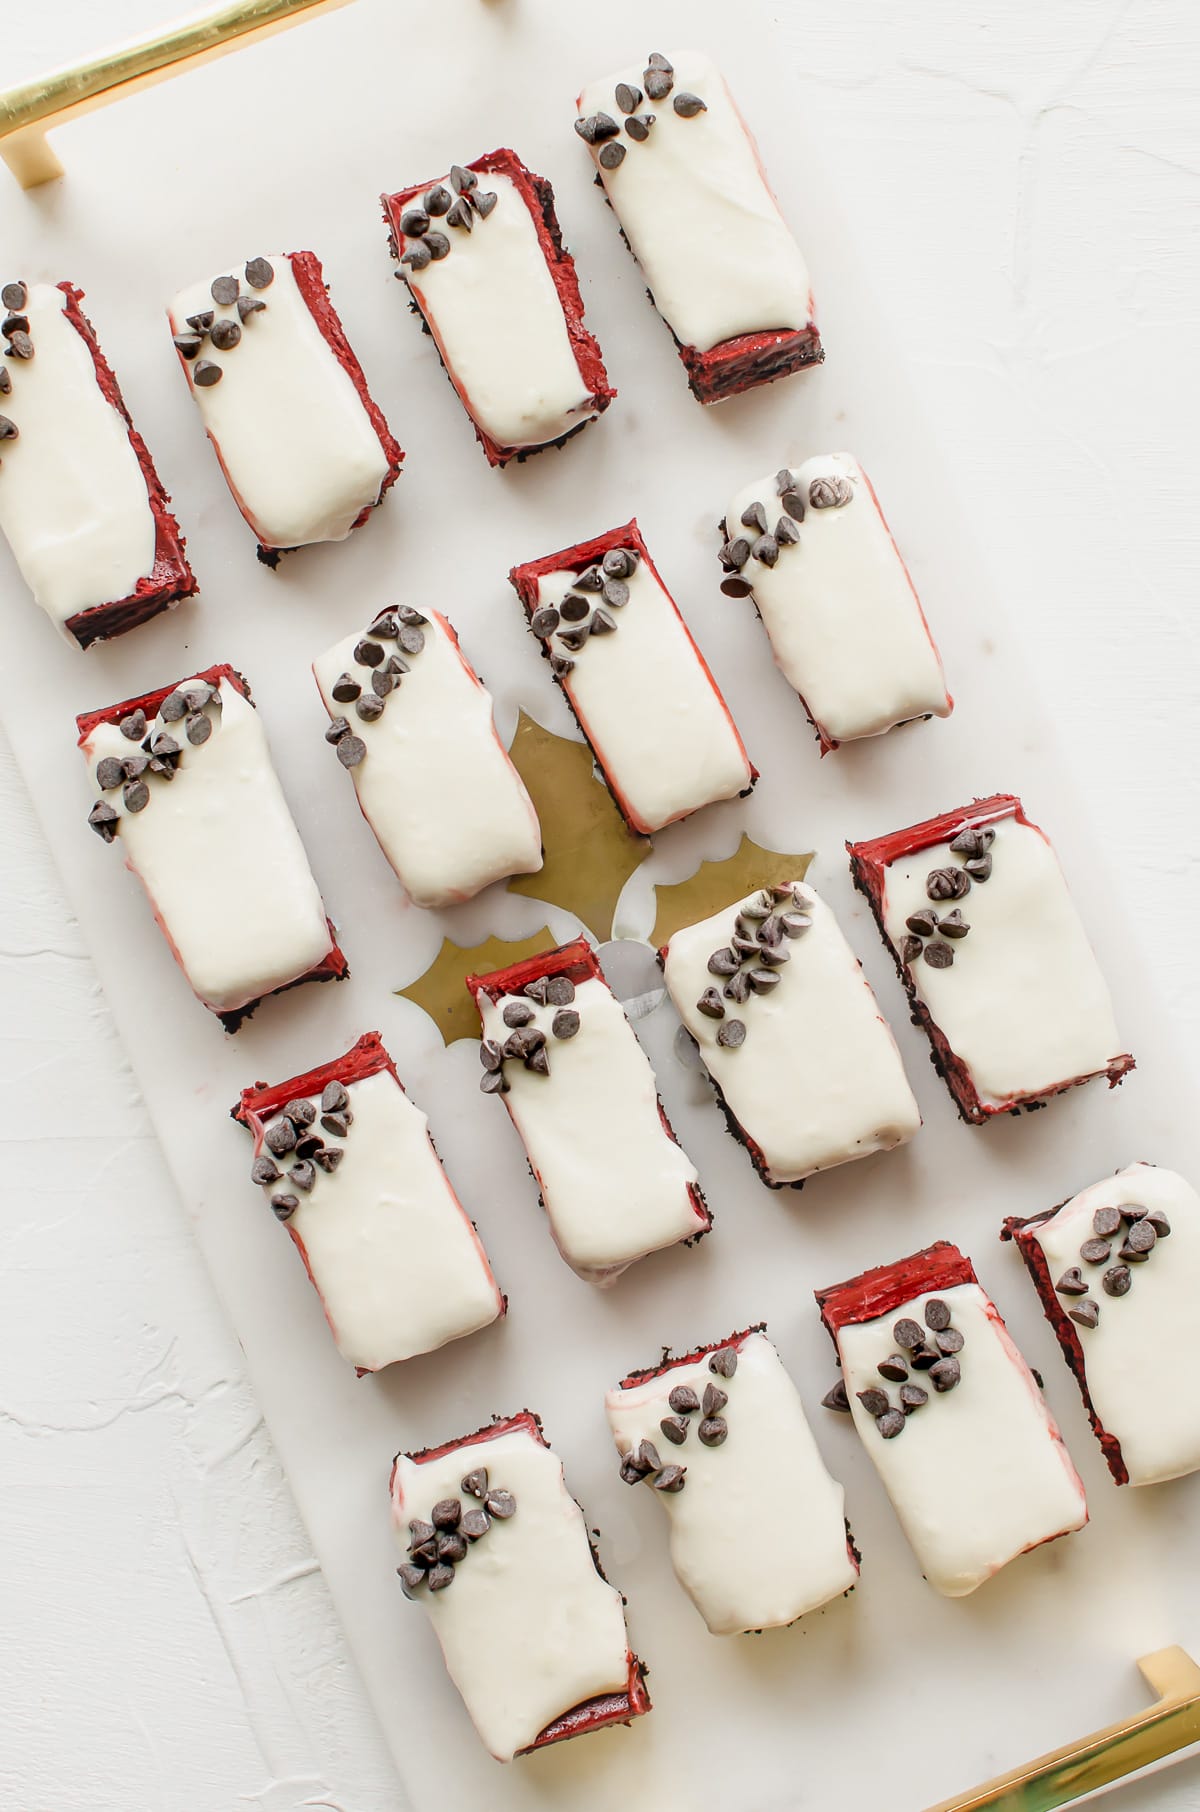
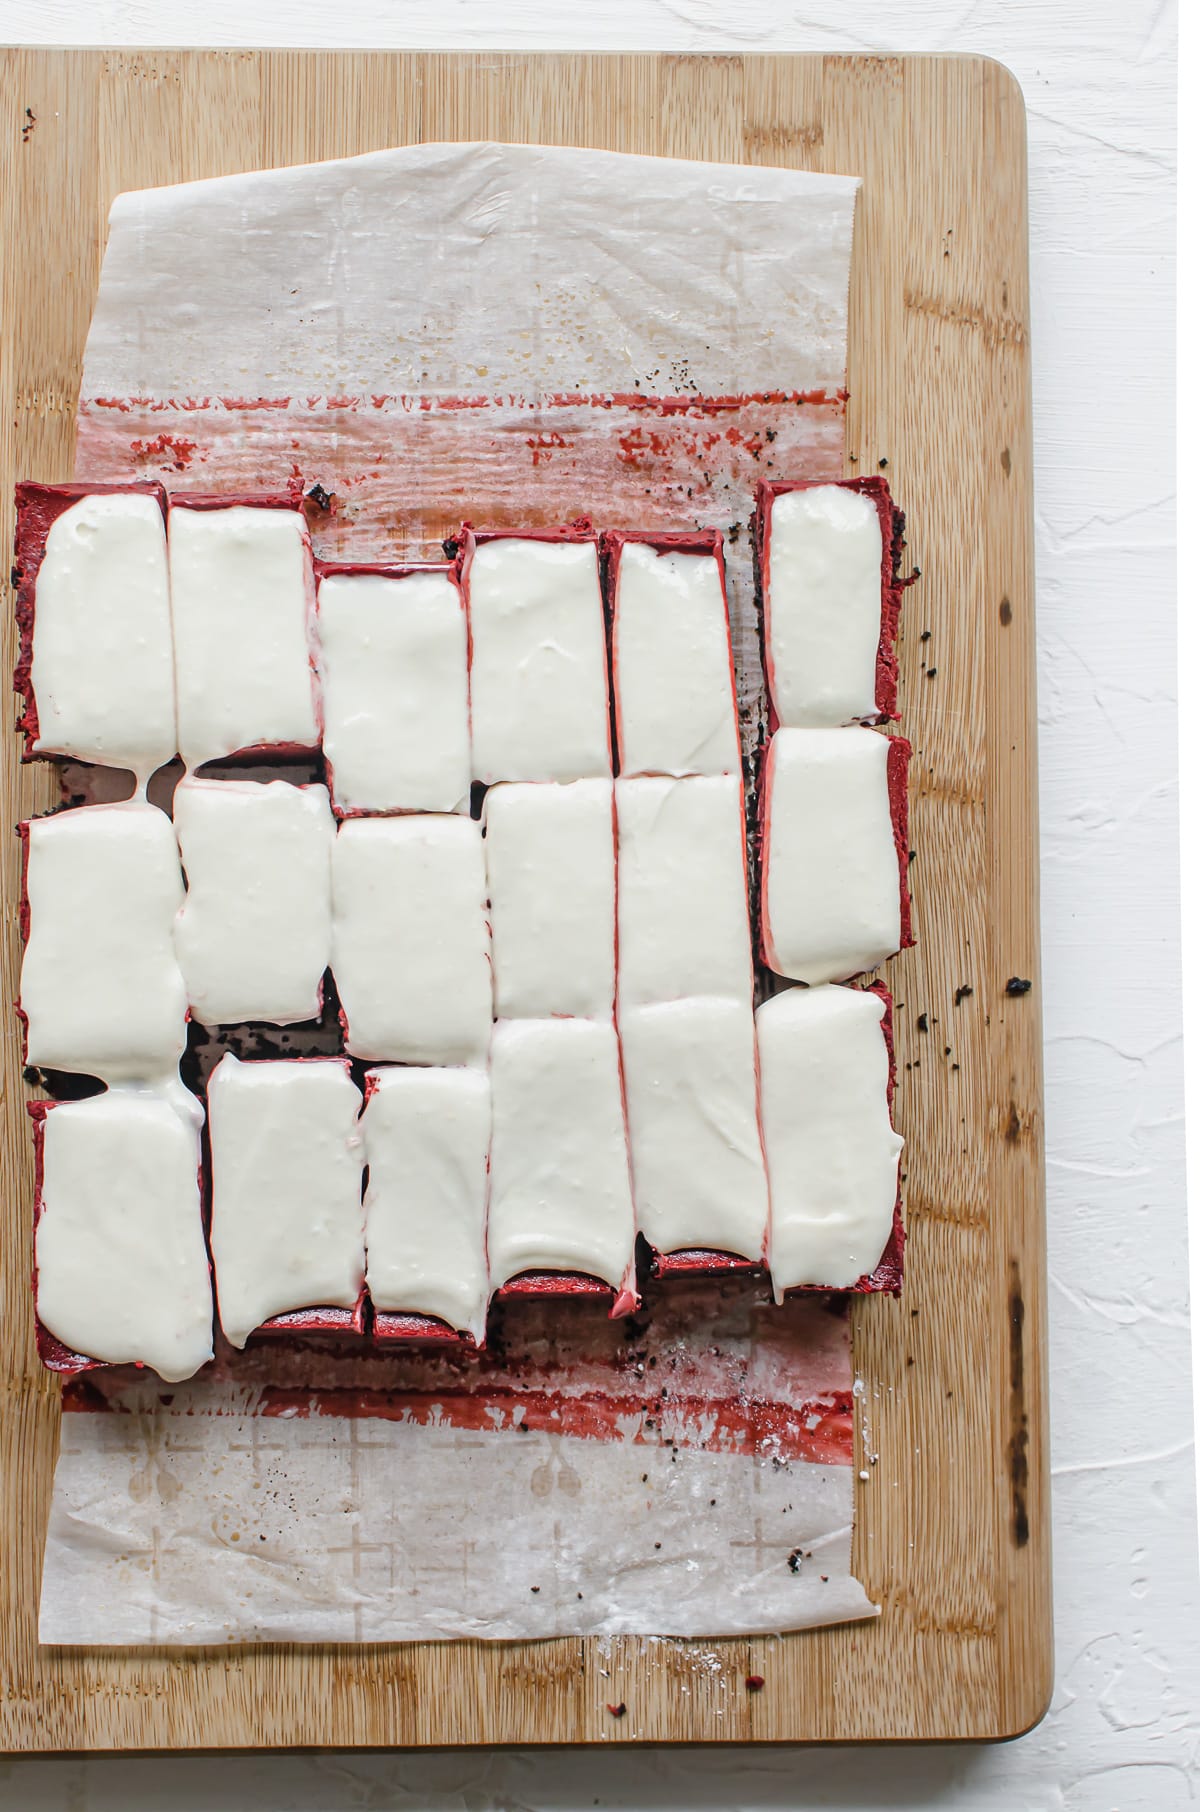
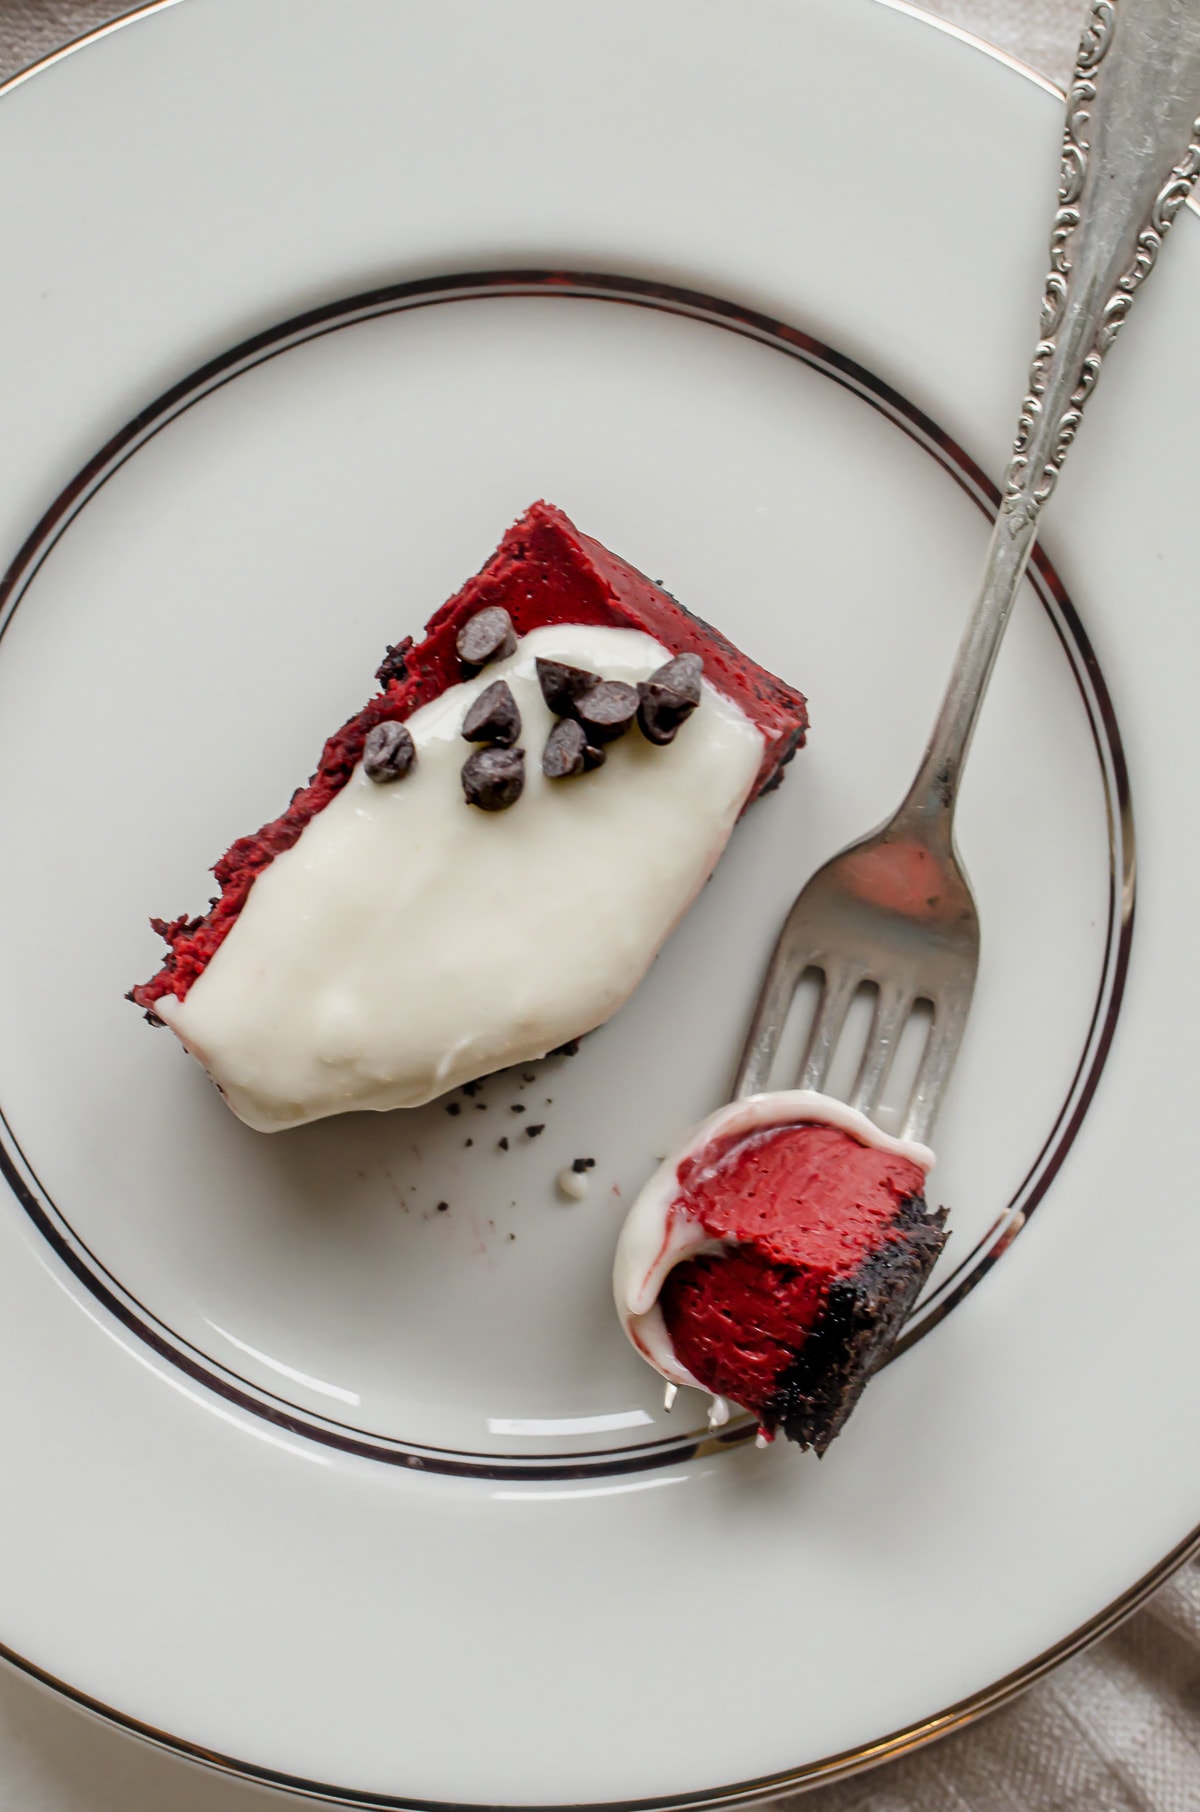
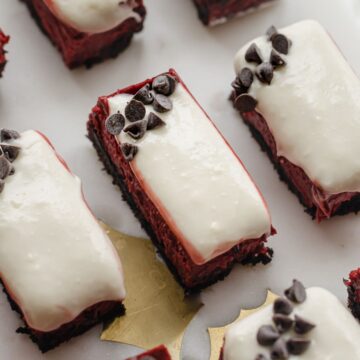
Step 5: Cut the cheesecake into bars, then garnish with mini chocolate chips and serve! I like to cut mine into 16 bars - this is just the right serving to be indulgent without being too decadent. If you are serving them at a dessert bar with various sweet items, you could also cut them into 32 squares to make them bite-sized.
Top tips
Below are some of my best tips for making these cheesecake bars, as well as some answers to commonly asked questions!
Why does my cheesecake have lumps?
Cheesecake is easiest to mix into a smooth and creamy batter when the ingredients are at room temperature. Set your cream cheese, sour cream, and buttermilk out at room temperature for 1 hour (about 40 minutes in the summer months) before mixing them together so they will incorporate smoothly without lumps.
It's also really important to scrape down the sides and in the bottom of your bowl throughout the mixing process to avoid any lumps not getting mixed into the batter.
How do I prevent my cheesecake from cracking?
The key to making cheesecake without cracks is gentle, even heating and cooling. Baking the cheesecake in a water bath will gently heat it, and leaving your cheesecake in the oven for an hour after baking will better regulate the temperature as it cools. Once your cheesecake is set and you turn your oven off, let it sit in the oven with the door cracked open for one hour before letting it cool further at room temperature.
Can you use a square pan for cheesecake?
You really can use any type of pan for a cheesecake, as long as you have an easy way of removing the cheesecake. A springform pan typically works best, but a square pan will also work if you line it with parchment paper. Leaving a parchment paper overhang on the sides allows you to gently lift the chilled cheesecake from the pan.
How long is cheesecake good for in the fridge?
Cheesecake will keep well in the fridge for up to 5 days. After that amount of time, the crust will become quite soggy and the cheesecake may weep on top, causing it to be softer.
Can I freeze cheesecake bars?
Cheesecake bars are perfect for freezing and enjoying as you need them. You can either freeze the whole cheesecake in an airtight container before frosting and cutting it, or you can freeze the individual bars between layers of wax paper in an airtight container.
Cheesecake does not require a long time to thaw. Just place it in the fridge for a few hours or thaw individual bars at room temperature for 30 minutes. A whole cheesecake will thaw best gradually in the refrigerator.
Similar recipes

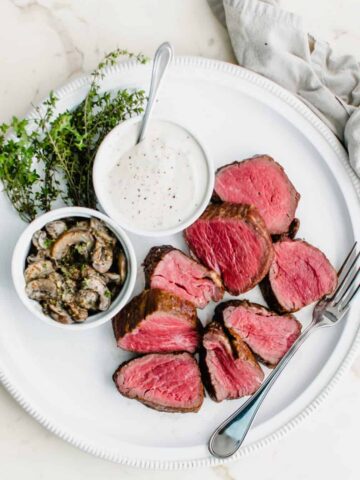
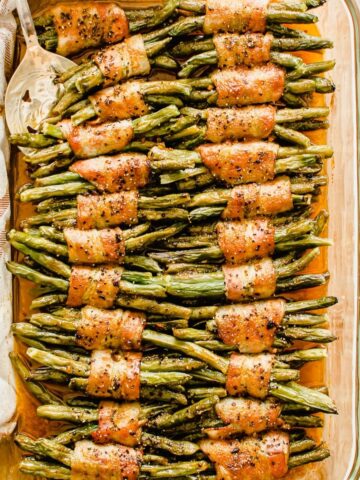
If you'd like to serve this cheesecake with a special holiday dinner, I'd recommend putting this Reverse Sear Beef Tenderloin and Bacon-Wrapped Green Bean Bundles on the menu!
Are you ready to make some cheescake bars? I’m so excited for you to try this recipe. Once you get the chance to make it, please let me know how it turns out for you!
Leave a comment and rate the recipe below. This will help me with the creation of future recipes!
I’d also love to feature your creation in my weekly newsletter, so you can upload a photo to Instagram with the tag @sweetcayenne5 to be featured! Quick and easy recipe videos are available on my YouTube channel, and lots of menu inspiration on my Pinterest boards. Catch my Red Velvet Cheesecake Bar Story here.
Recipe
Red Velvet Cheesecake Bars
Ingredients
Cheesecake crust:
- 22 whole chocolate sandwich cookies, such as Oreo
- 2 tablespoons unsalted butter, melted
Cheesecake filling:
- 2 (8 ounce) bars cream cheese, softened
- ⅓ cup sour cream, at room temperature
- ¾ cup granulated sugar
- 2 large eggs, lightly beaten
- 2 tablespoons natural cocoa powder
- ¼ cup buttermilk, low fat is fine
- 1 teaspoon vanilla extract
- ½ teaspoon white vinegar
- ¼-½ teaspoon red gel food coloring (I used Americana Super Red)
Cheesecake frosting:
- 3 ounces cream cheese, softened
- ¼ cup butter, softened
- 1 ½ cups powdered sugar, sifted
- ¼ teaspoon vanilla extract
- Mini chocolate chips, for garnish
Instructions
- Preheat the oven to 375°F. Grease an 8x8 square baking pan with cooking spray, then line the pan with parchment paper so that there is an overhang on two sides of the pan. Set aside.
- Place the chocolate cookies in a food processor and process until fine crumbs form. Scrape down the sides of the processor as needed. With the processor running, slowly drizzle in the melted butter, mixing just until the mixture resembles wet sand.
- Use your hands to press the cookie crumb mixture into the prepared pan, just so the mixture covers the bottom of the pan evenly. Bake for 10 minutes, then transfer to a wire rack. Reduce the oven temperature to 325°F.
- Wipe the bowl and blade of the food processor clean. Once you’ve put it back together, add the cream cheese, sour cream, and granulated sugar. Blend until the mixture is smooth and creamy. Scrape down the sides of the bowl, then add the eggs, cocoa powder, buttermilk, vanilla, and white vinegar. Blend until well combined. Scrape down the sides of the bowl, then add ¼ teaspoon of the red food coloring gel. Blend to combine thoroughly, then add a few more drops of coloring as needed until the mixture is a vibrant red color.
- Use a rubber spatula to transfer the cheesecake filling into the prepared pan of cookie crust, smoothing the top out evenly. Place the square pan inside a 13x9 inch cake pan. Bring a pot of water to a simmer, then carefully pour the water around the pan of unbaked cheesecake until it comes halfway up the sides. Carefully transfer the nested pans to the oven, then bake for 35-42 minutes until the center of the cheesecake jiggles slightly. Turn the oven off and crack the door slightly, then let the cheesecake bars sit in the water bath for 1 hour as it cools. Remove the cheesecake from the oven, then let it cool completely at room temperature. Transfer the cheesecake to the fridge, and chill for at least 3 hours or up to overnight.
- After chilling, use a knife to loosen the edges around the cheesecake, then carefully lift the edges of the parchment paper and transfer the cheesecake to a cutting board.
- For the frosting, combine the butter and cream cheese with a handheld mixer (stand mixer or food processor will also work) until smooth. Add the powdered sugar and vanilla, mixing on low speed just until smooth and combined.
- Spread the cream cheese frosting over the square of cheesecake. Cut it into 16 bars, wiping the knife clean after each row. Transfer the bars to a serving platter and garnish with mini chocolate chips. Serve right away, or chill until ready to serve.
- Remaining cheesecake bars will keep in the refrigerator for up to 5 days, and can also be frozen in a single layer for up to 3 months. To thaw, place the desired number of cheesecake bars in the fridge for 2 hours or at room temperature for 30 minutes.