This one-bowl recipe for vegan chocolate cutout cookies with buttercream frosting is super simple and the perfect Valentine's Day dessert! You could really make these for any holiday.

Video
I'm just swooning over these little cutouts of chocolate delight. Currently, I've got a box of them nestled in the freezer and I'm using sheer willpower to keep them there for Valentine's week. They are SO good! Of course, I did let Ryan try them during the testing process, and he was very distraught when he learned that the majority of these cookies would be frozen for enjoying on the actual holiday. Ha!What I love so much about these chocolate cutout cookies is that you have options when making them fit different dietary needs. I first tried them from a Cooking Light recipe YEARS ago (like over a decade!), then decided to adapt them for a cutout version with options for other dietary needs. They are easily adapted to be gluten-free and vegan, and without compromise in flavor or texture! And did I mention that they are ONE bowl? That's right. Everything for the cookie dough is mixed together in one bowl AND you do not need to chill these before baking. Sound too good to be true? Well just trust me and try them for yourself. Whether you need Valentine's treat for yourself, your friends, spouse, kids, coworkers or whomever, they will certainly feel special when presented with a plate of these darling cookies!
Ingredients
- Vegan Butter Baking Sticks - I recommend Earth Balance Baking Sticks for a dairy-free option. Or you could just use regular butter!
- Cocoa Powder - natural unsweetened cocoa powder is best for this recipe.
- Sugars - white granulated sugar and brown sugar for the cookie dough, then powdered sugar for the frosting.
- Yogurt - So Delicious Unsweetened Coconut Milk Yogurt is the best for dairy-free/vegan baking. You could also use plain yogurt or reduced-fat sour cream.
- Vanilla Extract and Instant Espresso Powder - these will enhance the flavor of the cocoa powder and produce a sophisticated chocolate flavor in the cookie dough.
- Flour - for a gluten-free option, I recommend Bob's Red Mill Gluten-Free 1 to 1 Baking Mix. I also have used regular all-purpose flour in this recipe.
- Baking Soda + Salt - for slight leavening and flavor in the cookie dough.
- Food Coloring + Cookie Cutter - I used the Americolor gel paste coloring in the colors in Super Red, Burgundy, and Dusty Rose for this post, and a scalloped edge heart cookie cutter that I inherited from my Nana (similar one here)!
Instructions
- Melt the butter - I love that this cookie dough doesn't require you to soften or cut butter!
- Add the cocoa and sugars, then the yogurt, vanilla, and espresso powder. You can do this right into the saucepan that the cookies were melted in.
- Add the flour, baking soda, and salt - I like to use a spoon to stir the dry ingredients in. Then I use my hands to gently shape the dough into a smooth disk.
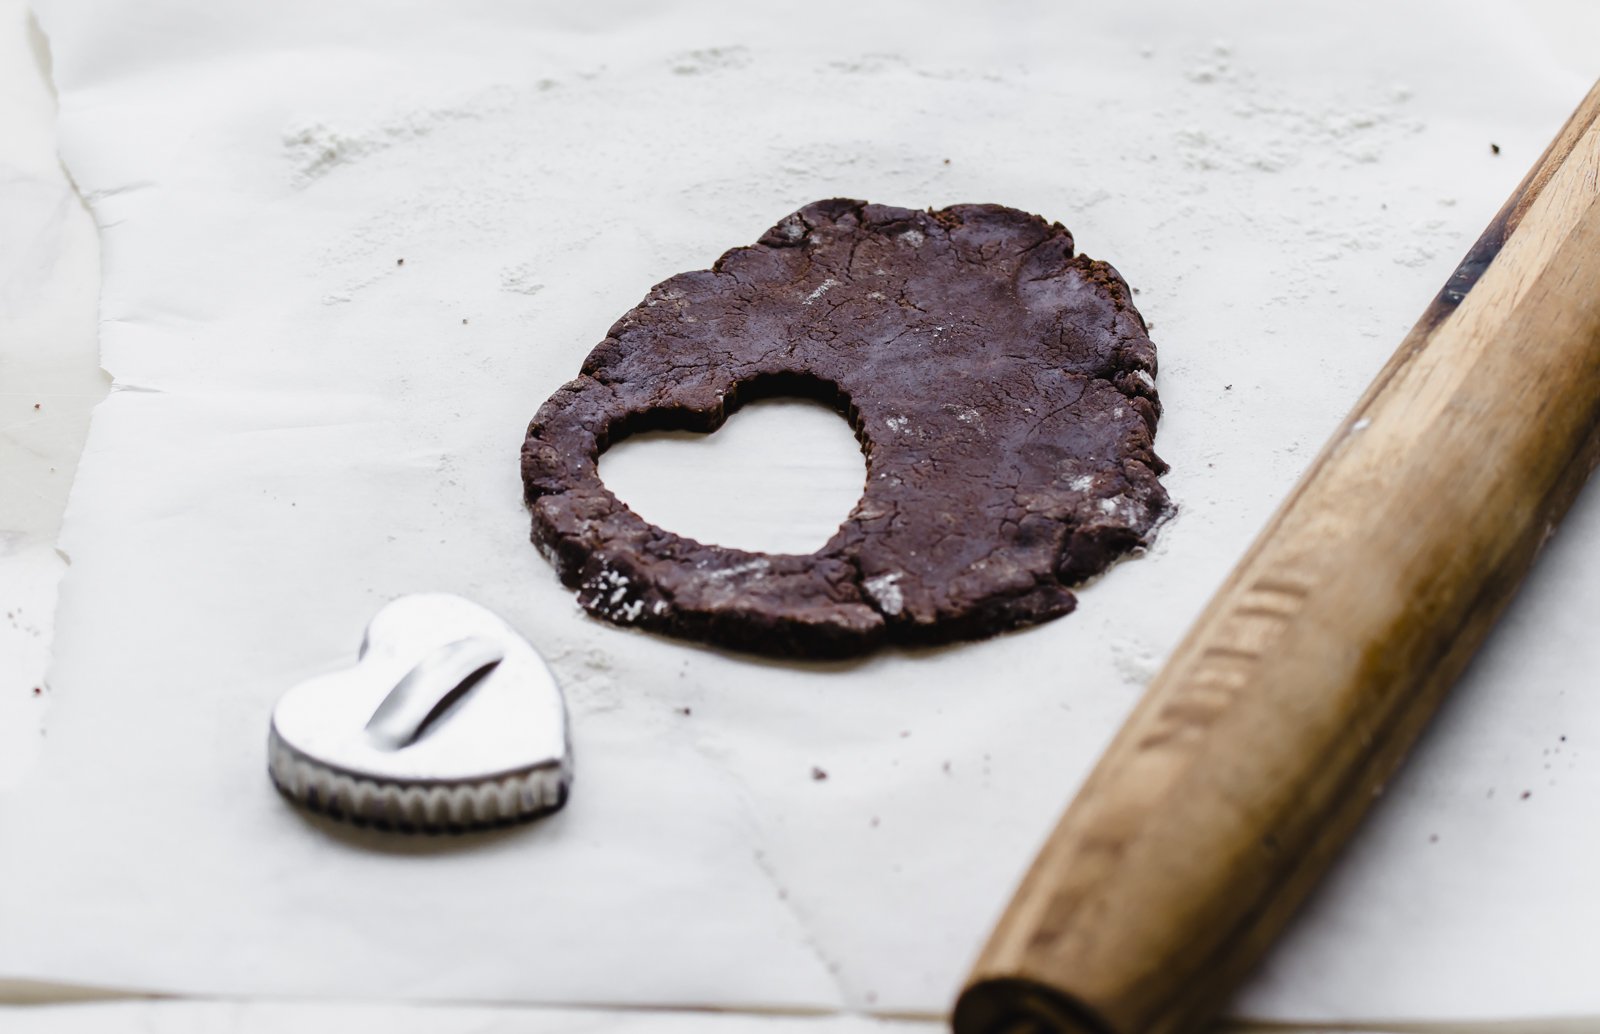
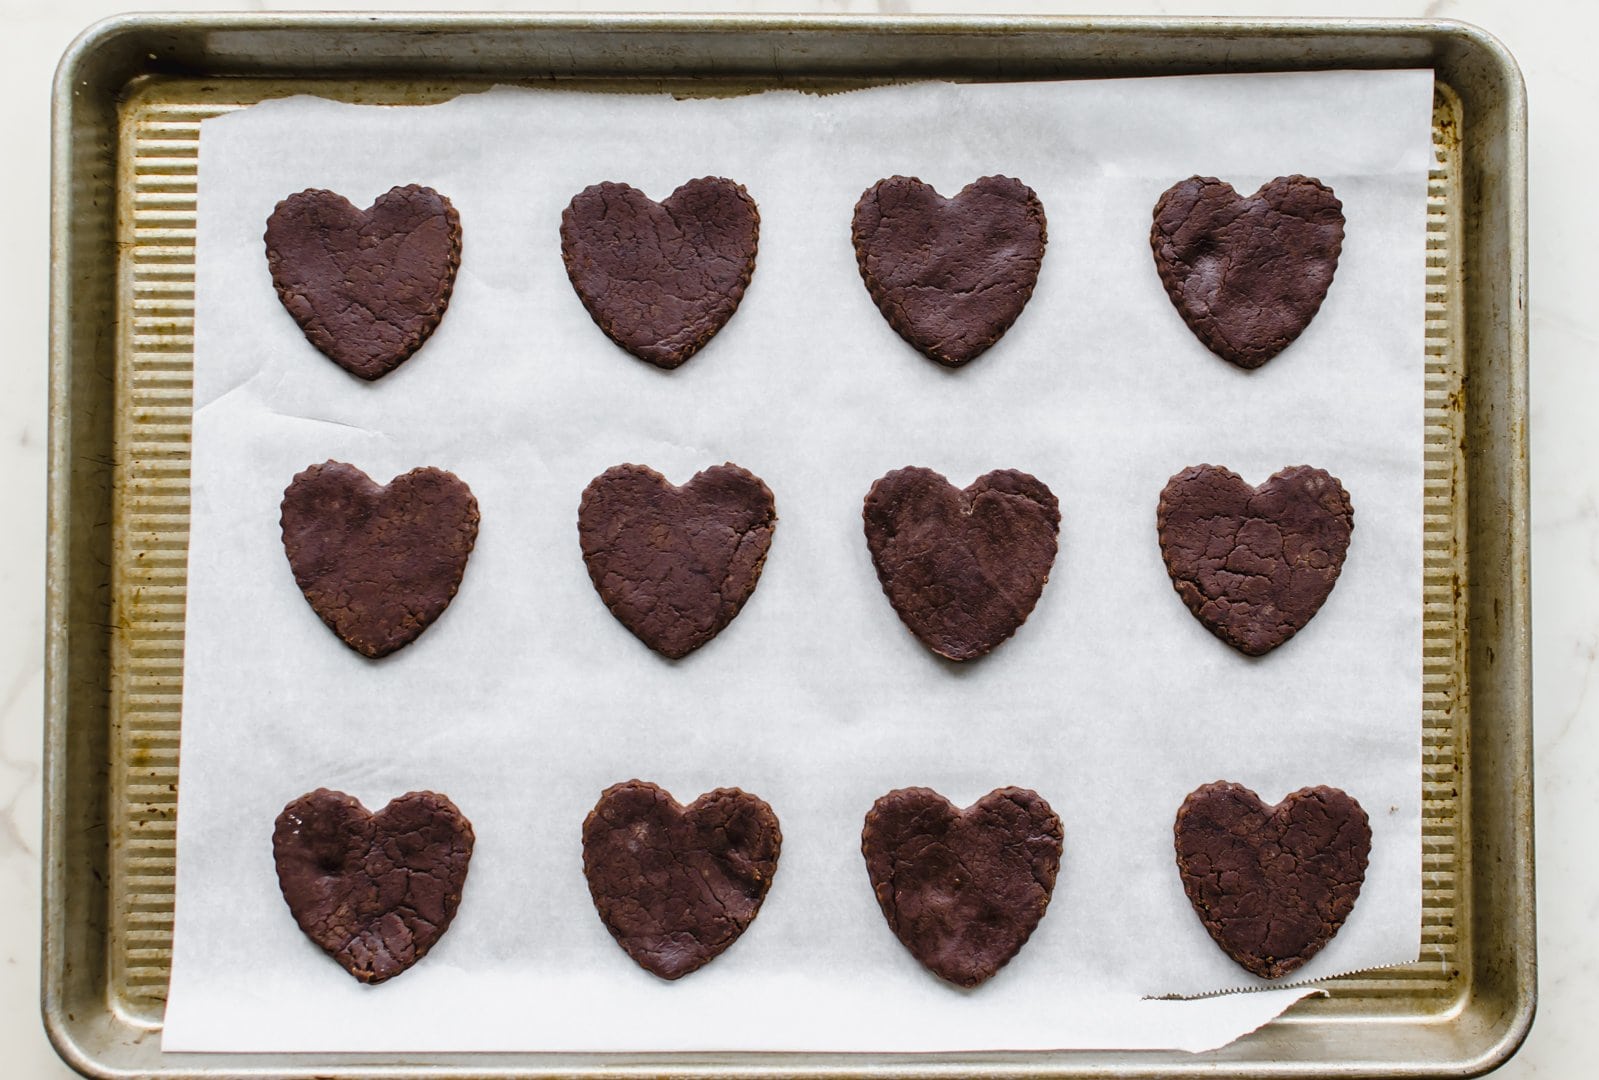
- Roll out the dough - I like to use a lightly-floured sheet of parchment paper to roll and cut the dough on. The thickness should be ¼'' inch for soft and chewy cutouts.
- Bake the cookies - start at the minimum recommended time, then pull the cookies out when they look ever so slightly underbaked in the center. These cookies do not spread much, so no need to worry about that.
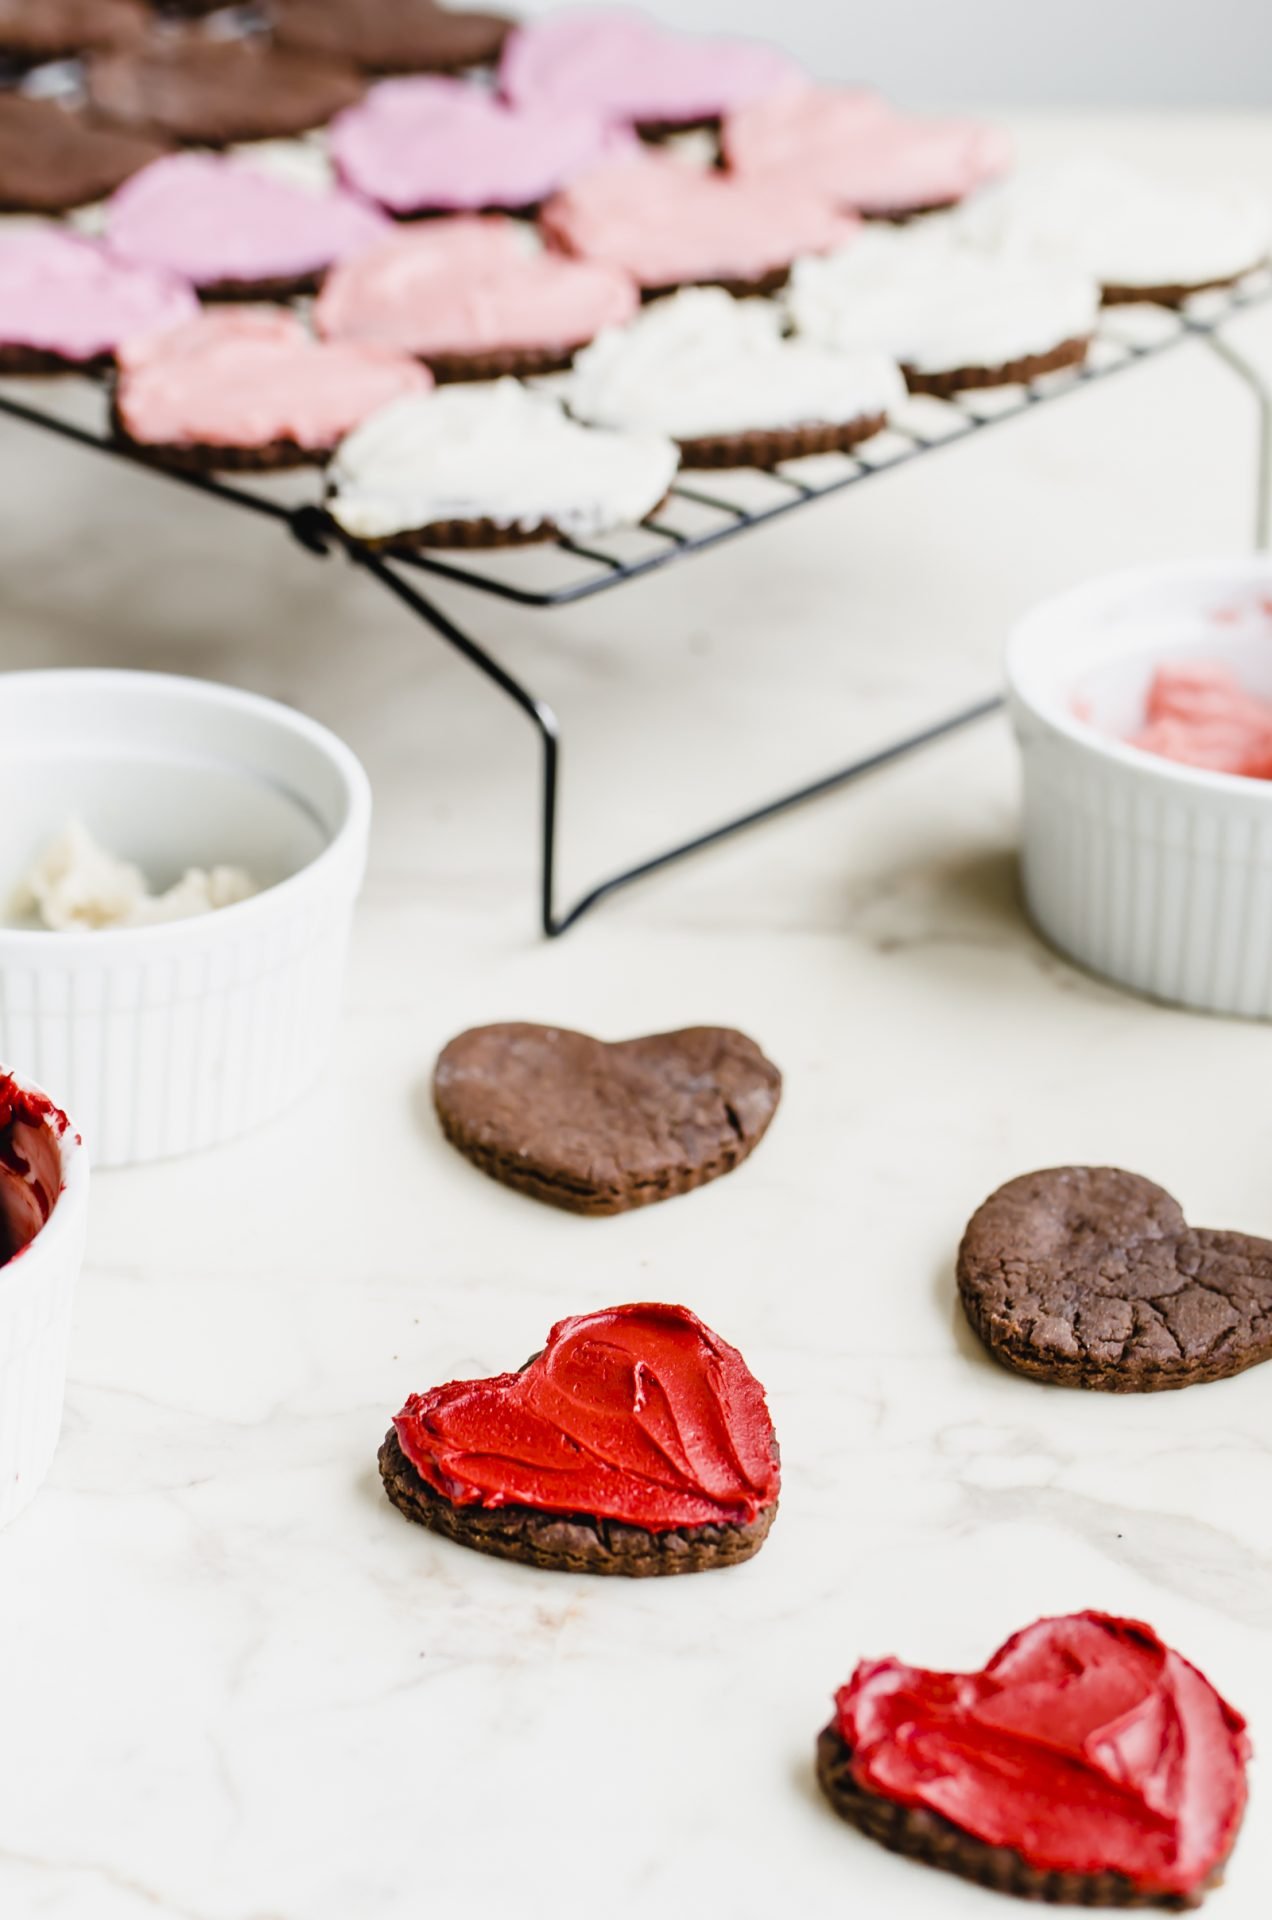
- Make the frosting - this is best to do while the cookies are cooling.
- Frost the cookies and enjoy!
Tips
- Whisk then stir - for the sugars and wet ingredients, a whisk will help to get everything incorporated smoothly. To avoid overmixing, I like to use a wooden spoon or rubber spatula to fold the dry ingredients into the wet.
- Parchment paper is your friend! Not only does this help keep my kitchen counter and baking sheets cleaner, but it also makes it much easier to remove the cutout shapes of the cookie dough. And the good news is, parchment is wax-free so you can compost it! Just tear it into little pieces and put it in your compost pile of coffee grounds and veggie scraps.
- Roll to the right thickness - as I mentioned above, ¼ inch thickness is good for producing a cutout cookie that is nice and soft once baked.
- Bake carefully - these cookies will look slightly underbaked when they are perfectly done - they will continue to set as they cool.
- Cool completely before frosting - this will help the buttercream set properly and keep it from melting all over your cookie!

Variations
Use seasonal cookie cutters and frosting colors - these cookies can be adapted for your favorite holidays! Just change up your cookie cutter and food coloring- and perhaps add some sprinkles! I love the idea of adding peppermint extract to these with candy cane crumbles for Christmas or perhaps adding some Irish creme extract for St. Patrick's Day!
Use regular flour and dairy products if you like - I've made these with all-purpose flour, real butter, and plain dairy yogurt before and love them just as much. It's nice to have an option for my gluten and dairy-free friends though!
Freezing Options:
- Freeze the dough - you can make the dough ahead of time and then just freeze it in a disk. To thaw, place it in the fridge for a few hours or overnight before rolling out and proceeding with the recipe. You can also freeze unbaked cutouts between sheets of wax paper.
- Freeze baked and unfrosted - simply stack the baked and cooled cookies between sheets of wax paper and freeze. Thaw for an hour or two at room temperature before frosting and serving.
- Freeze frosted - this is what I chose so that we would have some left for Valentine's Day! I froze the frosted cookies between sheets of wax paper. All that's left to do is place frozen cookies on a pretty plate and let them sit at room temperature for an hour or so before enjoying.
Similar recipes
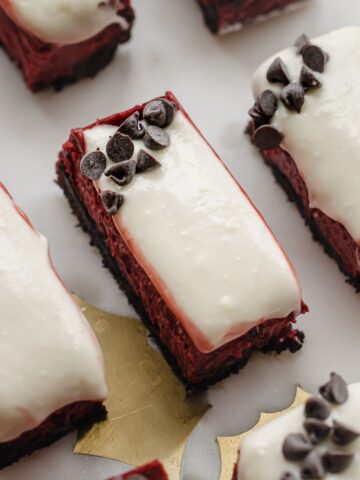

- Red velvet sandwich cookies
- Cookie butter stuffed butterscotch cookies
- Spring cutout cookies with buttercream frosting
Are you ready to make these Chocolate Cutout Cookies? I’m so excited for you to try this recipe. Once you get the chance to make it, please let me know how it turns out for you! Leave a comment and rate the recipe below. This will help me with the creation of future recipes!
I’d also love to feature your creation in my weekly newsletter, so you can upload a photo to Instagram with the tag @sweetcayenne5 to be featured! Quick and easy recipe videos are available on my YouTube channel, and lots of menu inspiration on my Pinterest boards. You can catch my Red Velvet Chocolate Cookies Story here. Enjoy!
Recipe

Chocolate Cutout Cookies with Buttercream Frosting
Ingredients
For the cookies:
- 5 tablespoons Earth Balance vegan butter baking sticks (or regular butter)
- 7 tablespoons unsweetened natural cocoa powder
- ⅔ cup granulated sugar
- ⅓ cup packed brown sugar
- ⅓ cup unsweetened coconut milk yogurt (such as So Delicious | or plain low-fat yogurt)
- 1 teaspoon vanilla extract
- 1 teaspoon instant espresso powder
- 1 ½ cups all-purpose flour (for gluten-free, use Bob’s Red Mill Gluten-Free 1 to 1 Baking Flour; the BLUE bag)
- ¼ teaspoon baking soda
- ⅛ teaspoon salt
For the frosting:
- 8 tablespoons Earth Balance vegan butter baking stick (one stick; or use regular butter), at room temperature
- 1 teaspoon vanilla extract
- 2 tablespoons dairy-free milk, or more as needed (or regular milk)
- 2 ½ cups powdered sugar, sifted, or more as needed
Instructions
- Preheat oven to 350℉. Line two baking sheets with parchment paper and set aside.
- Melt butter in a large saucepan over medium heat. Remove from heat, then whisk in the cocoa powder, white and brown sugar. Whisk in the yogurt, vanilla, and espresso powder until well-combined. Add the flour, baking soda, and salt, stirring with a wooden spoon until just combined. You may need to use your hands to shape the mixture into a disk.
- Transfer the dough to a lightly floured work surface (I recommend doing this on parchment). Use a lightly floured rolling pin to roll the dough out to a thickness of ¼’’. Carefully cut heart shapes out of the dough and transfer them to the parchment lined baking sheet, placing them about 1’’ apart. Gather up remaining dough and roll out again, repeating this step until all of the dough has been used.
- Bake the cookies for 8-10 minutes or until almost set. Do not overbake - the cookies will continue to set as they cool. Let cookies cool slightly for about 3 minutes before transferring them to a wire rack to cool completely.
- While the cookies cool, make the frosting. In the bowl of a stand mixer, add the softened butter stick. Use the paddle attachment and mix on medium-low speed until creamy. Add the vanilla and milk, mixing on low speed until just combined. Add the powdered sugar. Mix on low speed for 1 minute to combine and then increase speed to medium-high and mix for 2 minutes until the frosting is well-combined and fluffy, scraping down the sides of the bowl as needed. You may need to add extra milk or powdered sugar to reach the desired consistency (like peanut butter).
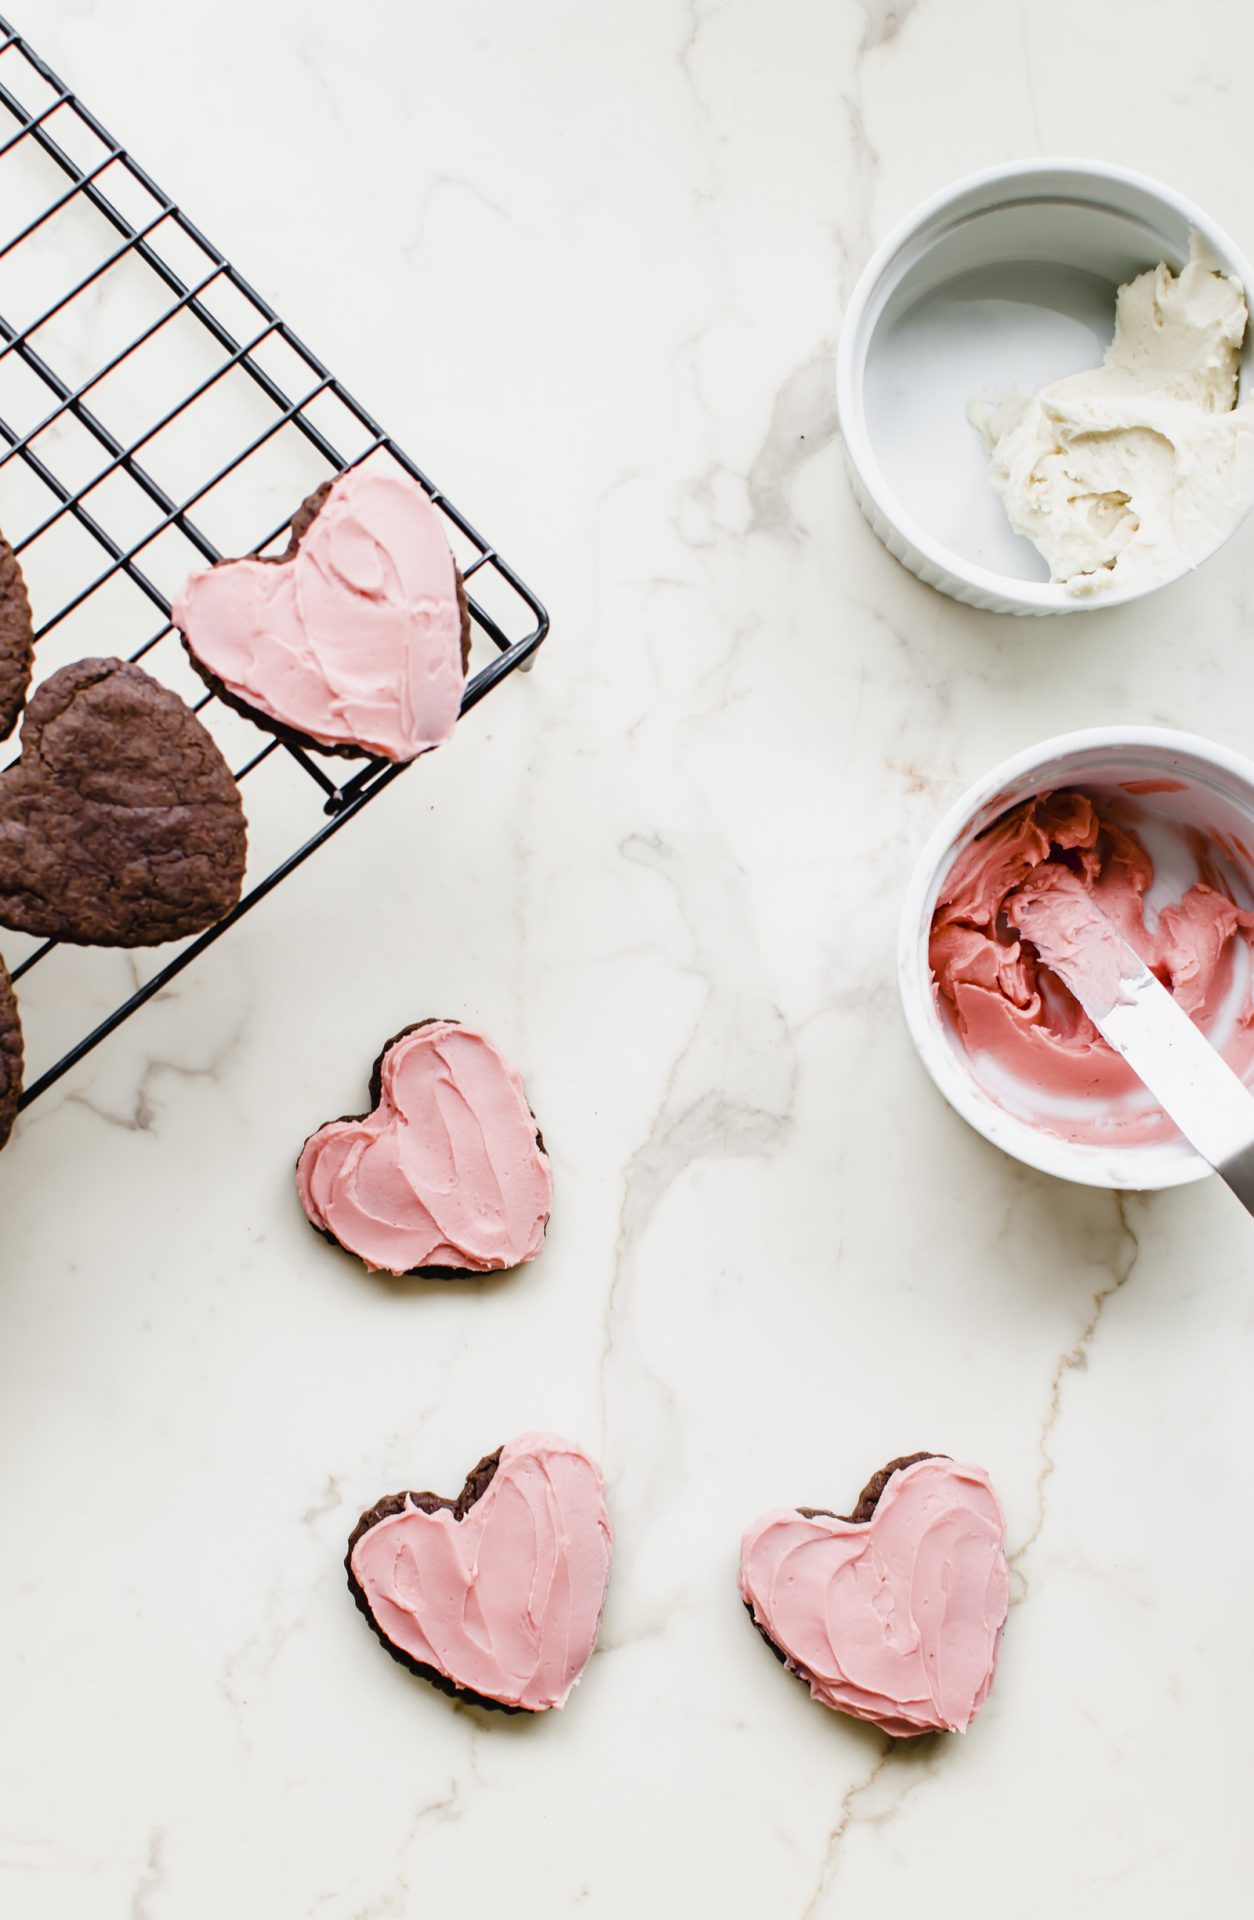
- Divide the frosting into 4 small bowls and use food coloring gel to color three of the bowls in desired shades of red, pink, purple, etc. Leave one bowl for white frosting.
- Frost the completely cooled cookies with a mini offset spatula or knife and enjoy!
- Cookies will keep in an airtight container for up to 2 days. For longer storage, refrigerate for up to 7 days or freeze for up to 6 months. Thaw frozen cookies at room temperature for 1 hour before consuming.
Video
Pin this, pretty please!