
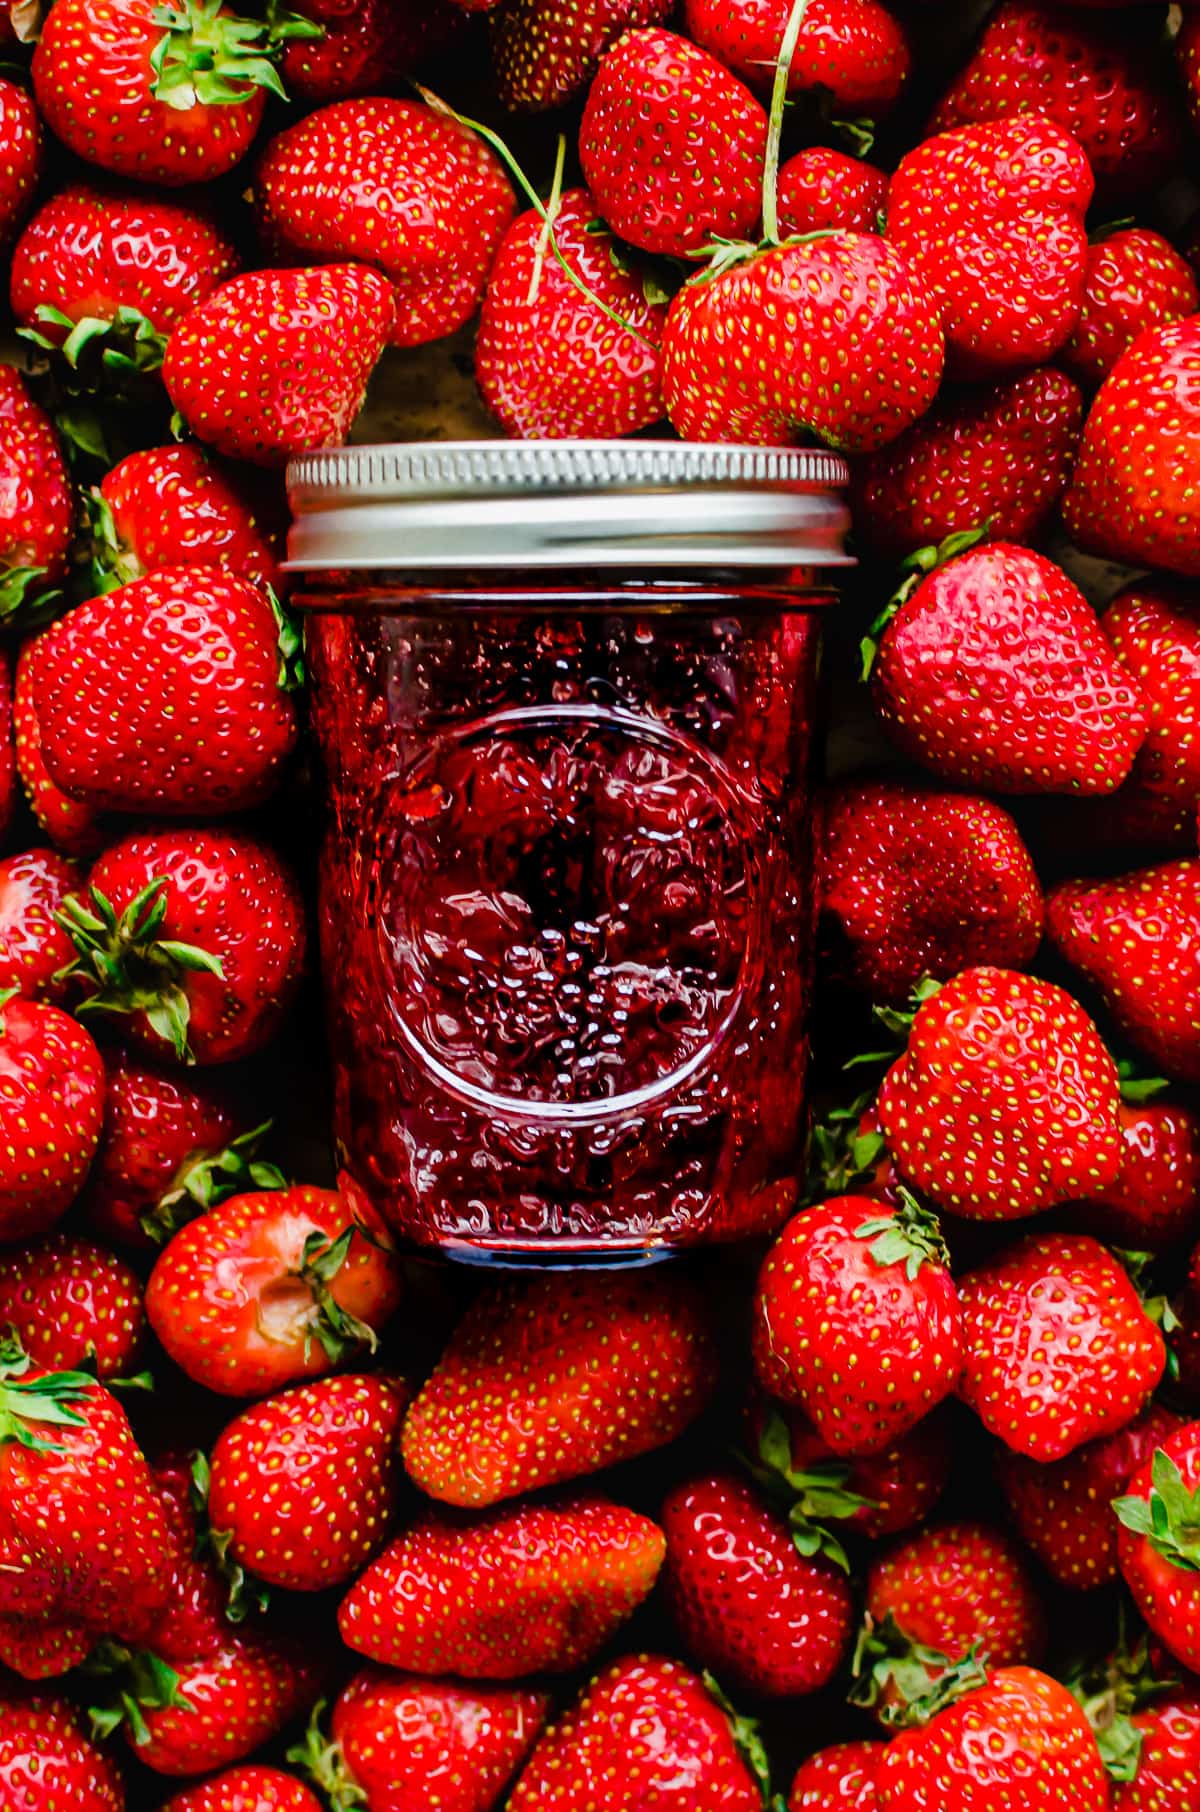
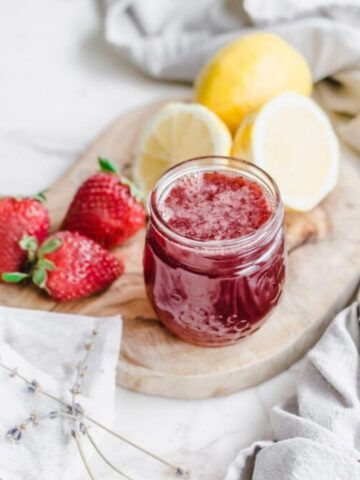
This small batch strawberry jam recipe uses the best of summer strawberries and cooks them down slowly into a fresh-tasting jammy spread. This strawberry jam recipe uses less sugar than most and is made without pectin.
Jump to:
About the recipe
Making homemade jam is one of my favorite summer past times. It's so rewarding to present jar of freshly made jam to friends and family members, or to serve the jam with hot biscuits when I have guests staying over! I think it makes them feel extra special.
While I don't claim to be an expert on canning and preserving, I'm trying to learn more about it with each passing year. One of the main things I've learned when it comes to canning at home is that jams are a great place for beginners to start!
This small batch strawberry jam is somewhere along the spectrum of a jam and a preserve, depending on how large your strawberry chunks are! The difference between strawberry jam and preserves has to do with the size of the fruit chunks and consistency.
Typically, jams are a chunky version of jelly with a looser, saucier consistency. Preserves, on the other hand, contain whole pieces of fruit and are the least gel-like. Jellies tend to require the most sugar, while the sugar content of jams and preserves can vary depending on how thick of a syrup you want the fruit to be suspended in.
My favorite types of fruit jam to make at home are ones that use less sugar than most recipes. I think the lower sugar jams taste fresher and let the flavor of peak-season fruit really shine through.
Are you ready to make some strawberry jam? Let's do it!
Video
Ingredients
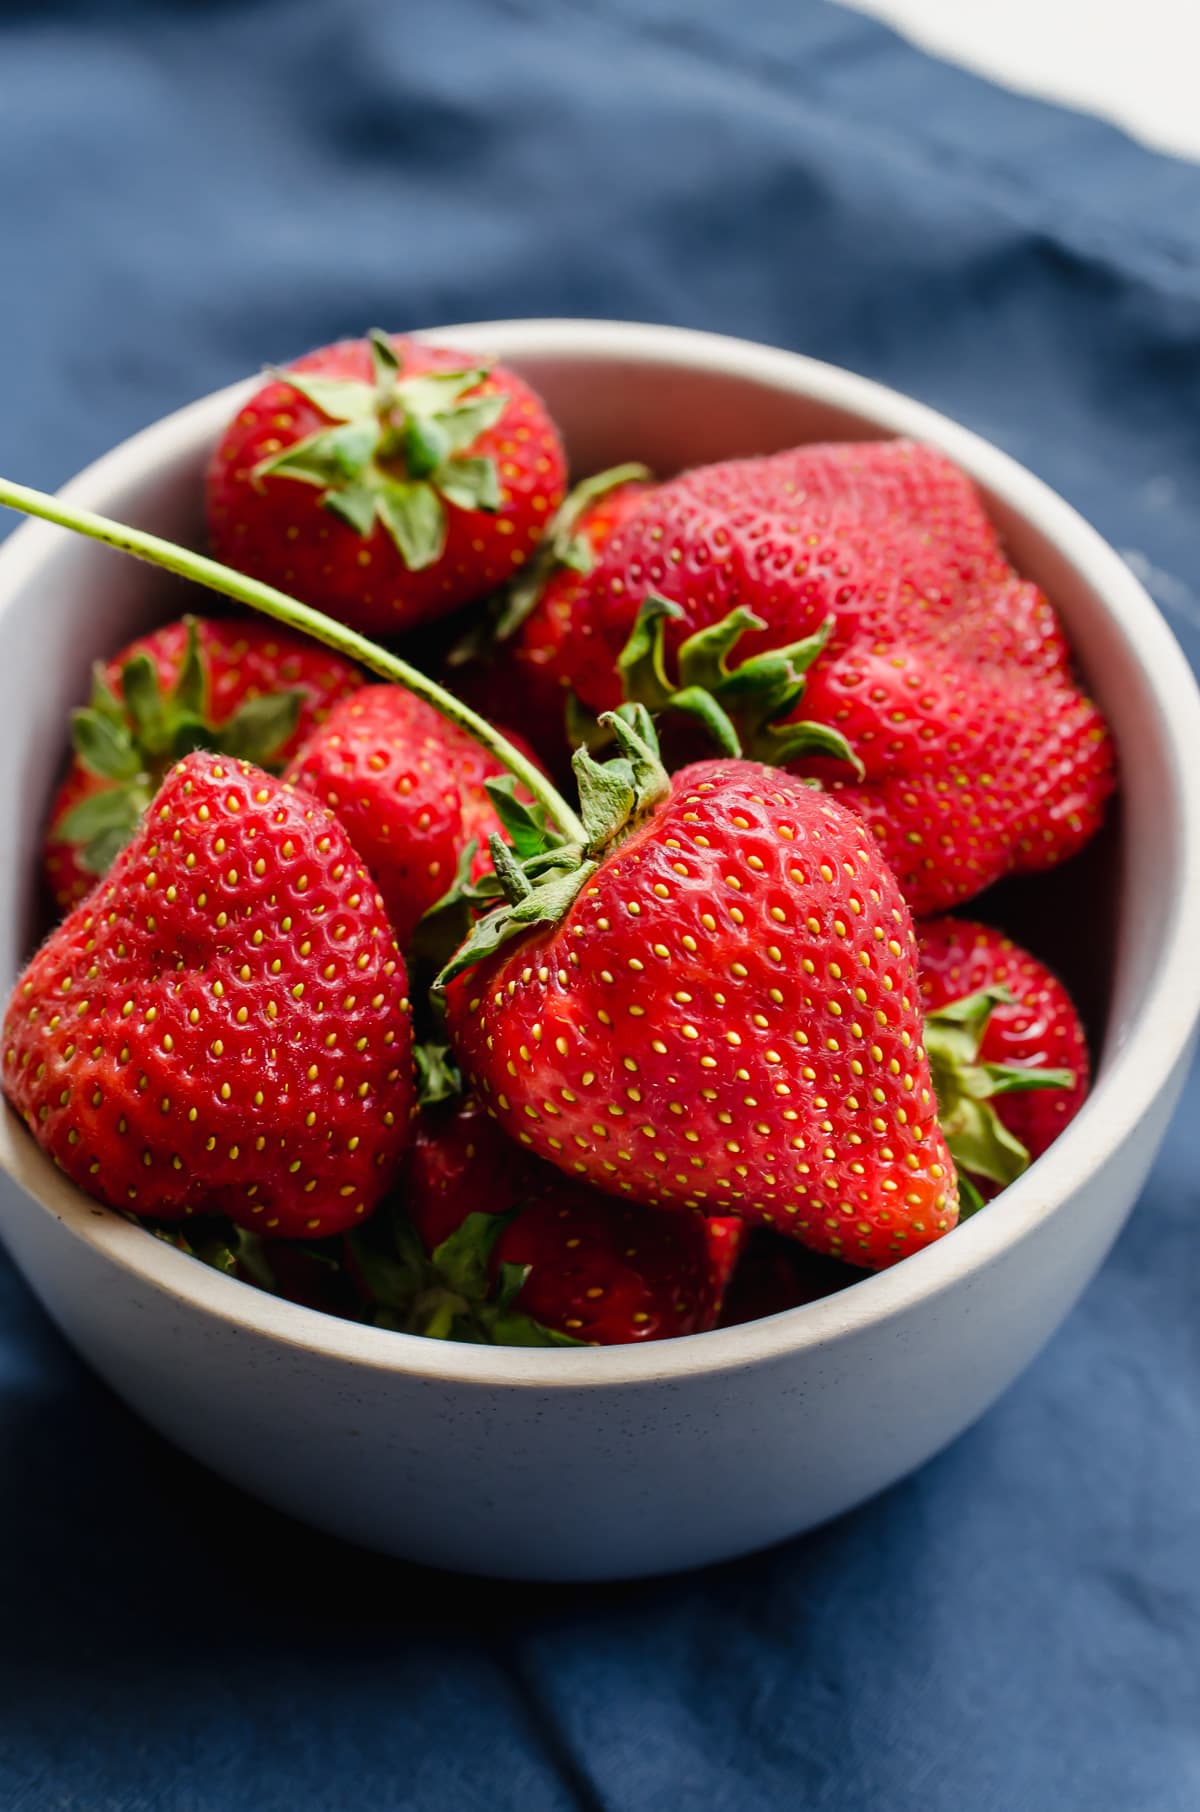
- Fresh Strawberries - the fresher, riper, and jucier your strawberries are, the better your jam will taste! Choose strawberries that are a deep red in color without any white or yellow parts. The more fragrant the strawberries smell, the riper and sweeter they likely will be.
- Granulated Sugar - sugar is necessary to enhance the flavor of the fruit and give the jam a thicker consistency. It also acts as a preservative. Without enough sugar, the jam will not gel properly.
- Granny Smith Apple - making jam from scratch at home does not require a pressure canner, pH tester, or special ingredients like pectin. It's easy to make a fresh-tasting jam with natural pectin from fruit.
The source of natural pectin that I use in homemade jams is grated Granny Smith apple. It adds a nice brightness to the finished jam but you won't be able to detect the apple flavor.
- Lemon Juice - it's necessary to add an acid like lemon juice to strawberry jam to lower the pH of the final product. This can extend the shelf life of the jam and keep it from spoiling. The acid also one of a few factors that help the pectin set.
Canning experts recommend using bottled lemon juice when making jam because the acid content of fresh lemons can vary. Bottled lemon juice has a standard acidity and is more consistent for canning purposes.
While you can use vinegar in place of bottled lemon juice, the lemon juice has a more neutral flavor that better complements the fruit. Lemon juice is also more acidic than most vinegar, so you cannot do a one for one substitution.
Instructions
Making strawberry jam from scratch could not be easier, as you will learn! It's fun, satisfying, and a great project to work on during a day at home when you have a little extra time in the kitchen.
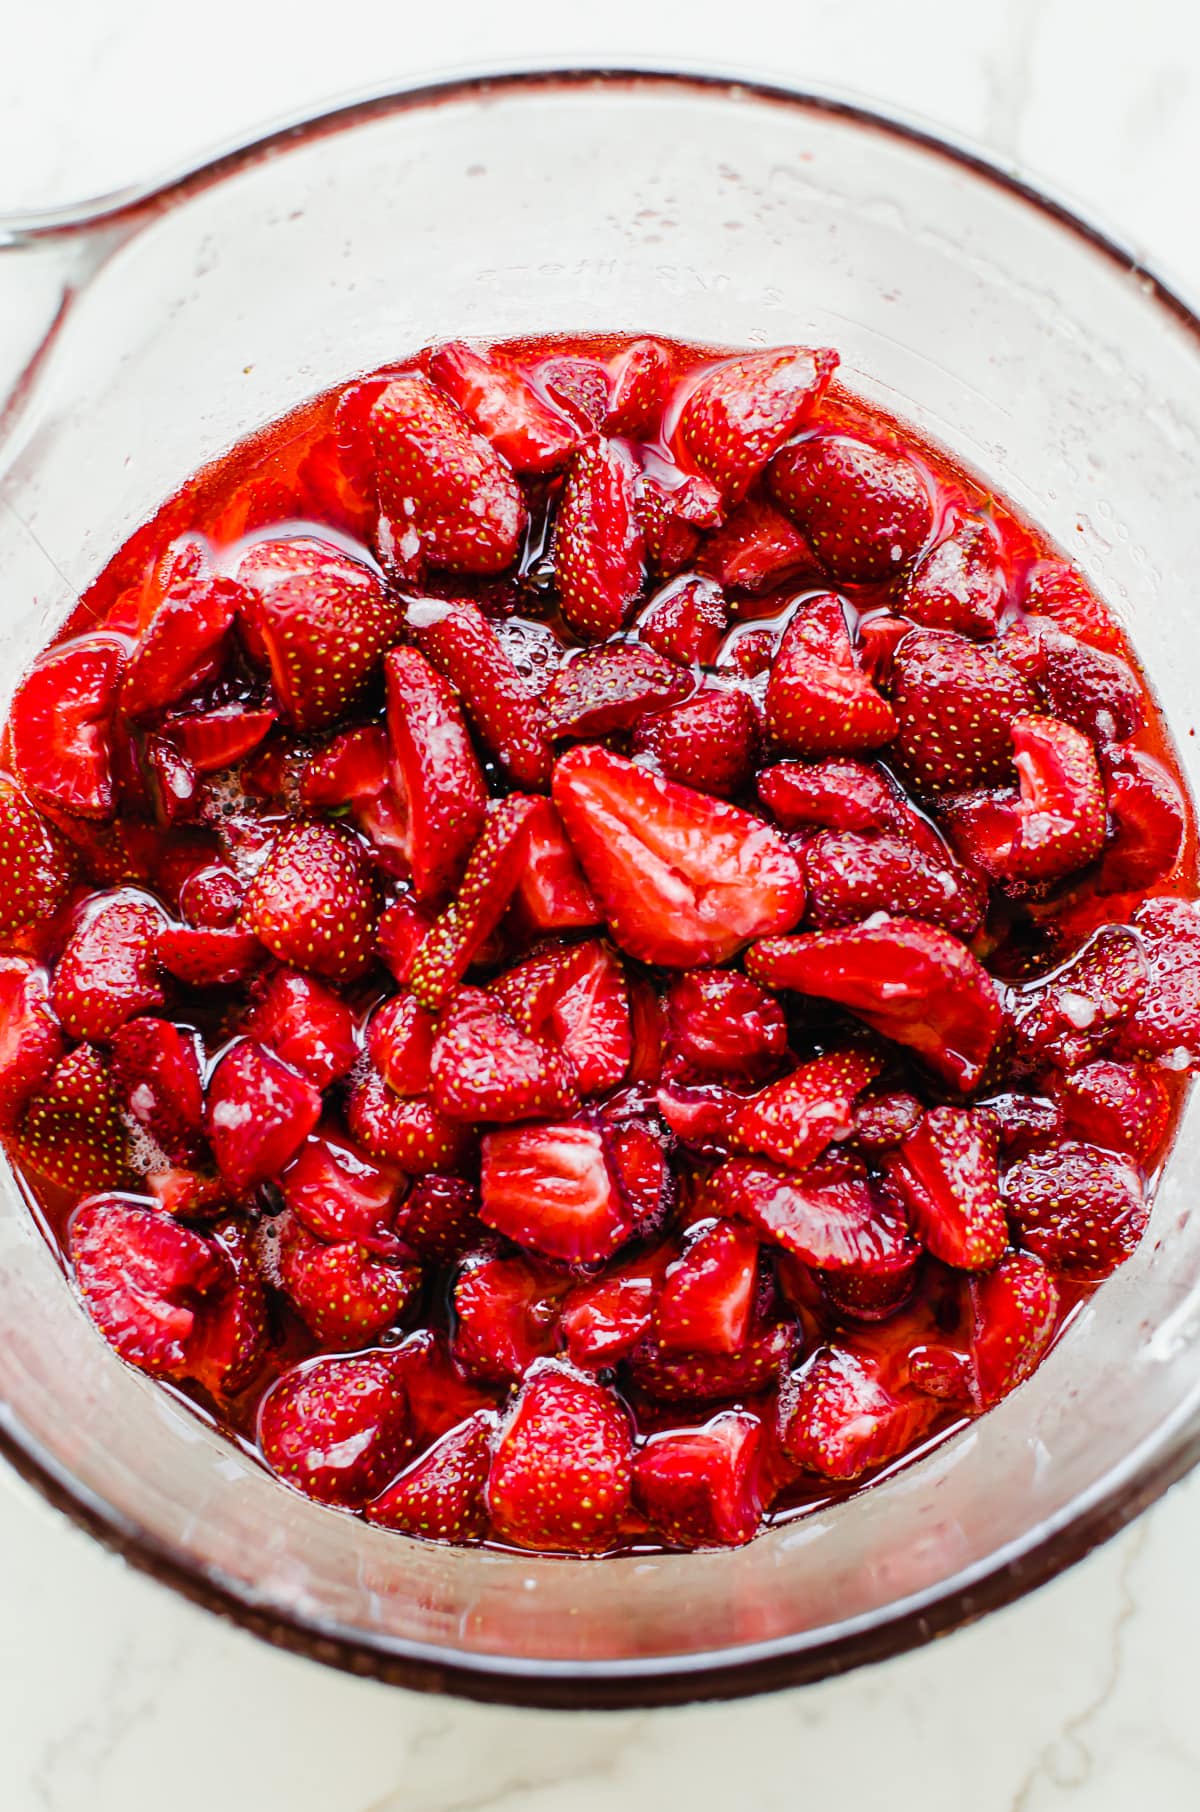
Step 1: let your strawberries marinate in sugar overnight, for 8-12 hours. This helps flavor them and also keeps the berry pieces slightly plump throughout the cooking process.
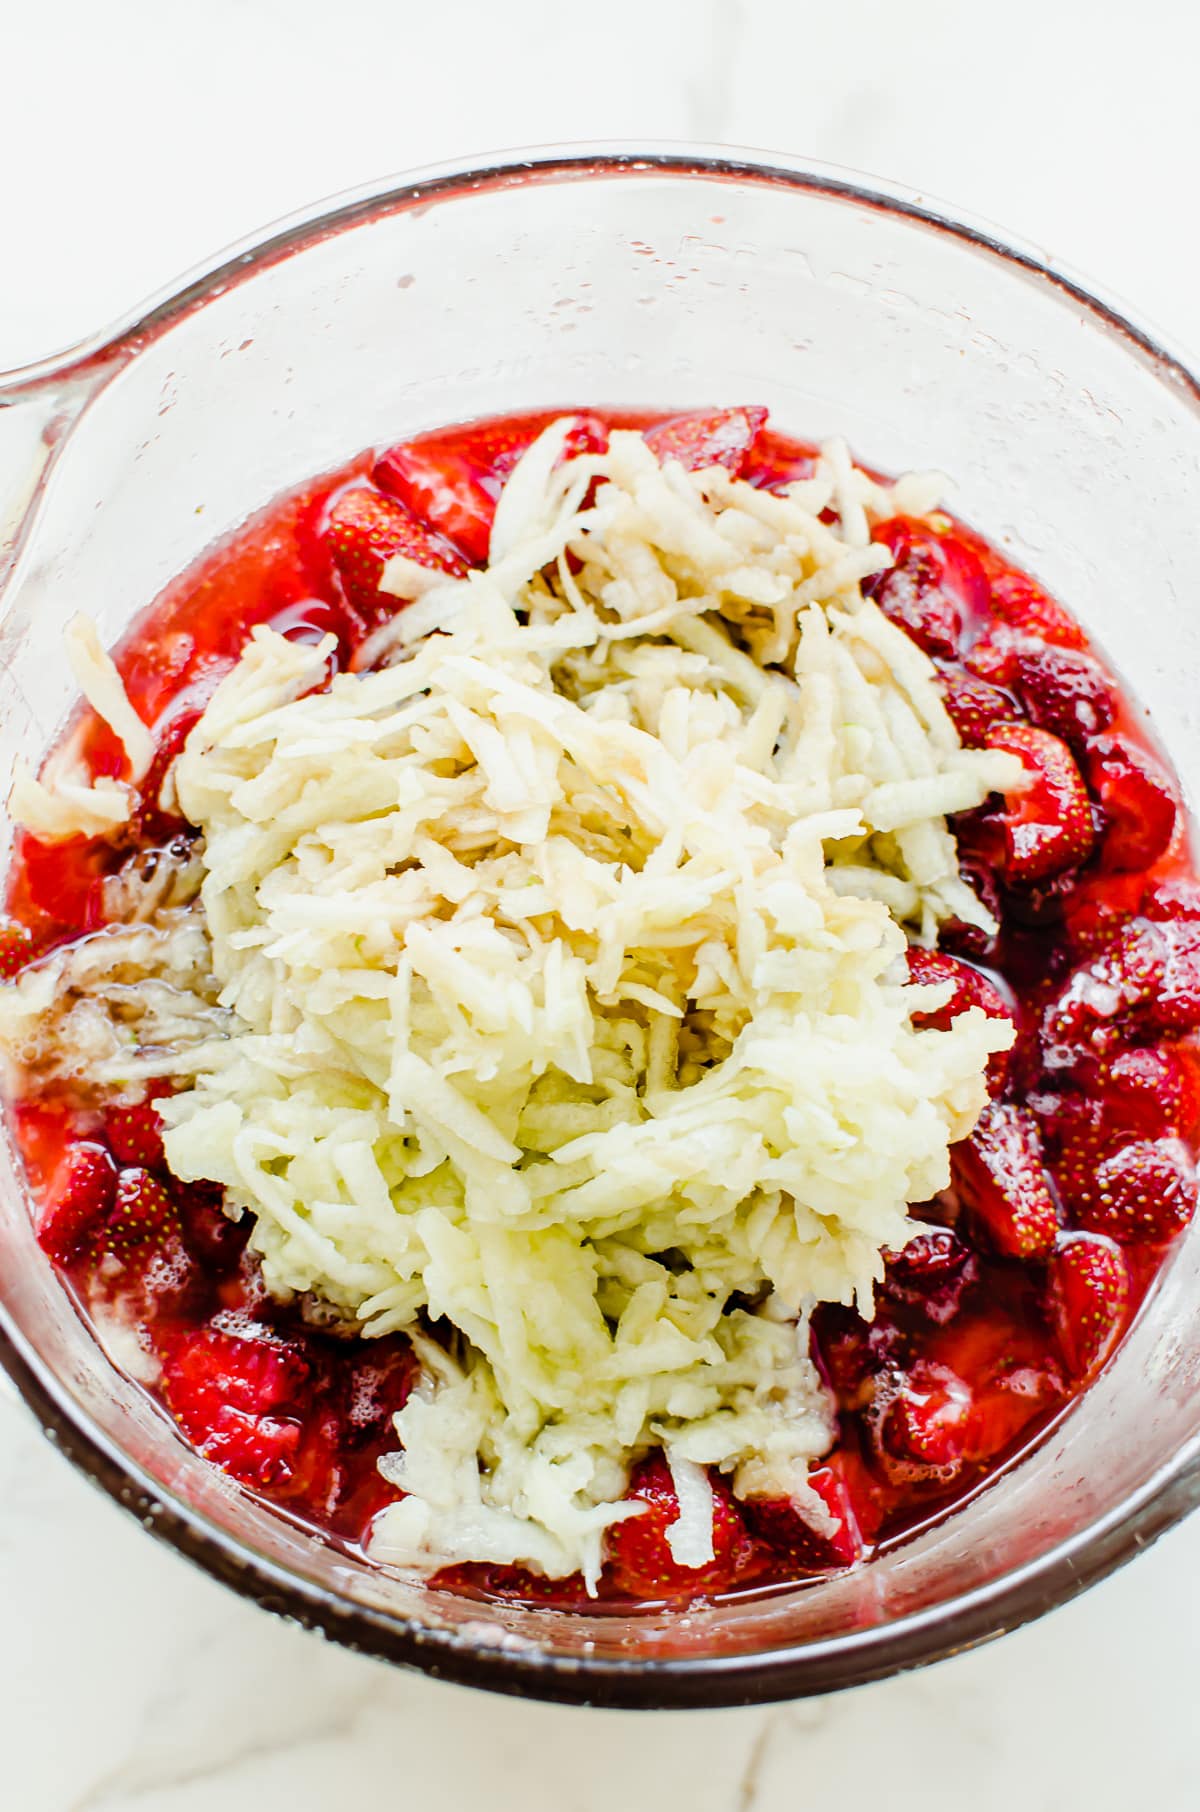
Step 2: add the lemon juice and grated apple, then transfer the mixture to a heavy-bottomed pot with a wide opening, like a Dutch oven.
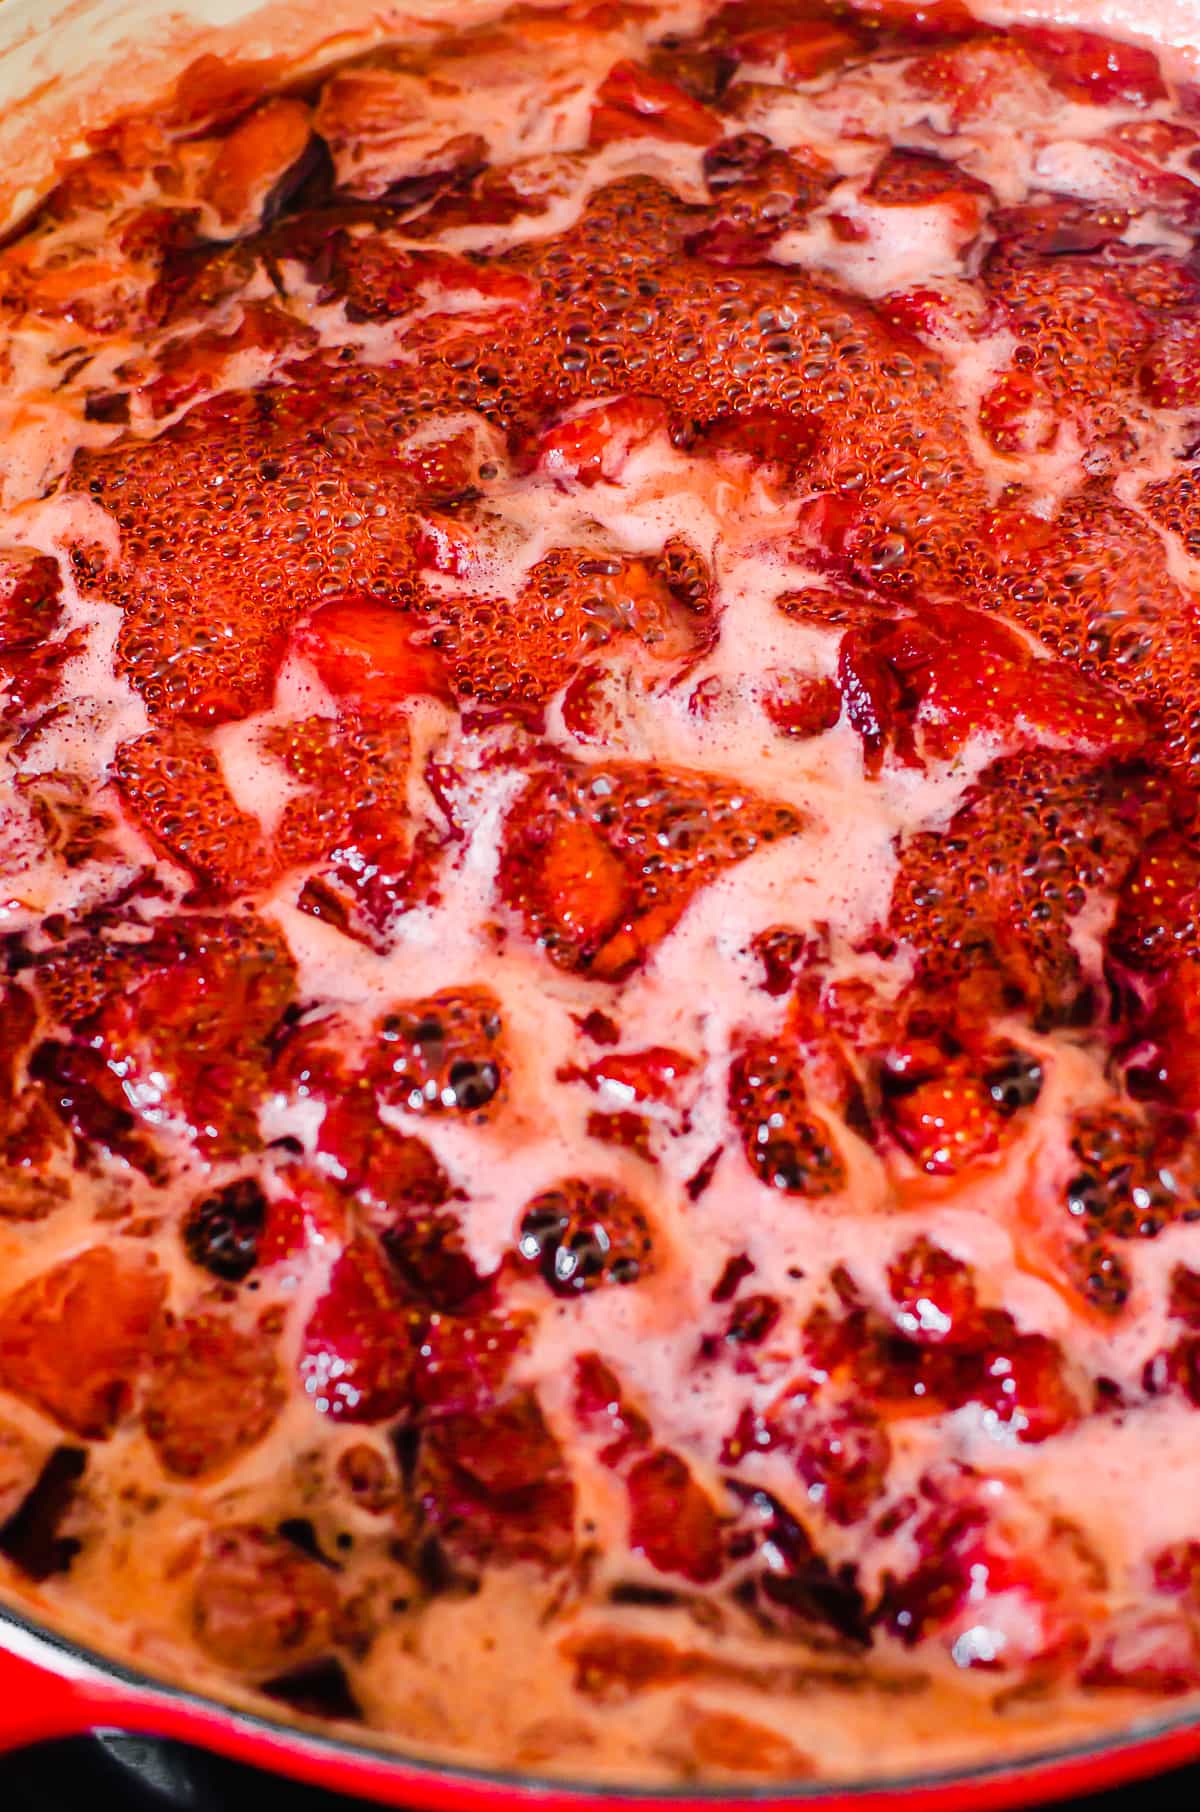
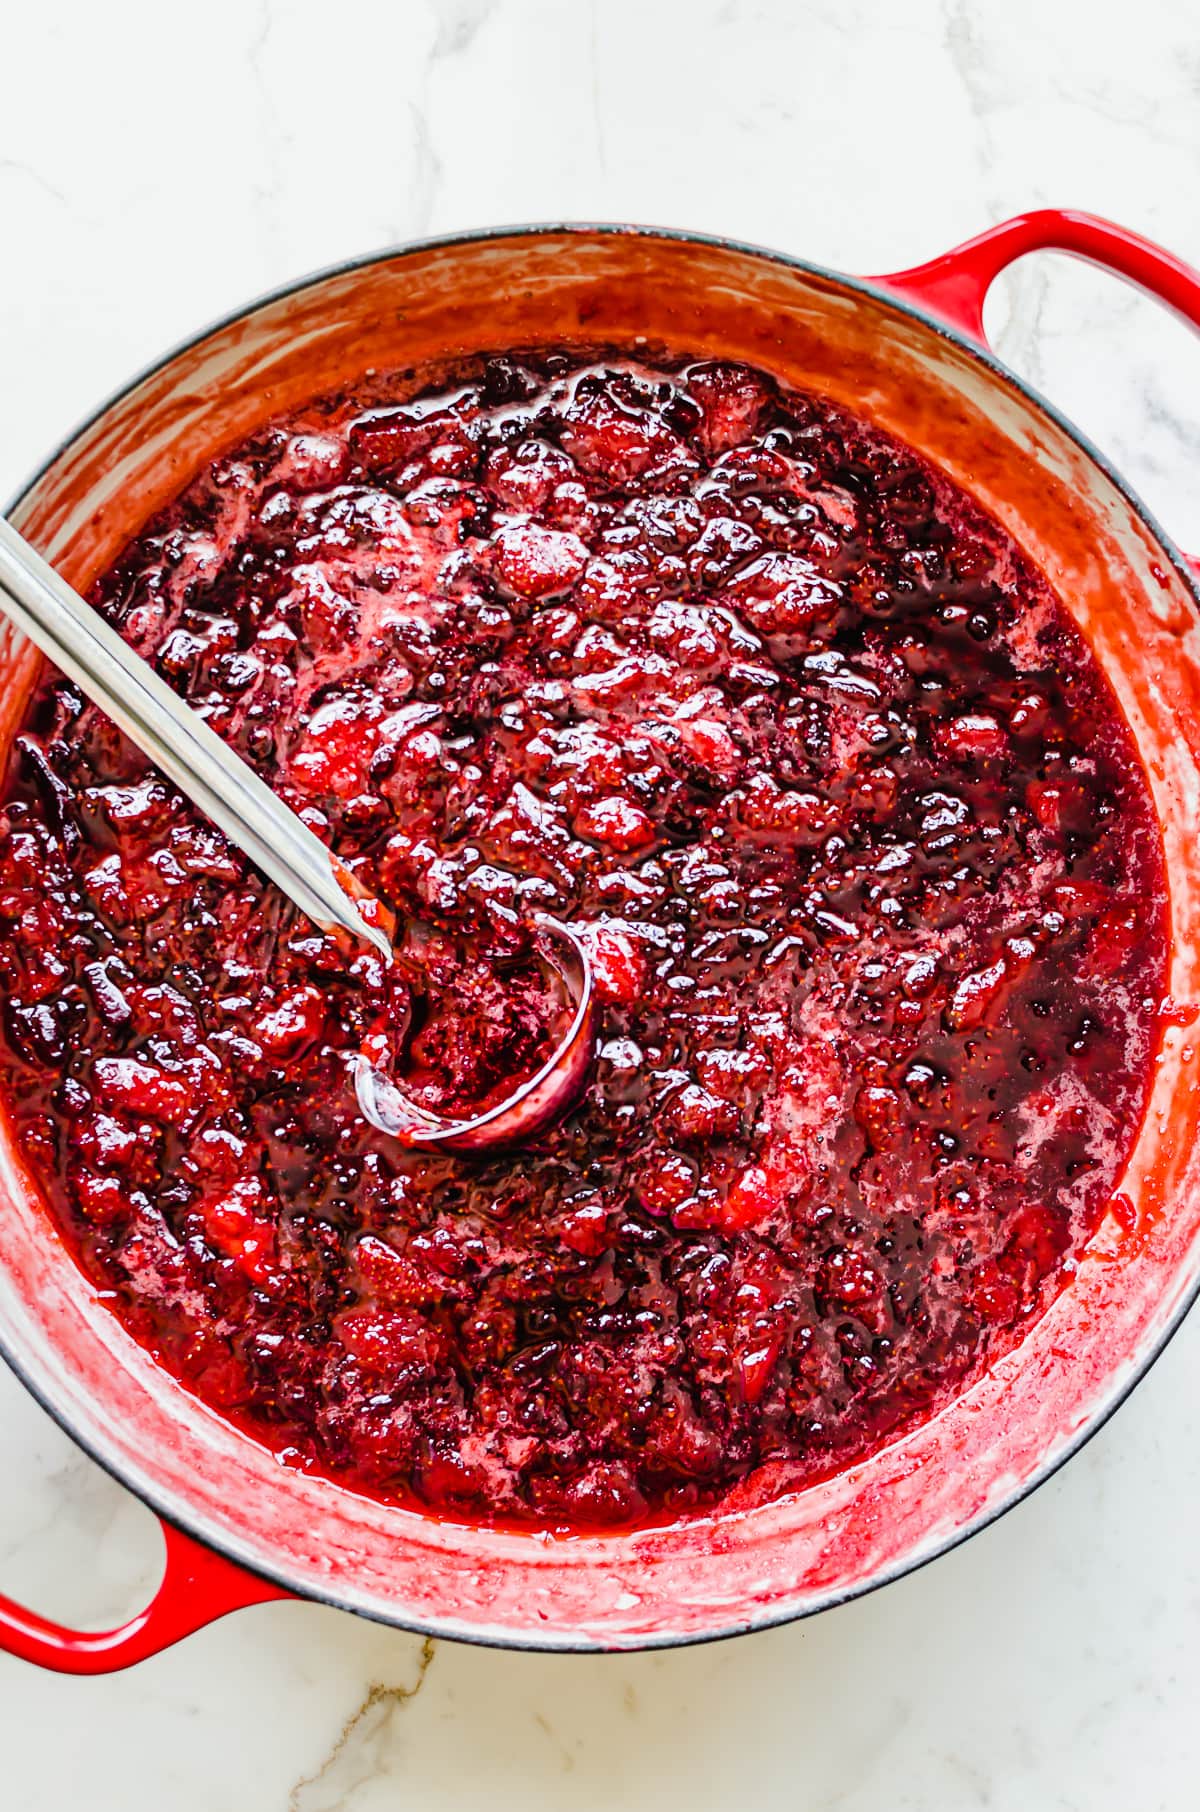
Step 3: simmer the berry mixture over medium heat for 20-30 minutes until it is thick and jam-like, or an internal temperature of 220°F. You'll want to skim off any foam that rises to the top.
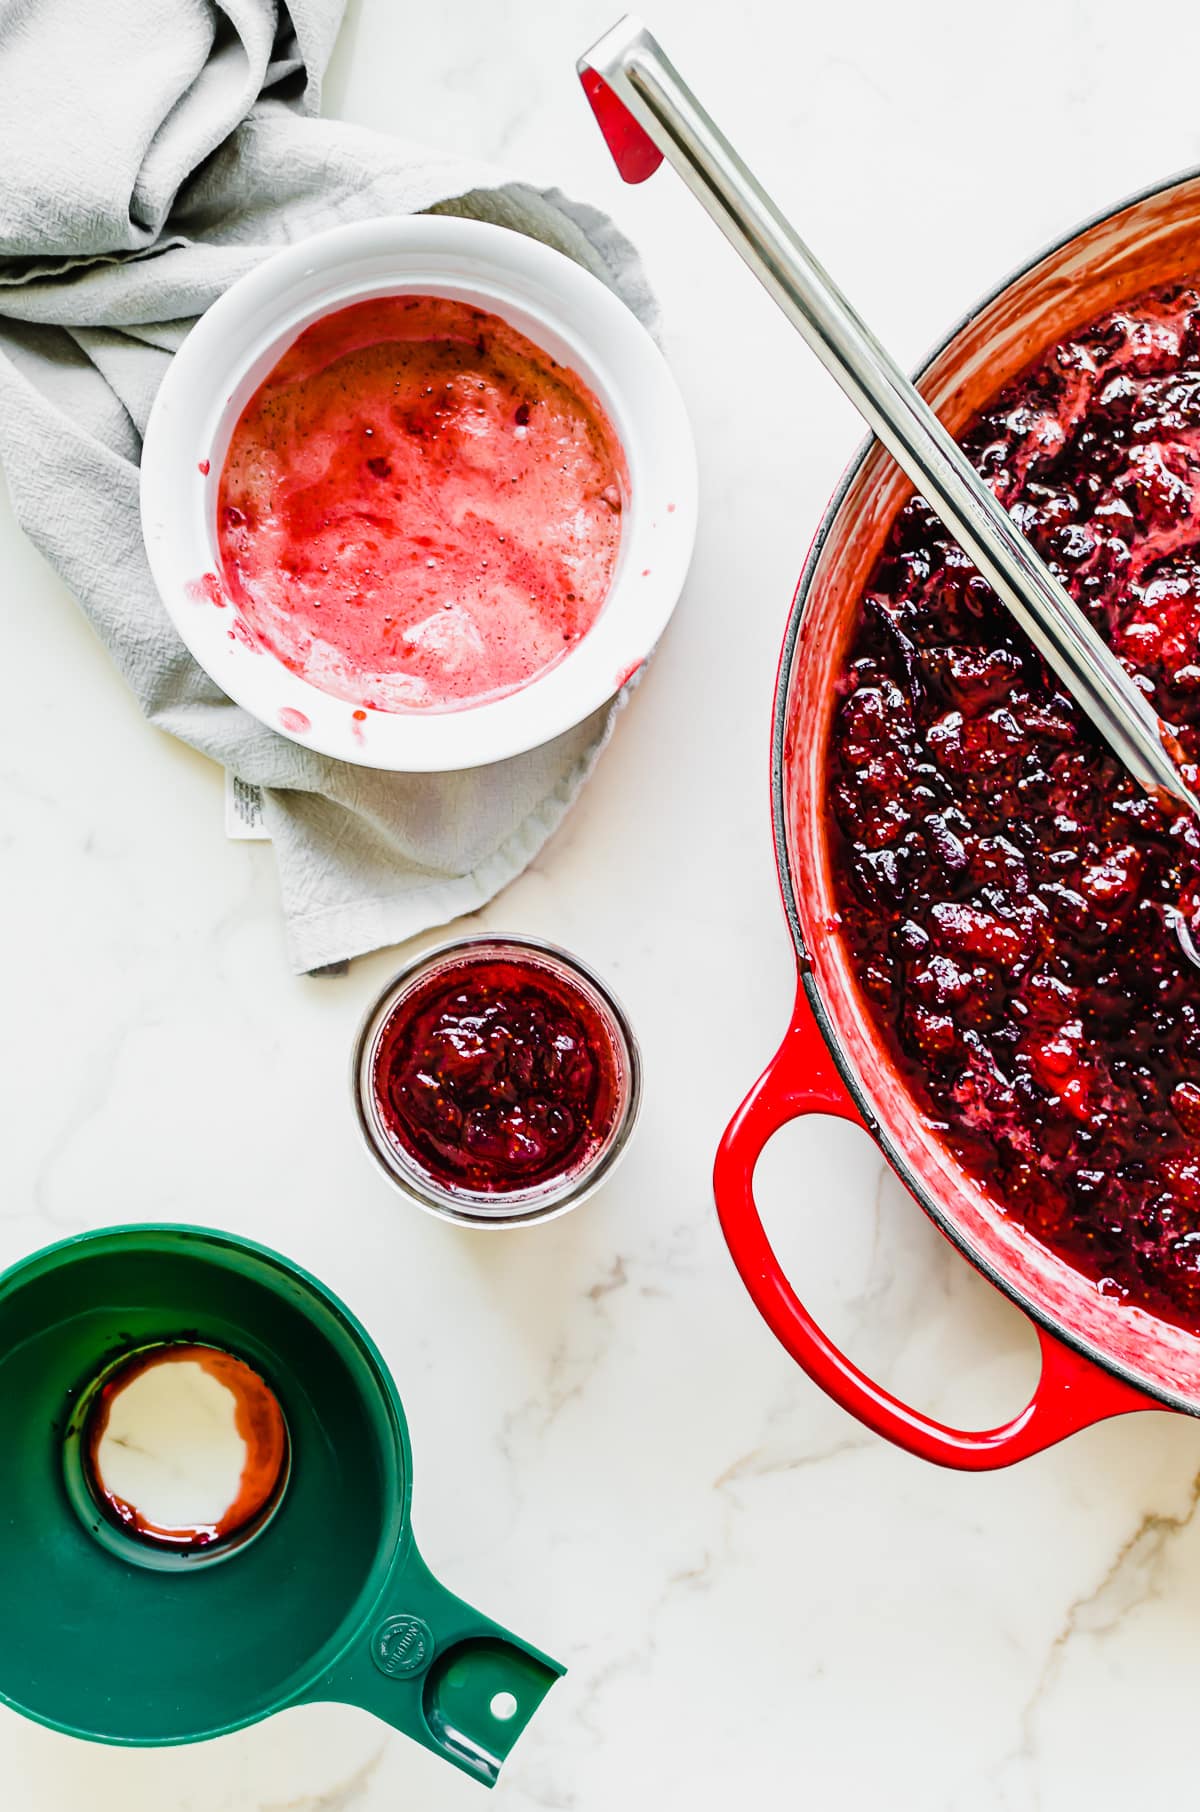
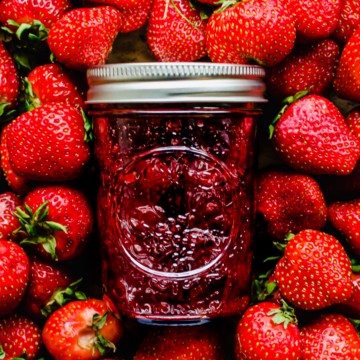
Step 4: ladle your jam into jars, place lids and rings on top, then process the jam in a boiling water bath for 5 minutes. Wipe the jars dry and let them rest for 24 hours. That's it!
Top tips
Why it's necessary to make jam in small batches - the less amount of berries you have in a pot, the quicker they will cook down and get thick. And the shorter the cooking time, the better the flavor of your jam. Overcooking of jam causes the fruit to taste dull and even somewhat caramelized instead of fresh and clean.
Substituting other sweeteners for sugar in jam - substituting honey, maple syrup, molasses, raw sugar, or brown sugar in homemade jam introduces different weights by volume, water content, and levels of acidity. The only way to know if a substitute will work is to tinker around with the recipe. I recommend consulting this guide on sugar substitutions from pickyourown.org.
How to choose the right pot for making jam - you want a heavy-bottomed pot with a wide opening so that the water from the fruit evaporates quickly and the mixture thickens. A good rule of thumb is to choose a pot where the fruit will not come up more than halfway up the sides.
My favorite pots to use for making jams are my 5-quart Le Creuset Dutch Oven and my red 5-quart Le Creuset braiser because of the wide mouth.
How to tell if a jam is done - the wrinkle test is a popular way to know if a jam is done, as well as checking for an internal temperature of 220°F. To perform the wrinkle test, place a plate in the freezer when you start cooking your jam.
Once you are ready to test, out a spoonful of the jam mixture on the frozen plate and put it back in the freezer for 5 minutes. If the surface of the jam wrinkles when you nudge it with a finger and the jam holds its shape, it is done. If it's still runny, keep simmering the jam and perform a new test every 5 minutes.
How to store homemade jams - as long as the jar properly seals with a round indentation in the canning lid, your jam should last up to 1 year when stored in a cool, dark place. Jam that has spoiled will have a fermented, sour smell and may have bubbles at the top.
If the lid does not seal within 24 hours, you should immediately refrigerate your jam. Refrigerator jam should last several months, but 3 months is what I go with after labeling and dating the jar.
Canning tools that I love - the process of canning can be much easier if you have the right tools! A variety of sizes of canning jars is great for gift-giving, and I absolutely love this canning set that I use ALL the time!
More jam and strawberry recipes
- Old-Fashioned Peach Jam
- Easy Apricot Jam
- Fresh Strawberry Balsamic Pie
- Strawberry Buttermilk Cake
- Strawberry Pretzel Chicken Wraps
Are you ready to make this small batch strawberry jam recipe? I’m so excited for you to try this recipe. Once you get the chance to make it, please let me know how it turns out for you!
Leave a comment and rate the recipe below. This will help me with the creation of future recipes!
I’d also love to feature your creation in my monthly newsletter, so you can upload a photo to Instagram or Twitter with the tag @sweetcayenne5 to be featured!
Similar recipes to enjoy:
Recipe
Small Batch Strawberry Jam
Ingredients
- 2 pounds strawberries, hulled and quartered into similar-size pieces
- 1 ½ cups granulated sugar
- 2 tablespoons bottled lemon juice
- 1 medium granny smith apple, peeled and grated (about 1 cup)
Instructions
The night before:
- Combine strawberries and sugar in a large bowl. Cover and refrigerate overnight and up to 12 hours.
Preparing for Canning
- Sterilize canning jars by placing them in a boiling water bath (I do this in my canning pot) for ten minutes. Keep them warm in the water until ready to use. Place the lids in a heatproof bowl and ladle a few spoonfuls of boiling water on top. Keep them warm in the bowl until ready to use. For more information on hot water bath canning, see this article.
- Place a small plate in the freezer and chill for later.
Making the jam:
- Remove the strawberries from the fridge. Stir in the lemon juice and grated apple. Transfer the mixture to a 5-quart Dutch oven or braiser, or a heavy-bottomed, wide-mouth pot.
- Bring the mixture to a simmer and cook, stirring frequently, until berries are very tender and the mixture is thick and jammy. To test for doneness, place a small dab of the mixture on the plate from the freezer. Freeze for a minute, and then test with your finger. The mixture should be somewhat firm and will not slide across the plate when tilted (however, it will not gel). Continue cooking the jam and doing the plate test until the jam reaches the desired consistency. Another indicator of doneness is the simmering mixture reaching 220°F.
Preserving the Jam
- Using a jar lifter, carefully remove the jars from the hot water canning bath and place them upright on a towel. Remove the lids from the bowl of water and pat them dry.
- Ladle the hot jam into the sterilized jars, leaving ¼ inch of headspace at the top. Remove air bubbles with an offset spatula as needed. Use a damp paper towel or cloth to wipe the rims of the jars clean. Place the lid on top, followed by the jar ring, and adjust the ring until it is finger-tight (do not force it).
- Return the jars to the water bath, being sure that each is covered by at least 1 inch of water. Bring the water to a boil and boil for 5 minutes. Use the jar lifter to carefully remove the jars from the water and transfer them to a towel. Do not disturb the jars for 12 hours.
- After one hour of resting, make sure the jar lids have sealed by pressing down on the center of the lid. If the center can be pressed down, the lid has not sealed and the contents of the jar should be refrigerated immediately for use within 1-2 weeks.
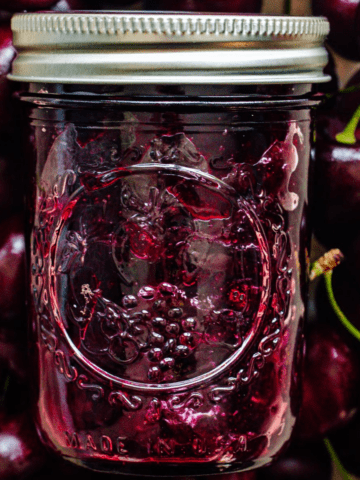
- Label the sealed jars and store in a dark, cool, dry place for up to 1 year.
Jodie says
I LOVE this recipe! It’s so easy and it’s the one I use to make all of my jams….mulberry, peach, passionfruit, fig, apricot…it works for any type of fruit 😊
Whitney Reist says
That's great to know, Jodie! I will have to try it on figs this year as I have a tree in my backyard!