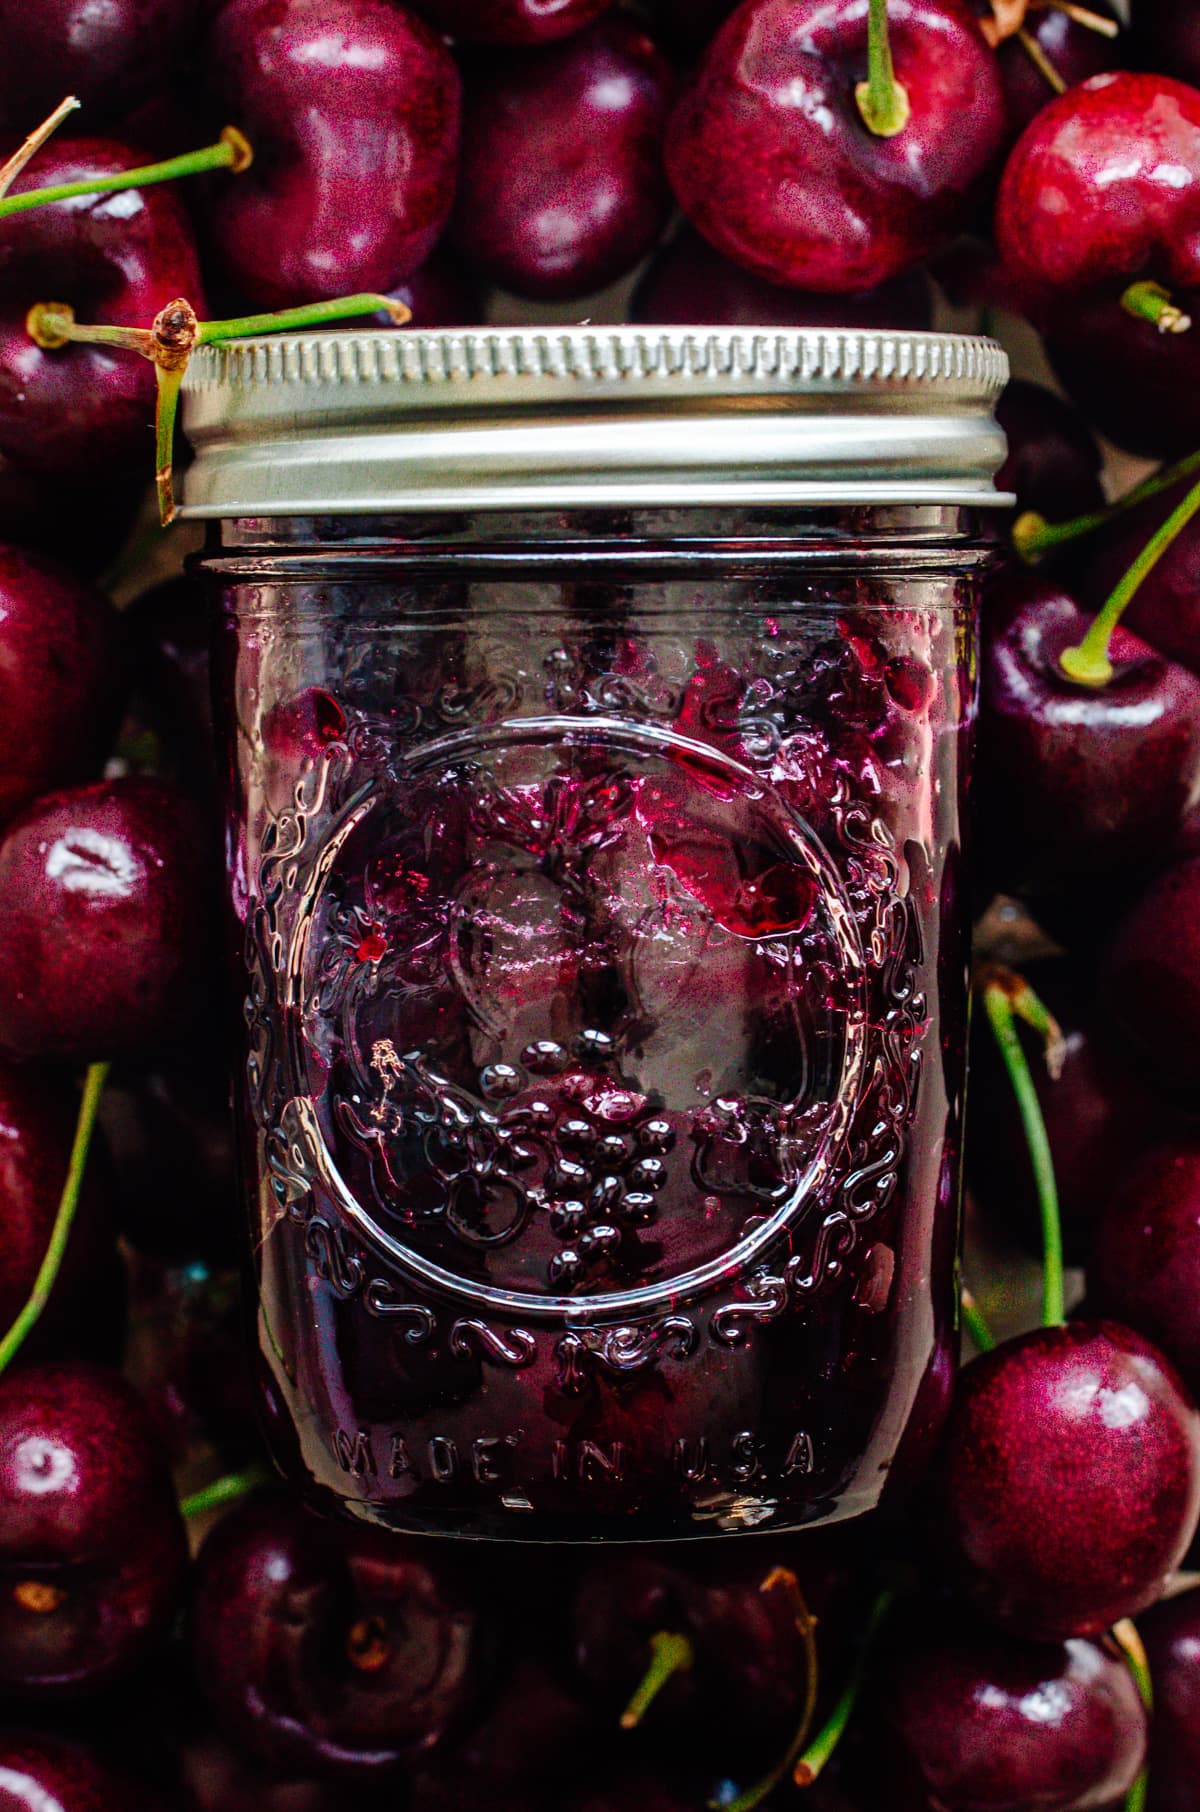
This small-batch sweet cherry jam recipe uses dark Northwest cherries to make a flavorful lower sugar jam without using pectin. It's an easy and simple recipe for beginner jam makers!
About the recipe
I'm on a quest this summer to make as much jam as possible. There's just something about making homemade jam with peak-season fruit that I cannot resist!
We have one week of July left, and so far this summer, I've made two batches of strawberry jam, a batch of apricot jam, two batches of peach jam, and now a batch of cherry. My jam shelf in the pantry is so happy!
The newest addition to my jam collection is this small batch sweet cherry jam. I made it with dark sweet cherries provided by my friends at the Northwest Cherry Growers in Washington State. I love that I can buy their cherries at my local grocery store in TN from June through mid-August.
The dark cherry varieties like Benton, Bing, and Lapins are my favorite for tossing in salads, making cherry desserts like these Cherry Cola Cupcakes, and enjoying straight out of the bag!
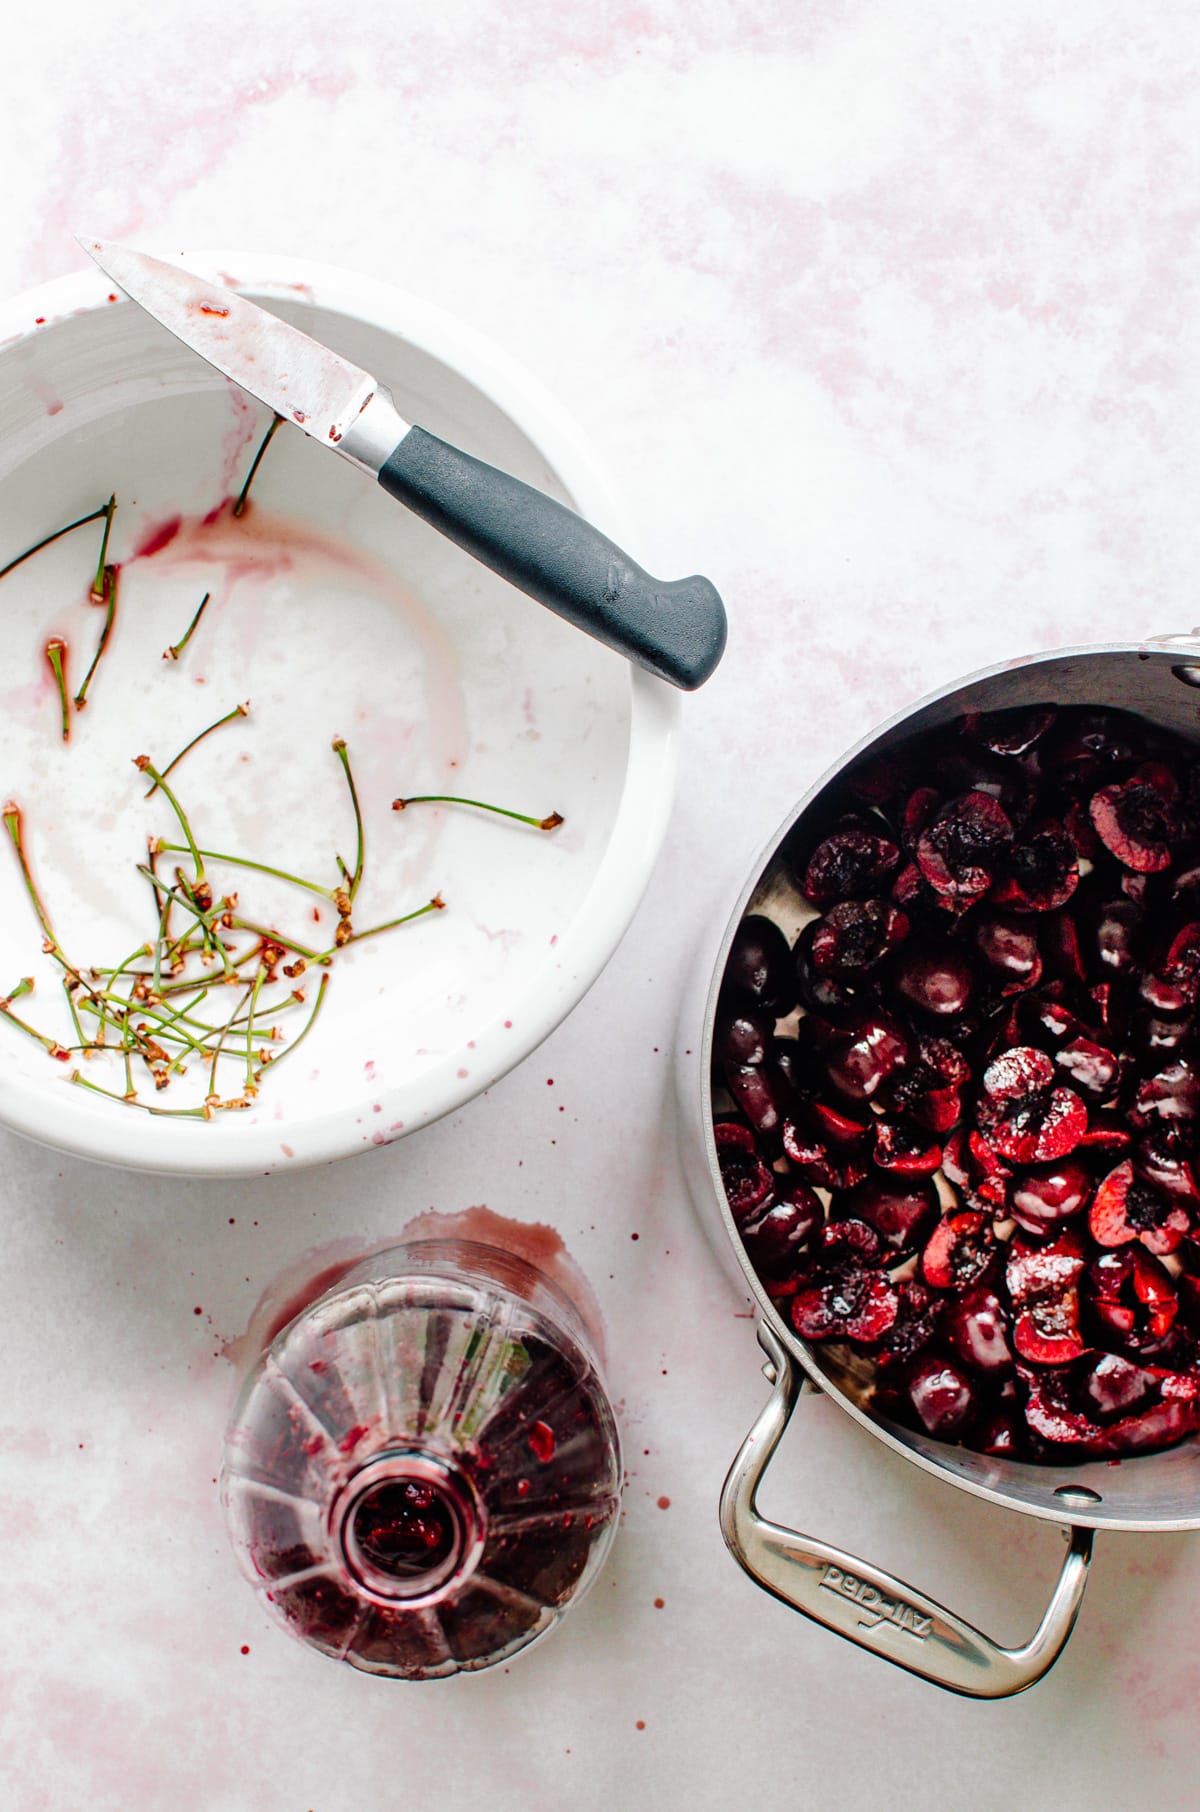
Making homemade cherry jam is much easier than you might think. You don't even need a cherry pitter! Read on for my best tips and tricks for preserving cherries in a sweet spread that you can enjoy all year long.
Equipment
To make canning fun, streamlined, and easy, you need the right tools! Below is a list of the tool I use for canning:
- Canning For A New Generation - I use this cookbook as a basic guide on canning and for recipe inspiration.
- Dutch oven - a heavy, wide-bottomed pot is necessary for reducing jam properly, and my enameled cast iron 5-quart Dutch oven is my favorite for canning.
- Instant read thermometer - you will need to test the final temperature of the jam.
- Ladle - this is the best way to get the jam through the funnel and into the jar.
- Canning pot with rack insert - you can use any large stainless steel stockpot, and then get a wire rack insert to hold the jars
- Canning Jars - I like to have a variety of 4 ounce, 8 ounce, and 16 ounce jars for jams and other preserves.
- Canning set - a kit like this one has all that you need to fill and lift the jars.
Ingredients
- Dark sweet cherries - the Benton, Bing, and Lapins varieties will all work for this recipe. This jam recipe was not tested for tart cherries or Ranier cherries.
- Granny Smith apple - cherries are very low in pectin, so using grated Granny Smith apple in the jam will help to thicken it naturally, as well as balance the flavor.
- Lemon juice - to balance the flavor and add a note of brightness to the jam.
- Granulated white sugar - to thicken the jam and add flavor.
Instructions
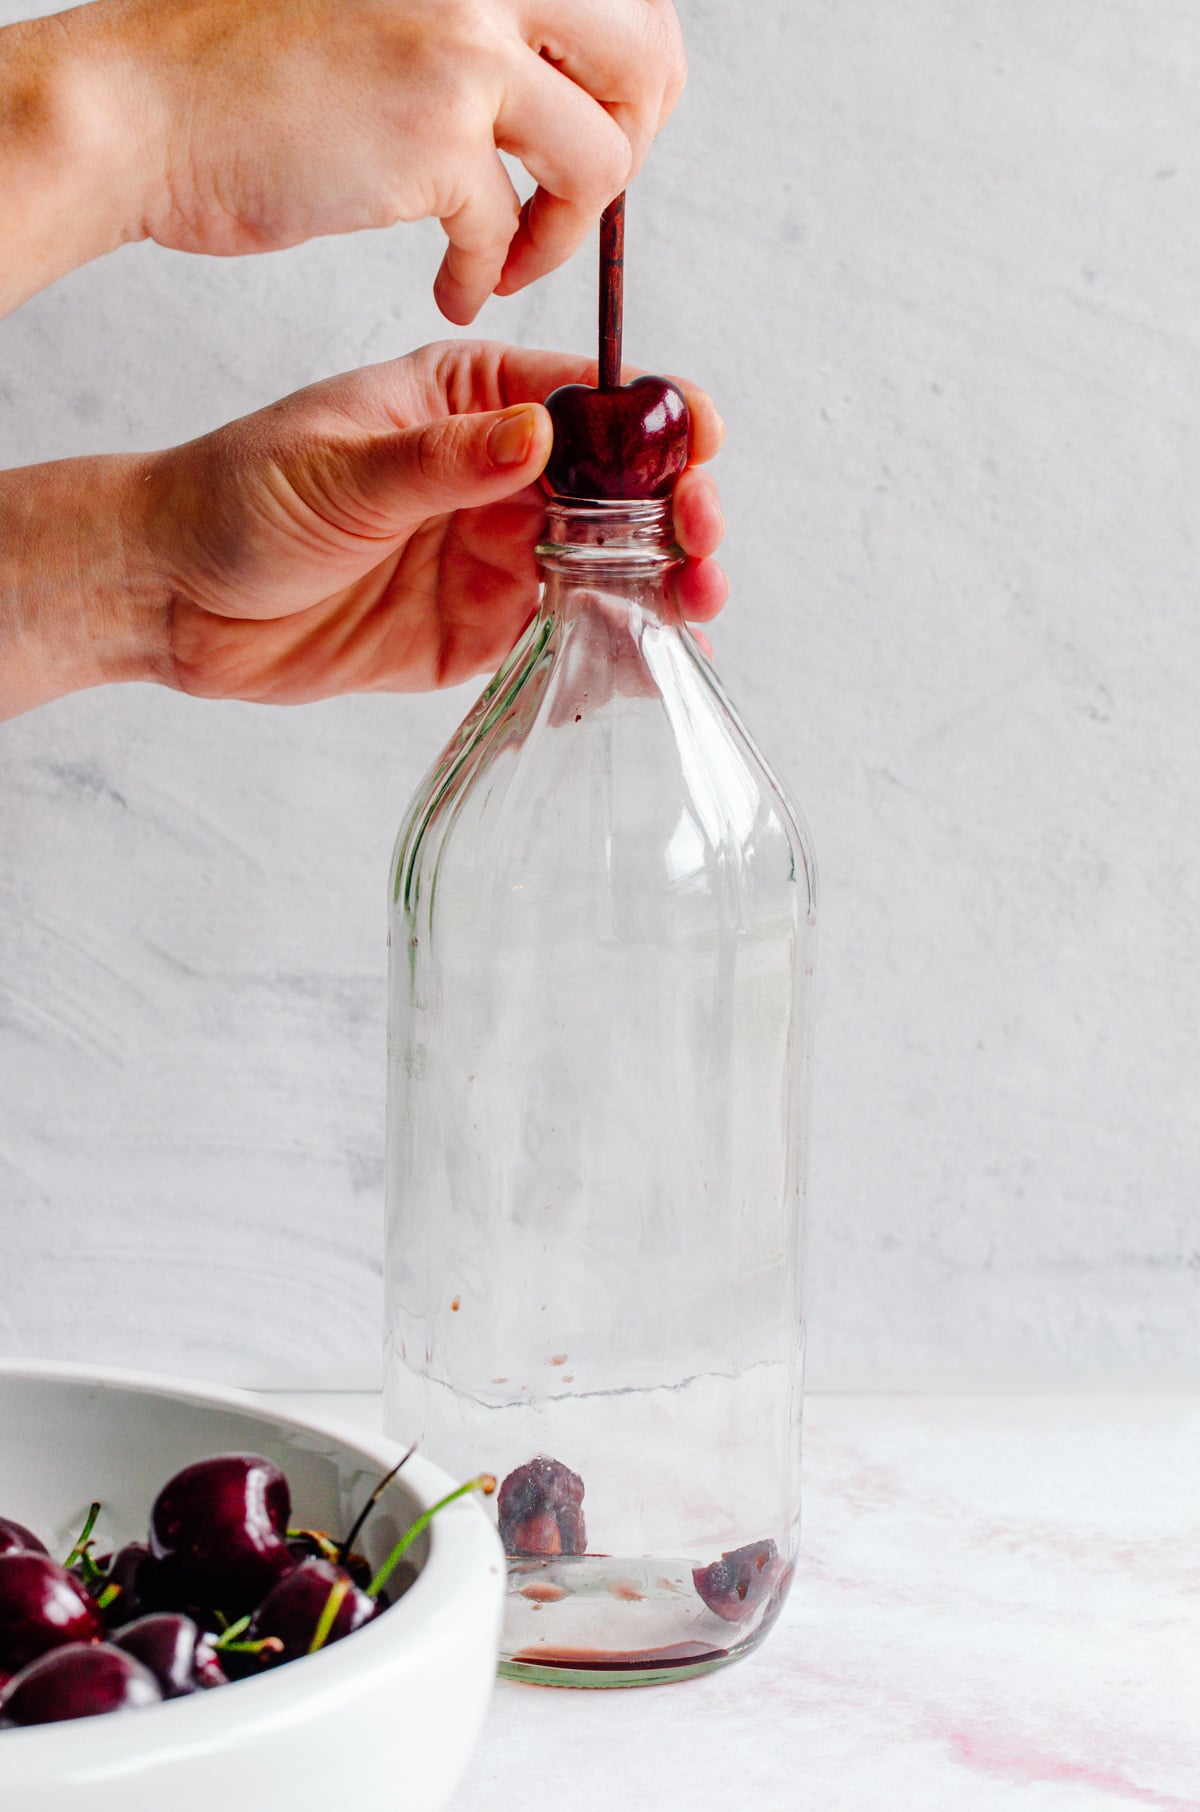
Step 1: Pit the cherries. While you should pit cherries before making cherry jam, you do not need a cherry pitter to do so. Simply remove the stem from the cherry, place it on top of a glass wine or drink bottle, then use a skewer or chopstick to push the pit out of the cherry and into the bottle, like in the picture below:
Step 2: Soften the cherries with a bit of water in a Dutch oven with the lid on.
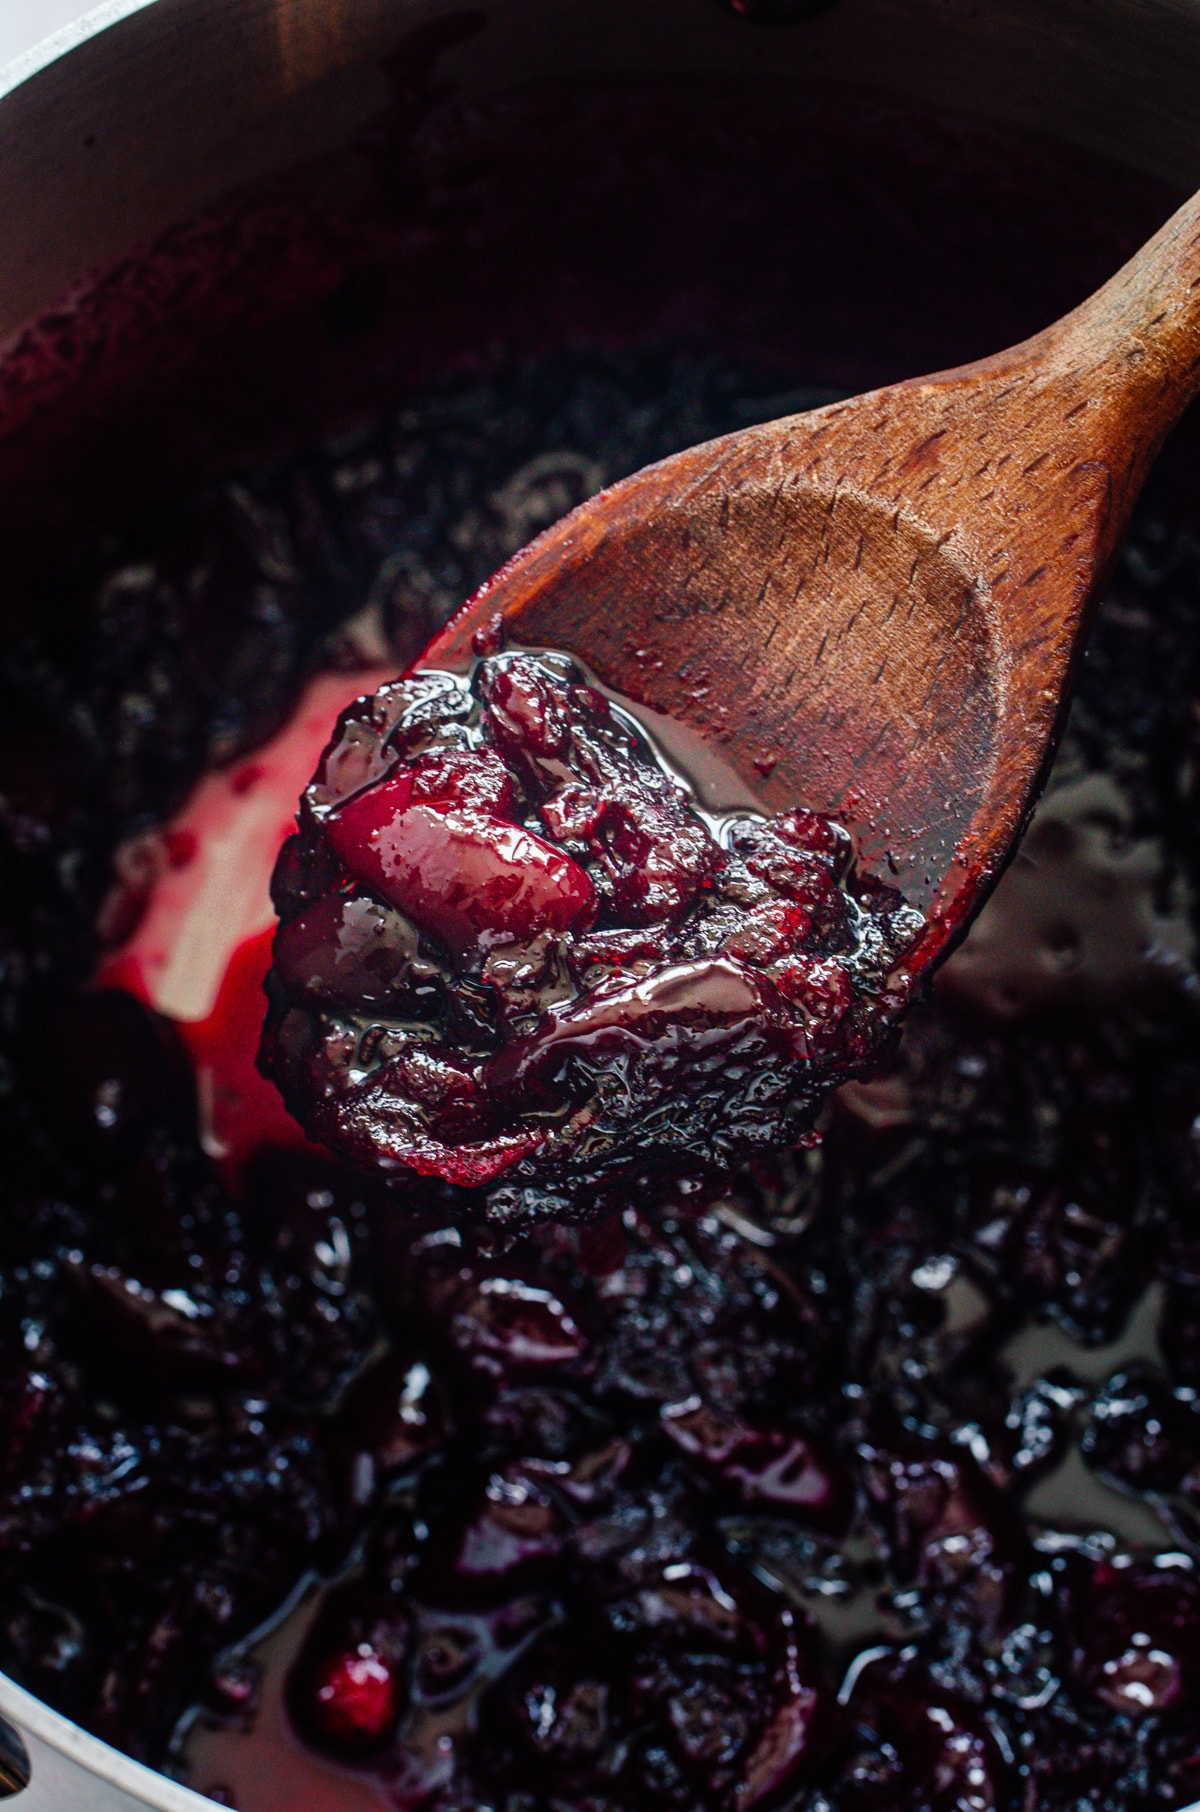
Step 3: Add the sugar, grated apple, and lemon juice to the cherries. Cook, stirring often until the jam reaches the desired thickness or an internal temperature of 220°F.
Step 4: Ladle the jam into sterilized canning jars, place new lids on top, twist the ring on just finger-tight, then process the jars in a pot of boiling water for 5 minutes.
Step 5: Use a jar lifter to carefully remove the jars from the water. Wipe them dry, then let them sit undisturbed for 24 hours. Make sure the lids have popped in the center within one hour - this ensures that they have sealed properly. Any jars with unsealed lids should be refrigerated immediately and used within a month or so.
Step 6: Label and date your jam, then store in a cool, dry, dark area for up to 1 year.
Top tips
Below are some of my best tips for making sweet cherry jam, as well as some answers to commonly asked questions!
How do you thicken cherry jam?
You can easily thicken cherry jam without pectin by using the pectin from Granny Smith apples. The tartness of the apple and natural sweetness balance the flavor of the finished jam without adding any hint of apple flavor. Cooking the jam long enough and adding the right of amount of sugar also help thicken jam.
Why is my cherry jam runny?
If your finished jam is runny, it likely was not cooked long enough. This can also happen if you cook in a deep, narrow pot, as there is not enough surface area to allow the liquid to evaporate and help the jam reduce. Runny jam can also be caused by reducing the amount of sugar called for in a jam recipe, as sugar helps the jam set.
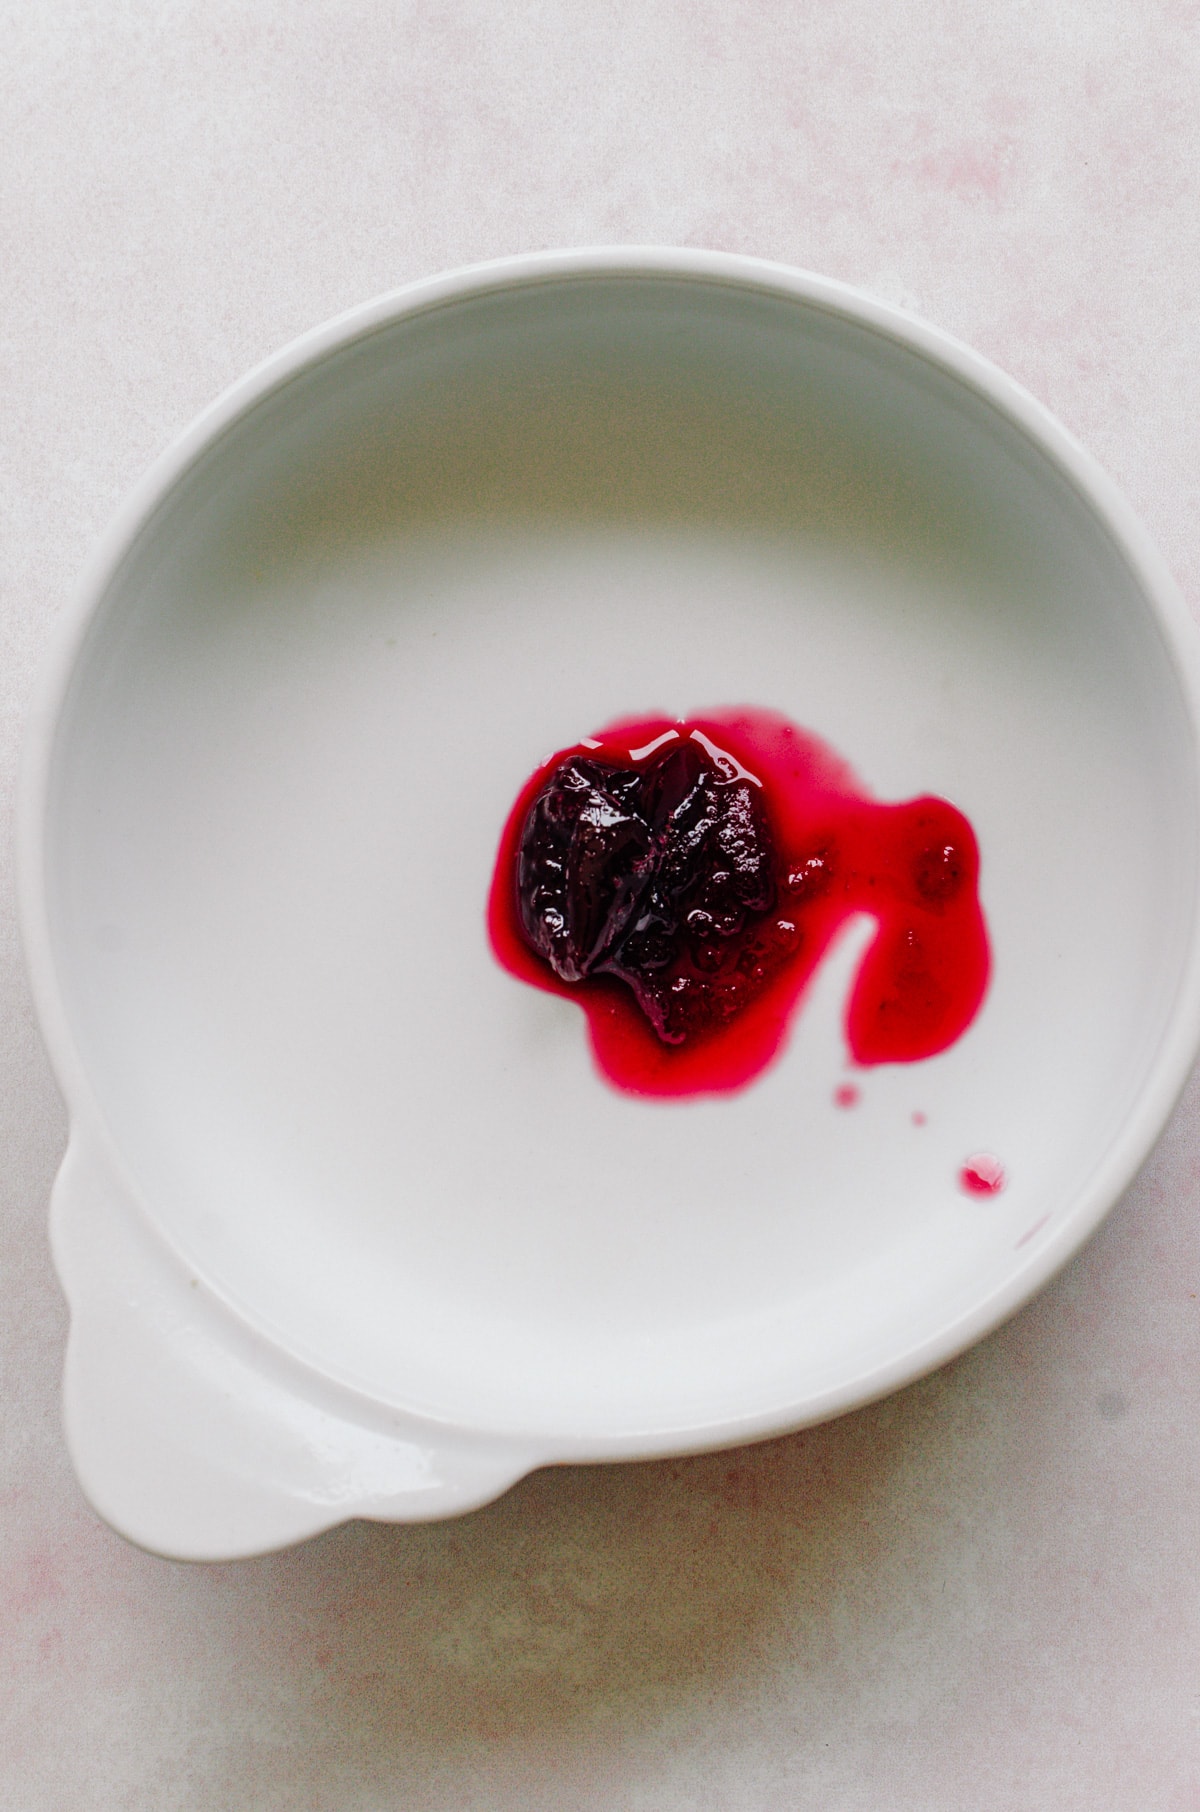
To ensure your jam is done, perform the wrinkle test and check for an internal temperature of 220°F. The wrinkle test can be done with the steps below:
- Place a plate in the freezer when you start cooking your jam.
- Once you are ready to test, out a spoonful of the jam mixture on the frozen plate and put it back in the freezer for 5 minutes. If the surface of the jam wrinkles when you nudge it with a finger and the jam holds its shape, it is done. If it's still runny, keep simmering the jam and perform a new test every 5 minutes.
Similar recipes
Looking for more cherry recipes? I'm sure you will love these:
- Cherry Cola Cupcakes
- Cherry Berry Baked Donuts
- Cherry Almond Baked Oatmeal
- Cherry Pecan Granola
- Double Chocolate Cherry Granola
- Chocolate Rye Boule with Cherries and Walnuts
Are you ready to make this Small Batch Sweet Cherry Jam? I’m so excited for you to try this recipe. Once you get the chance to make it, please let me know how it turns out for you!
Leave a comment and rate the recipe below. This will help me with the creation of future recipes!
I’d also love to feature your creation in my monthly newsletter, so you can upload a photo to Instagram or Twitter with the tag @sweetcayenne5 to be featured!
Recipe
Small Batch Sweet Cherry Jam
Ingredients
- 2 pounds dark sweet cherries, pitted and halved
- 2 tablespoons water
- 1 cup grated Granny Smith apple, about 1 large apple
- 2 tablespoons lemon juice
- 1 ½ cups granulated sugar
Instructions
Preparing for canning:
- Sterilize canning jars by placing them in a boiling water bath (I do this in my canning pot) for ten minutes. Keep them warm in the water until ready to use. Place the lids in a heatproof bowl and ladle a few spoonfuls of boiling water on top. Keep them warm in the bowl until ready to use.
- Place a small plate in the freezer and chill for later.
Making the jam:
- Add the cherries and water to a large, heavy-bottomed, wide-mouth pot with a lid. Cover and cook on medium heat, stirring occassionally, until the cherries start to soften, about 10 minutes.
- Remove the lid and add the grated apple, lemon juice, and sugar. Bring the mixture to a boil over medium heat and cook stirring often, until the mixture is thick and jammy.
- To test for doneness, place a small dab of the mixture on the plate from the freezer. Freeze for a minute, and then test with your finger. The mixture should be somewhat firm and will not slide across the plate when tilted (however, it will not gel). Continue cooking the jam and doing the plate test until the jam reaches the desired consistency. Another indicator of doneness is the simmering mixture reaching 220°F.
Preserving the jam:
- Using a jar lifter, carefully remove the jars from the hot water canning bath and place them upright on a towel. Remove the lids from the bowl of water and pat them dry.
- Ladle the hot jam into the sterilized jars, leaving ¼ inch of headspace at the top. Remove air bubbles with an offset spatula as needed. Use a damp paper towel or cloth to wipe the rims of the jars clean. Place the lid on top, followed by the jar rings, and adjust the rings until they are finger-tight (do not force it).
- Return the jars to the water bath, being sure that each is covered by at least 1 inch of water. Bring the water to a boil and boil for 5 minutes. Use the jar lifter to carefully remove the jars from the water and transfer them to a towel. Do not disturb the jars for 12 hours.
- After one hour of resting, make sure the jar lids have sealed by pressing down on the center of the lid. If the center can be pressed down, the lid has not sealed and the contents of the jar should be refrigerated immediately for use within 1-2 weeks.
- Label the sealed jars and store in a dark, cool, dry place for up to 1 year.

Brandy says
For the apples, do you peel them and grate the flesh or does the skin get grated into it too?
Whitney Reist says
You grate the skin in with the flesh - it breaks down!