
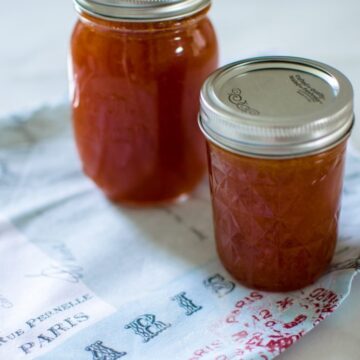
If you're like me and want to try your hand at canning and preserving this summer, this easy apricot jam recipe is the perfect place to start!
Hello! It's me! We are back from our 10 day excursion to Europe; Amsterdam, Brussels, and Paris, to be exact. Where are the pictures??? You may be wondering. Well, to be honest, I'm not one of those people who can just photo dump a bunch of vacation photos on my blog or Facebook page. I have to process and organize the events of the trip in my head first; and then figure out the most detailed/helpful way to present them to you. You know, in case you'd like some info/tips/tricks for planning a similar trip yourself! So it's coming. Probably in the form of an 8-week travel series on the blog over the course of the summer time. I've got a lot of learning experiences to share - on booking accommodations, setting a travel budget, learning your travel style, traveling with your spouse - this list could go on! Would you like that? Let me know by commenting below!
In the meantime, let me just say that I have a lot of goals to accomplish this summer. The list is a little too overwhelming to share right now (#overachiever) and probably needs to be narrowed down/prioritized to some extent. But I can tell you that learning to can and preserve summer produce is one of them. Do you do this??? Talk to me. I want to know your secrets.
I've heard that a good basic jam recipe is a great place to start for a first-time canner/preserver. I made a very novice attempt at this last year - a multi-berry and cherry concoction that turned out way too chunky/loose to be called jam. It tasted alright, but didn't have that sticky, thick and jammy-like texture we all know and love. I have a strong inkling that I didn't cook it long enough. That's not the situation with this easy apricot jam. I have the amazing and talented David Leibovitz to thank for that!
David's apricot jam instructions are clear-cut and a simple place for a beginner canner like me to start. Before we went on our trip to Paris, I scoured his website for the best tips/tricks/recommendations for navigating Paris with the hopes of having true Parisian experiences. His advice did not disappoint, and I'm happy to say that after following his Parisian breakfast recommendation of having a simple baguette with good butter and jam, I was inspired to make this homemade jam as soon as we returned home!
One of our hosts left us a jar of Apricot jam in our Paris flat as a welcome gift - supposedly its a favorite of Parisians - and we loved it so much that we polished off the jar in 3 days! Needless to say, I was delighted to find apricots on sale at our local market for a measly $0.99 per pound when we returned home - that's an insanely good price - and paid less than $3 for all the apricots I needed to make my own jam! It's the little things, people.
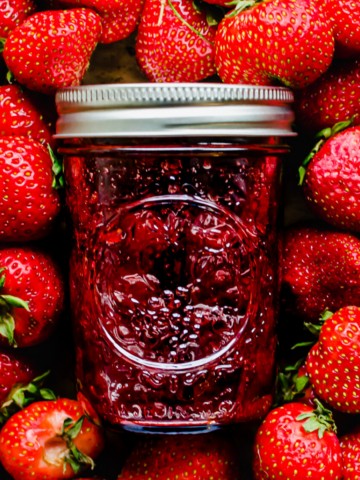
If you'd like to try your hand at making a simple jam at home, start some of my other jam recipes such as my Small Batch Strawberry Jam or my Old-Fashioned Peach Jam. David's recipe for basic apricot or strawberry jam are also great resources (p.s. he uses WAY less sugar than most recipes, which is a good thing in my opinion!). Be sure to review the USDA canning guidelines for information on how to can them in a boiling water bath. I've detailed my process in the recipe below, and loved the results!

Equipment
- Canning Pot
- Mason Jars or French Canning Jars
- Ladle
- Canning Supplies Starter Kit - includes tongs, jar lifter, magnetic lid lifter, jar wrench, and a funnel
Are you ready to make this homemade apricot jam recipe? I’m so excited for you to try it. Once you get the chance to make it, please let me know how it turns out for you!
Leave a comment and rate the recipe below. This will help me with the creation of future recipes!
I’d also love to feature your creation in my monthly newsletter, so you can upload a photo to Instagram or Twitter with the tag @sweetcayenne5 to be featured!
Similar recipes
Recipe
Easy Apricot Jam for a Canning & Preserving Novice
Ingredients
For the jam:
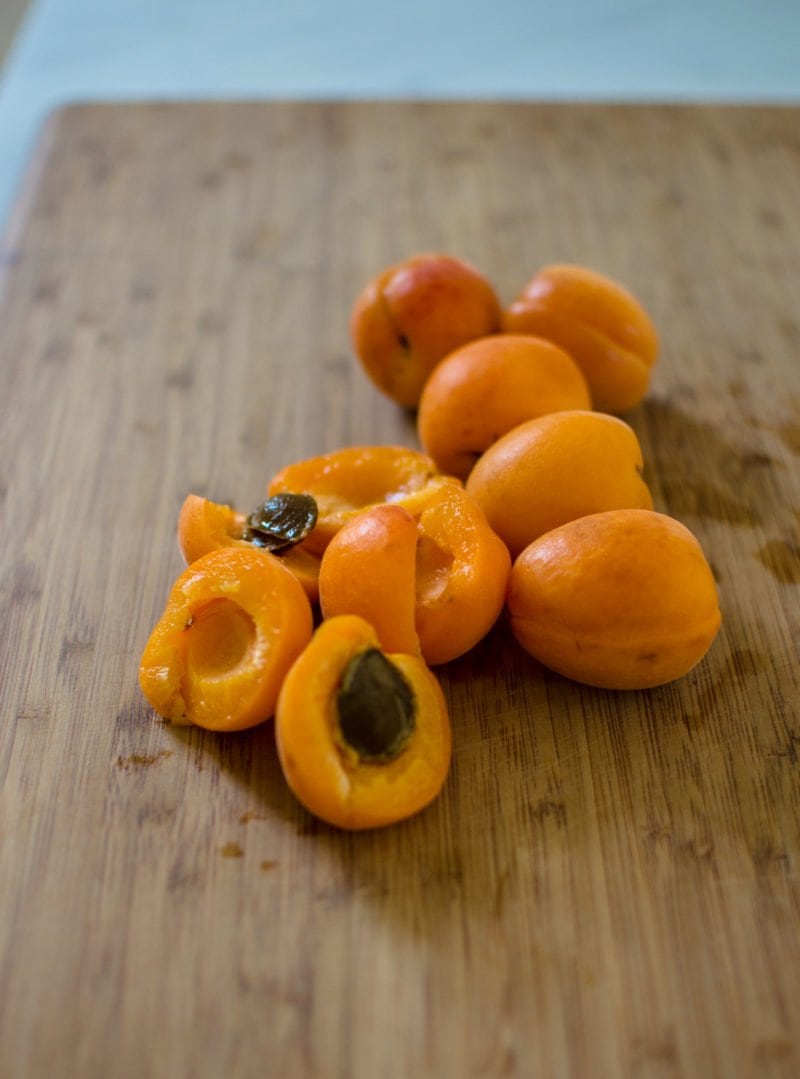
- 2 ¼ pounds fresh apricots, unpeeled, halved and pits removed
- ¼ cup water
- 3 cups granulated sugar
- 1 teaspoon fresh lemon juice
Special equipment:
- 3-4 half pint jars or 2 full pint jars with rings and new/unused lids
- Canning jar funnel
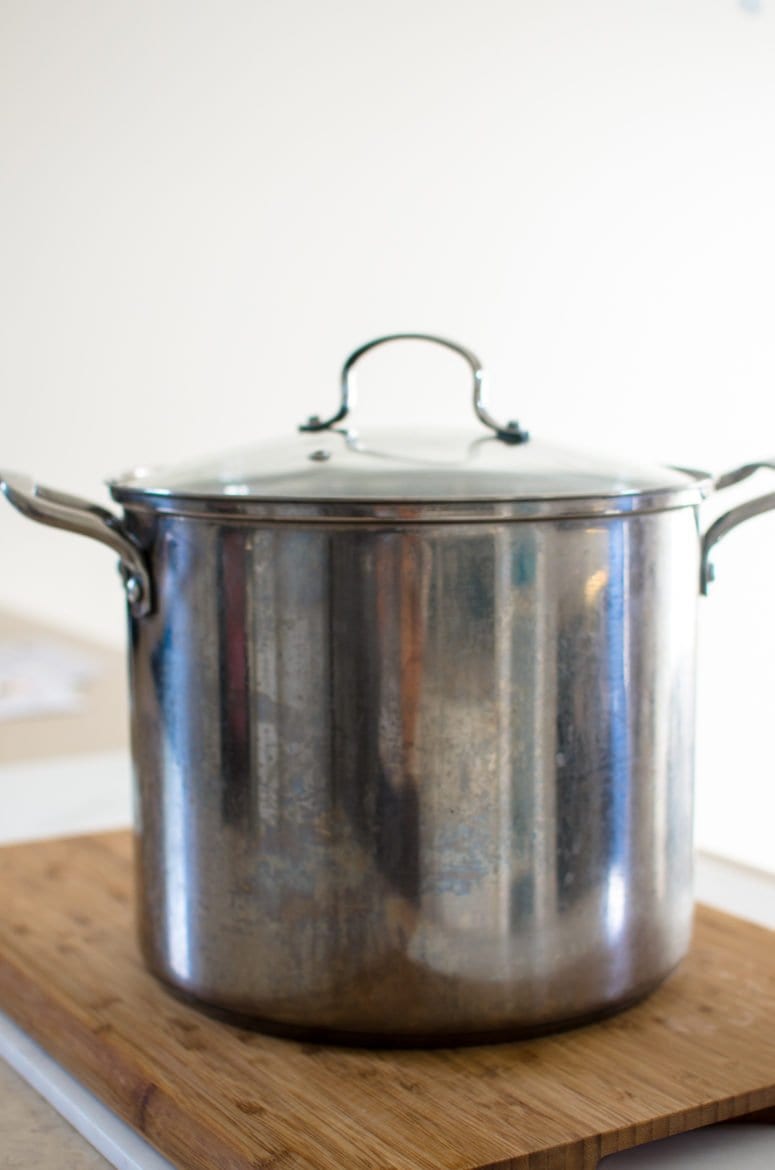
- Large stockpot
- Tongs with rubber ends
- Potholder
- Wire rack
Instructions
- Place a small plate in the freezer while you make the jam.
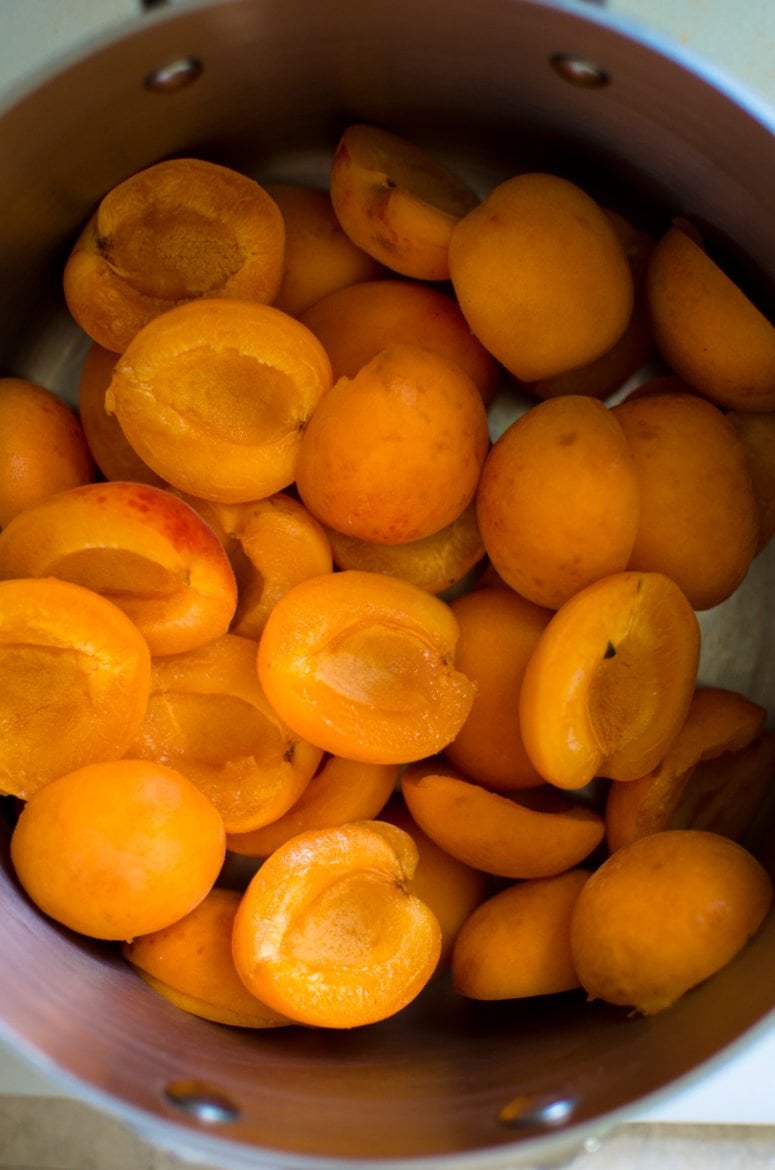
- Place the apricot halves and the water in a large non-reactive pot or a Dutch oven. Cover with a lid and cook over medium heat, stirring often, until the apricots are tender and cooked through.
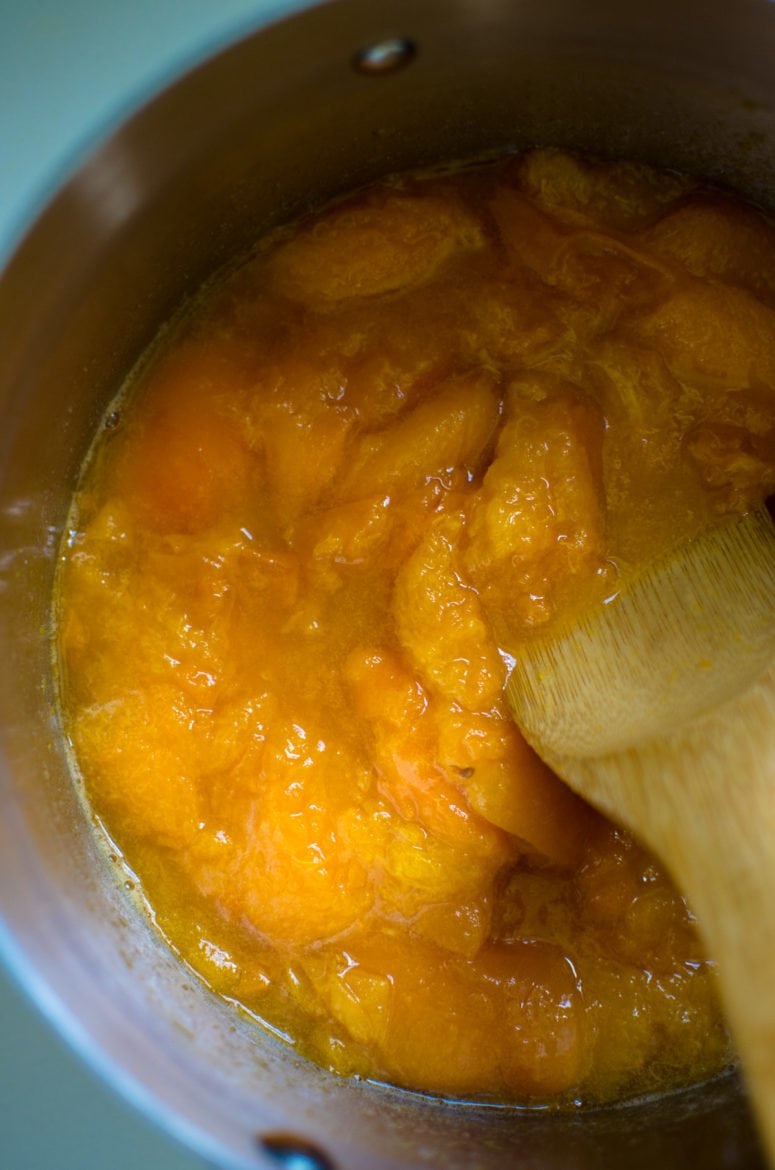
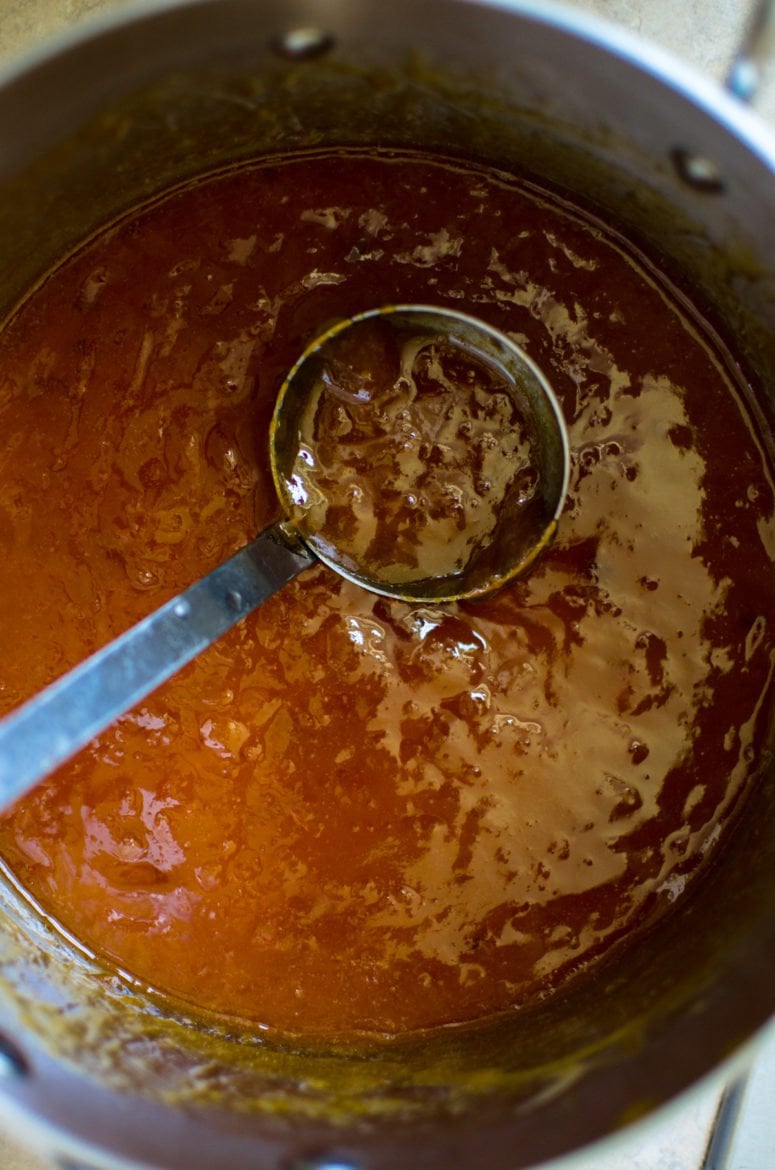
- Add the sugar to the apricots and cook/simmer over medium heat, uncovered, until the mixture becomes thick and jam-like. Be sure to stir the fruit often as it cooks to prevent burning, and skim off any foam that rises to the surface while cooking.
- While the jam cooks, fill a large canning pot with water. Add the glass jars you plan to use to the water and bring the entire pot to a boil. Add the jar lids and rings to a shallow dish. Boil the jars for 10 minutes, then carefully remove them with a potholder and tongs. Transfer the jars to a wire rack and let them dry upside down. Transfer a few ladle fulls of boiling water to the shallow dish with the lids and rings. Add enough water to cover them and set aside. Keep your large pot of water warm over low heat while you finish the jam.
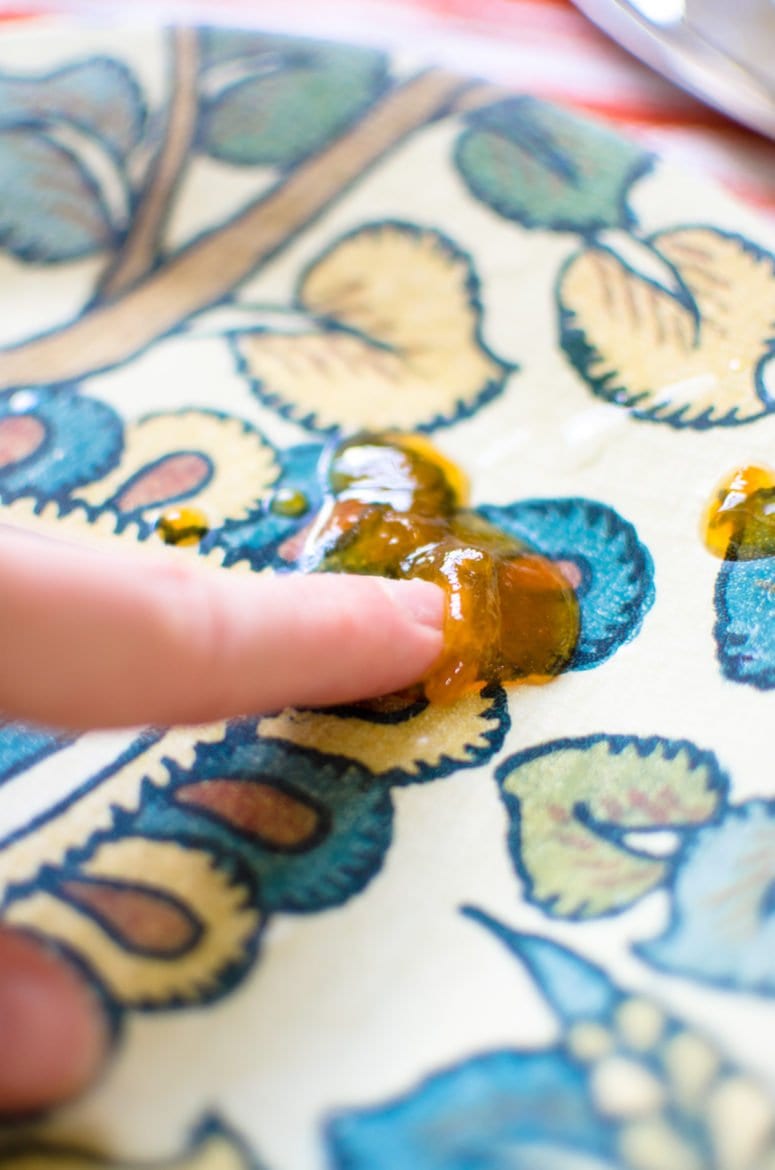
- Once the fruit mixture has thickened and become jam-like, remove your plate from the freezer and add a small dollop of the jam to it. Place the plate back in the freezer for 5 minutes. Remove from the freezer and gently nudge the jam with your finger (see photo above). If the surface wrinkles, the jam is ready to can. If it does not wrinkle and remains loose, continue cooking the jam and try this test again after 5 minute increments of additional cooking.
- Once the jam is ready, stir in the lemon juice (or cider vinegar) and bring your large pot of water back to a boil over high heat.
- While the water heats, carefully ladle the jam into your canning jars, leaving a ½ inch of space at the top of the jar (a funnel will help you do this safely and easily). Remove the canning lids from the dish with water and carefully pat dry with a towel. Place a lid on each jar, followed by the ring. Place the ring on top and screw it on just enough to close - don’t turn it too tightly or the lids will not seal properly!
- Carefully place the jars into the boiling water with your tongs. You want the water to cover the jars with about an inch of water over the tops. Boil for 5 minutes. Carefully remove the jars with your tongs and a potholder and place them on top of a kitchen towel. Let them cool, undisturbed, for an hour. Then check to see if the jars have sealed by carefully pressing on top of the lid. If it doesn’t spring back or make a popping sound when you press on it, congratulations! You have a proper seal. If it does spring back, immediately place the jars in the refrigerator and enjoy your jam over the next couple months. You can still enjoy the jam even if the jars did not seal properly. Let your sealed jars rest on the towel for 24 hours before storing in your pantry or opening for use.
- Date and label your sealed jars and enjoy the fact that you just made your own delicious homemade jam!

Valeria says
Great recipe for beginners! I found the process very forgiving with ingredient portions. Slightly over/under measuring apricots, water, sugar, lemon juice still resulted in a perfectly tasting jam. I ran out of lemons for my second batch, so substituted 1-1 apple cider vinegar and it thickened the jam even better than lemon. Splattered more. The taste is slightly different (I like it). This was my first time making jam and I feel like I've piqued in my adult cooking life. Apricot jam is my *absolute favorite* and to be able to make jars and jars and jars of it, tasting just as I like it feels super rewarding.
Möenna says
Did you peel the skin off the apricots before placing them in the pot to boil? I'm exited and can't wait to try out this recipe.
Whitney Reist says
Hi there! No, you leave the apricots unpeeled. The skin cooks down and dissolves into the jam, giving it the most gorgeous color. I just made this again a few weeks ago and it is SO so good 🙂
Emily @ Zen & Spice says
I'd love to see pictures from your trip! This jam looks so good!
Whitney Reist says
Thanks, Emily! Pics are coming - just trying to organize them into posts - there's so much I want to share about the trip!