
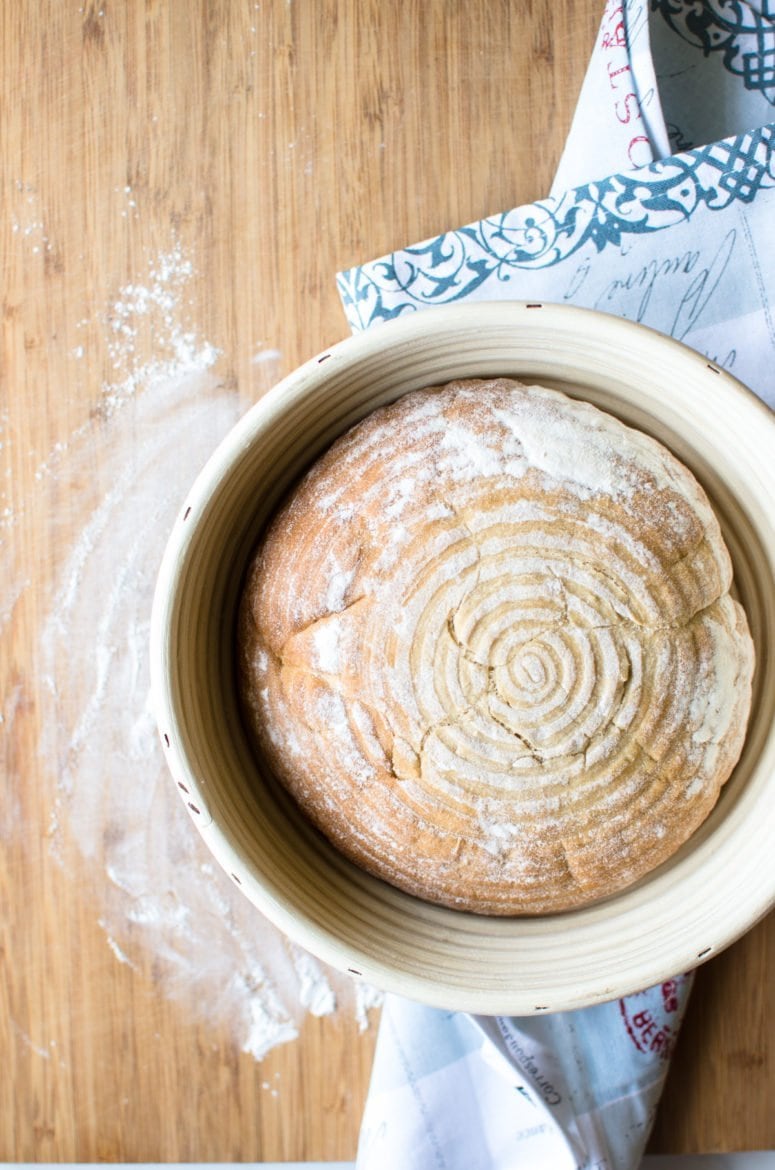
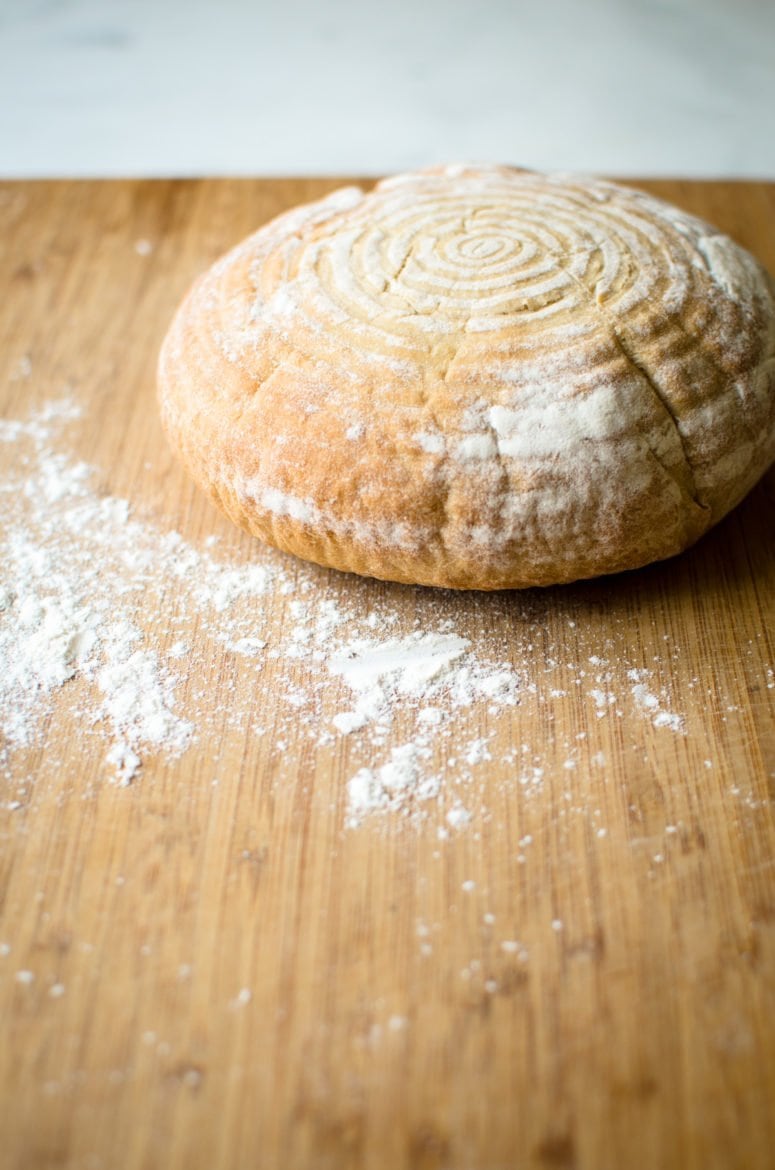
Fill your house with the intoxicating perfume of freshly baked bread - this gorgeous homemade sourdough bread is what you need on the menu this week! If you haven't heard of a bread rising basket yet, that is about to change.
Disclosure: Some of the tools mentioned in this post were complimentary and sent to me for review. All opinions are my own and I was not compensated for my time.
Ahhhhh bread making. There's nothing quite like the satisfaction and sense of accomplishment you feel after the process of making from-scratch bread at home. It's a bit euphoric, if you ask me. Especially when it turns out right! Even if your loaves fall a little flat, no store-bought bread eating experience can really top the intoxicating smell and warm fuzzy feelings you get from sinking your teeth into a warm slice of freshly-baked bread.
My mom spoiled me rotten during my time at home with her weekly bread making extravaganza - my very favorite momma-made specialties were her white whole wheat and sourdough breads. Thanks to her, homemade bread-making is now one of my favorite hobbies and something I go out of my way to make time for. I've lately had an itch to attempt growing a sourdough starter from scratch in hopes that by the time BLT sandwich season comes around in a few short weeks, I'll have perfected scratch made sourdough bread.
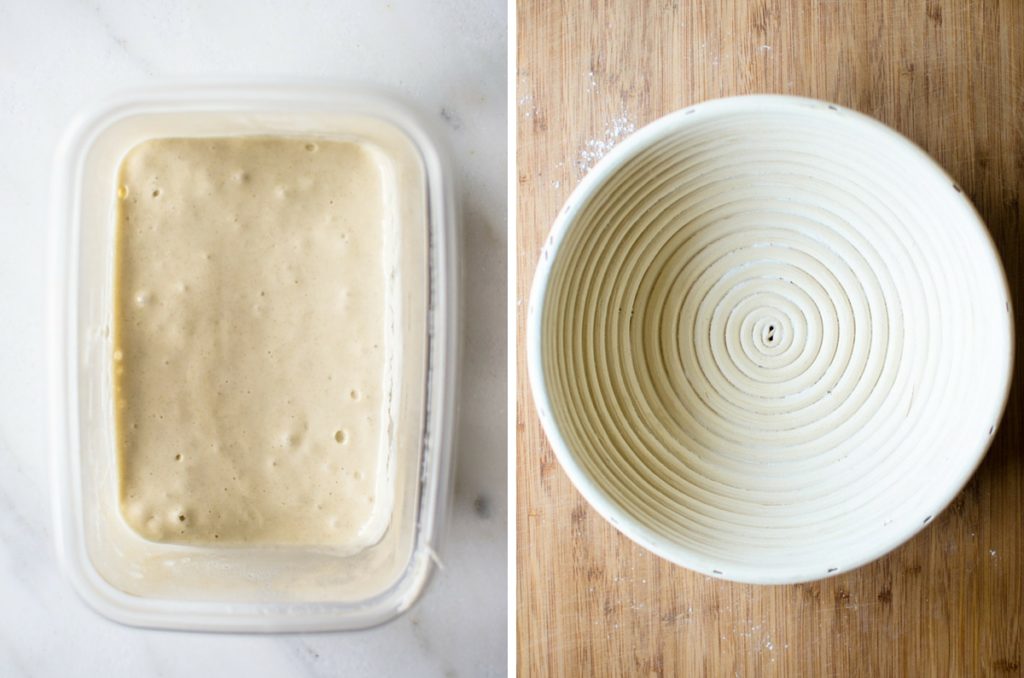
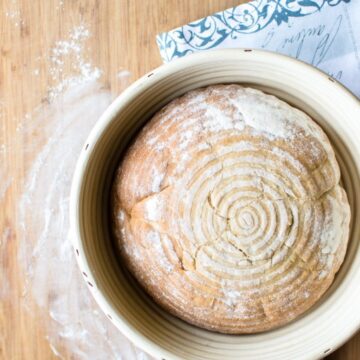
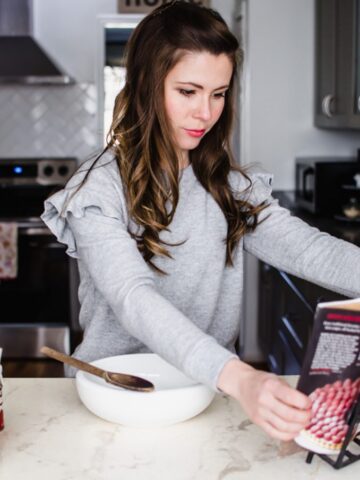
This past week was my first attempt - and a week was exactly how long it took to make/grow King Arthur Flour's recipe for homemade sourdough starter. The picture on the left below is what my starter looked like after a week of daily feedings. Once it was ready, I decided to again try something new and proof my sourdough dough in a bread rising basket, also known as a brotform or banneton. This basket is a simple-to-use tool that professional bakeries use to give freshly-baked loaves a uniform shape, better rise, and beautifully decorated texture. I couldn't wait to try it out in my home kitchen and am pleased to say that I love the results it produced!

Tips
The key to success when using a bread rising basket is to make sure it's well-floured. You want all the grooves in the basket to have a nice coating of flour before you put the dough in to rise. This will ensure that your risen dough comes out easily when ready to bake. Below are few more of my favorite tips for bread-baking success:
- Measure correctly - if you aren't using a kitchen scale to weigh out your ingredients, be sure to measure your flour correctly. Lightly spoon flour into measuring cups and level off with the back of a knife to get the most accurate measurement.
- Use fresh, high-quality ingredients - your first attempt at making fresh bread at home isn't the time to use a 3-month old bag of flour that's been collecting dust in your pantry! Start with a fresh bag - I prefer to use King Arthur brand because it's a high-quality product that produces uniform results that, in my opinion, have a superior taste and texture (I wasn't paid to say that; I truly love this product!)
- Proof your bread in the dryer - run your dryer for 10-20 minutes before placing the dough inside to rise. This warm, draft-free environment will help your dough rise more than you ever thought possible!
- For a more "sour" taste, let your shaped loaves rise overnight or up to 8 hours in the refrigerator. Remove from the fridge and let sit at room temperature for one hour before baking.
- Use an oven thermometer for accuracy - home oven temperatures can be off by as much as 25 degrees from the temperature you set it at. Mine is, so I use this oven thermometer to help me make adjustments.
- Create steam by misting water on the sides of your oven right when you put the bread in - this will create a shiny and crusty exterior.
- Options for shaping your bread include letting it rise in a bread basket OR letting it rise and bake in a cast iron enameled pot (see Meyer Lemon Rosemary Bread for example)
- Take your time and enjoy the process - making sourdough starter from scratch takes at least a week, so be sure you can make time to remember the daily feedings!
Tools
- Digital scale - use for the most accurate measuring when making your starter.
- Stand mixer - this will save you time in mixing!
- Bench Knife - I use this to divide my dough easily and to scrape off dough/flour from the countertop.
- Rising basket or Dutch Oven for proofing - these will produce bakery-style, Instagram-worthy loaves!
- Oven thermometer - account for inaccuracy or hot spots in your oven.
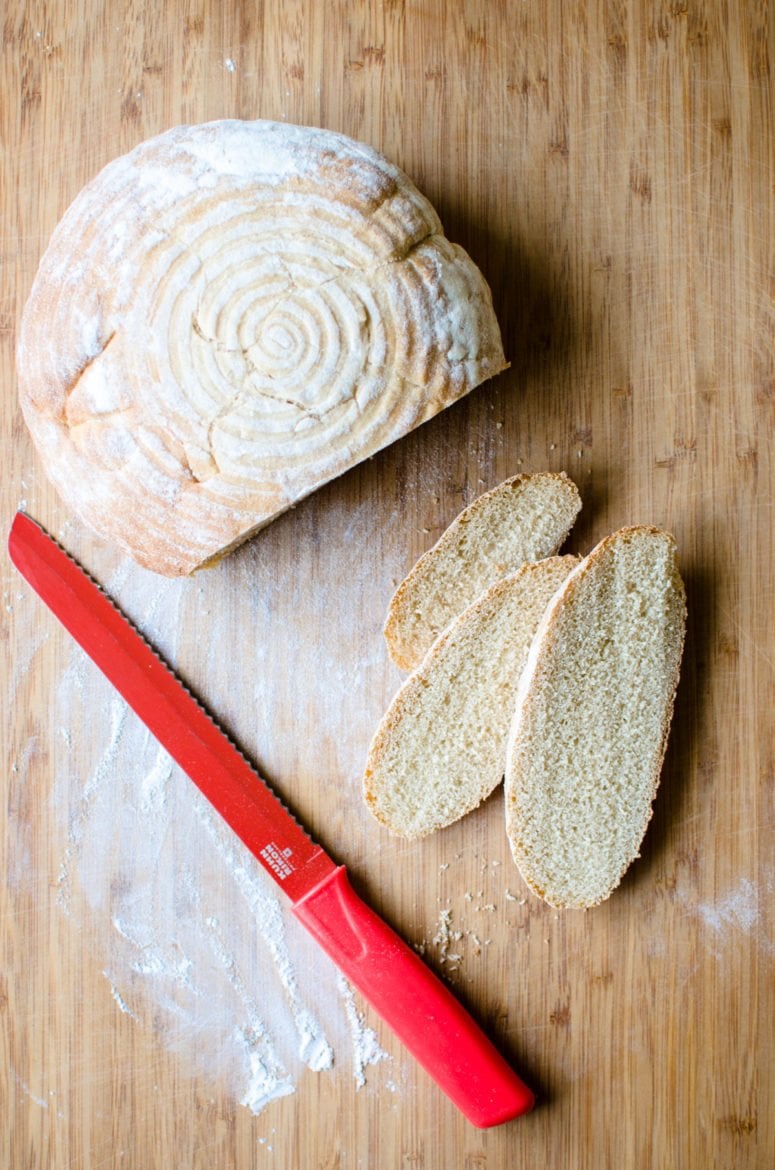
- Serrated knife - an essential tool for easily slicing crusty loaves.
Have you ever tried making sourdough from scratch or using a bread rising basket? I'd love to hear your thoughts in the comments below.
I’d also love to feature your creation in my weekly newsletter, so you can upload a photo to Instagram with the tag @sweetcayenne5 to be featured! Quick and easy recipe videos are available on my YouTube channel, and lots of menu inspiration on my Pinterest boards.
Shop the Bread Maker's Tools:
Recipe
Homemade Sourdough Bread + Using a Bread Rising Basket
Ingredients
- 1 cup 8 ounces of fed sourdough starter (make your own using a double batch of this recipe)**
- 1 ½ cups lukewarm water
- 2 teaspoons of instant yeast not rapid rise
- 1 teaspoon granulated sugar
- 2 teaspoons salt
- 2 ½ cups King Arthur white whole wheat flour
- 2 ½ cups King Arthur bread flour
Instructions
- In the bowl of a stand mixer fitted with the dough hook, add the starter, water, yeast, sugar, salt, and the 2 ½ cups whole wheat flour. Mix on medium-low speed to combine, while gradually adding the bread flour as the ingredients begin to incorporate. Scrape down the sides as necessary and continue mixing on medium-low until a dough ball forms. On low speed, knead the dough for 7-8 minutes until a smooth, elastic ball forms (test the elasticity by poking a finger in the ball of dough; if it springs back, you are done kneading. If a dimple remains, keep kneading).
- Transfer the dough ball to a clean bowl that is lightly coating with cooking spray. Cover loosely with a tea towel or plastic wrap and let rise until double in size; about 90 minutes (mine only takes 70 minutes when I proof it in a warm dryer- see explanation in post).
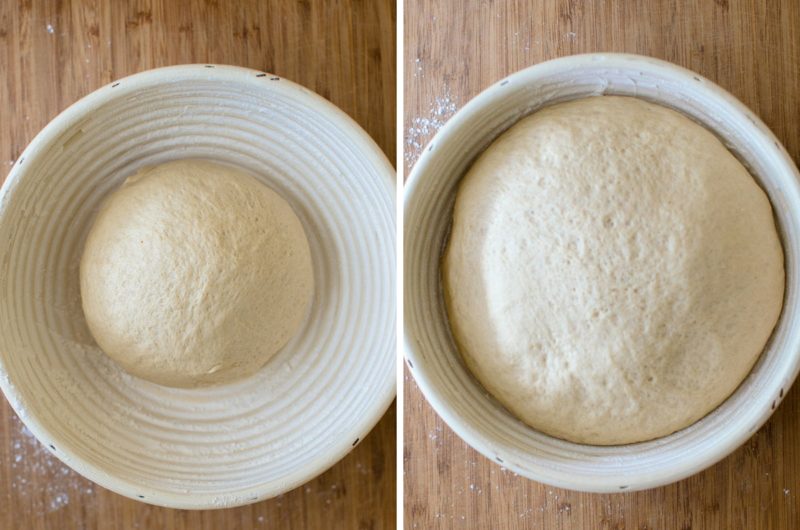
- Punch the risen dough ball down and divide it into two even sections. Shape it into a round ball and transfer to a well-floured bread rising basket (use two 8’’ basket made to hold 2-3 cups flour or one 10’’ basket made for a 5 cup flour recipe). Alternatively, you can use two greased loaf pans OR one large cast iron pot for the second rising.
- Let the shaped loaves rise until double in size and puffy; about 1 hour.
- Preheat your oven to 425? towards the end of the rising time.
- Once the loaves have risen, carefully place a baking sheet pan on top of each the bread rising baskets and gently flip the loaves onto the pan. If you are using loaf pans or a cast iron pot, place the risen loaves directly into the oven in these containers.
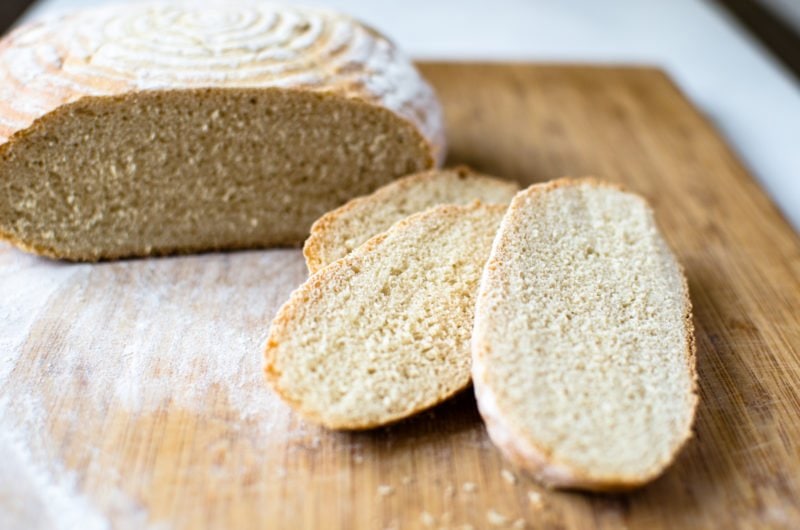
- Spray the sides of the oven with a little lukewarm water and bake the loaves for 25-30 minutes until they are a deep golden brown. Remove from oven and cool for 5 minutes before transferring the loaves to a wire rack to cool completely before slicing with a serrated knife.


Sourdough Junkie says
I have not used a basket before but lots of cast iron: Dutch oven and large fry pan and regular bread pans.
Whitney Reist says
I love using a cast iron pan or Dutch oven to make sourdough bread as well!
Sourdough Junkie says
I have made sourdough bread before with yeast but it is not a true sourdough bread though.
Mia says
Wow i'm looking forward to try it ! Thanks a lot !