
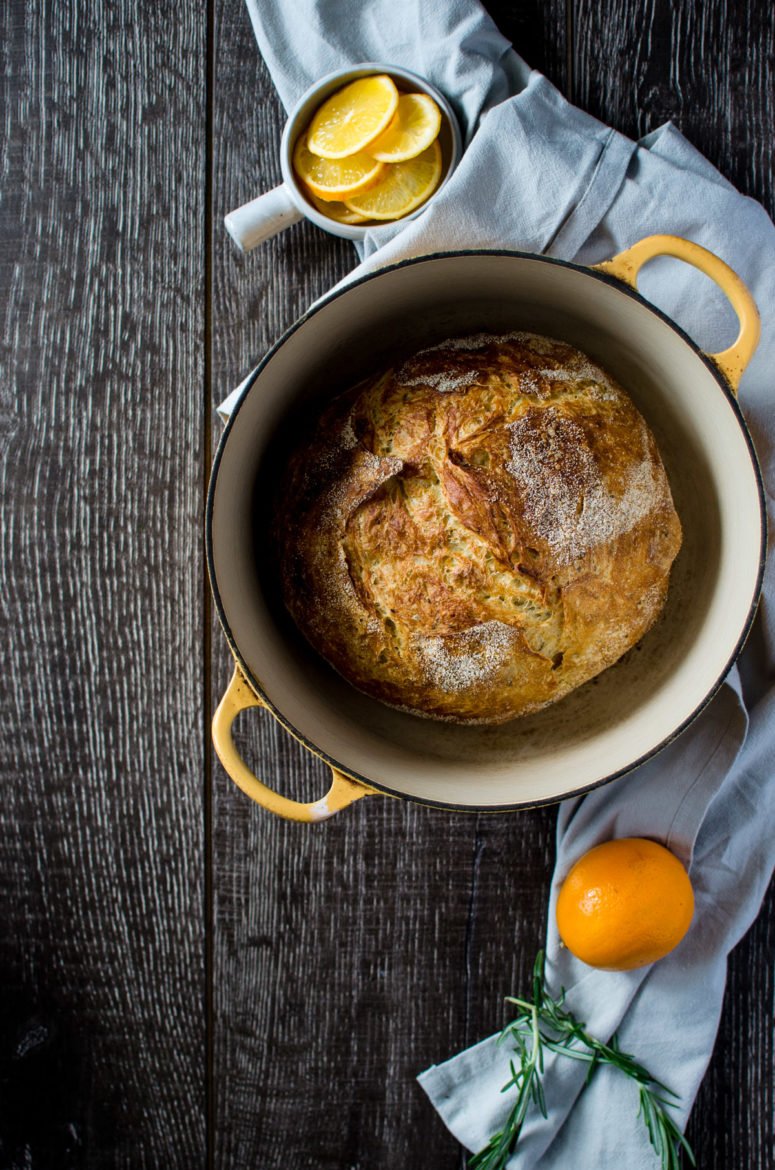
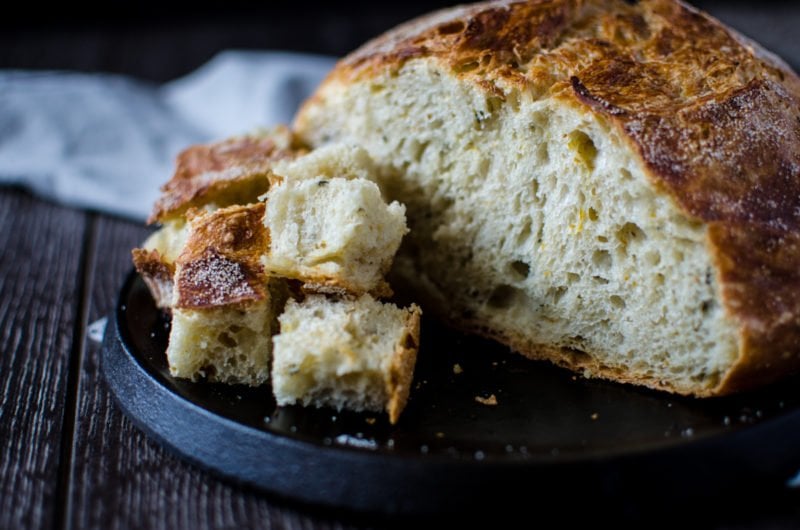
This no-knead Meyer Lemon Rosemary Bread is baked in a Dutch oven and is a delicious, rustic loaf that is perfect for beginner bread makers. It will make your home smell absolutely incredible as it's baking!
Jump to:
Video
About the recipe
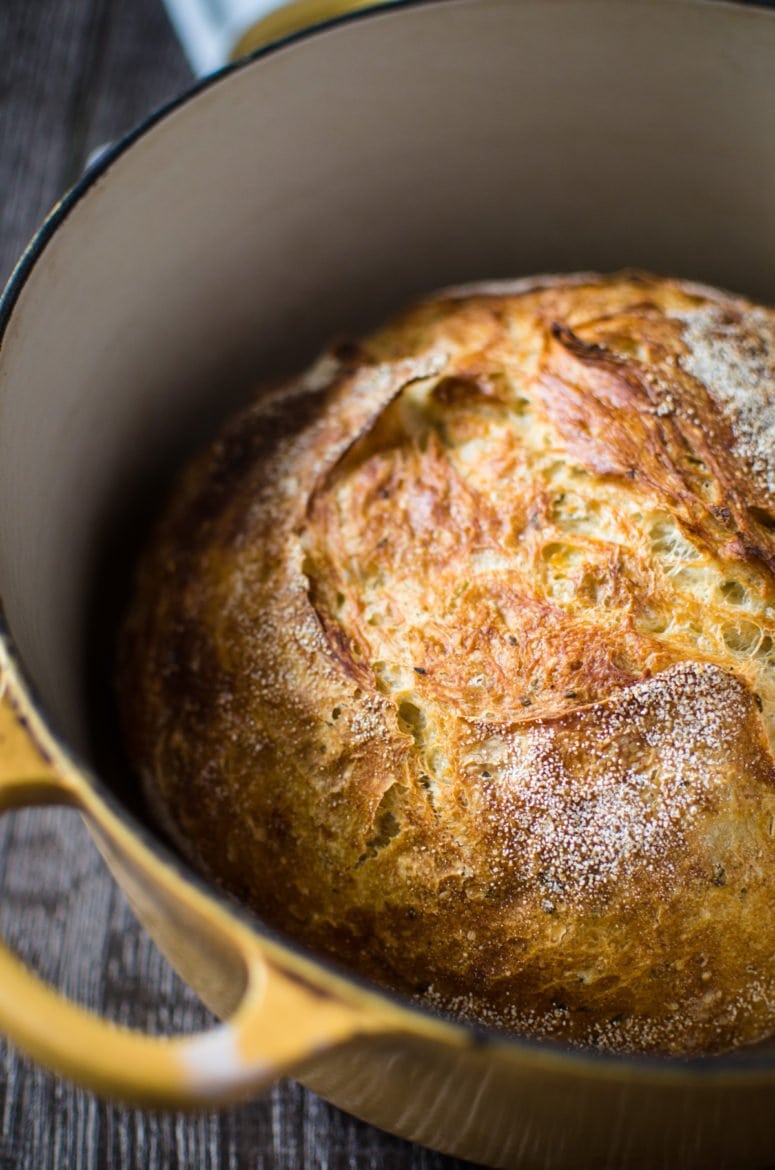
My friends, if you want a way to make a golden, round bakery-style boule in your own kitchen, look no further. This recipe is it! What really makes this recipe unique is that the bread is baked in a cast-iron Dutch oven.
As many of you may know, cast iron does an excellent job of conducting heat, so the sides of a cast iron pot get screaming hot all the way up. This results in a round bread loaf that's golden-crisp all over but soft and tender on the inside. The steam created by baking the bread in the pot with the lid on also helps create that shiny, perfectly crisp crust.
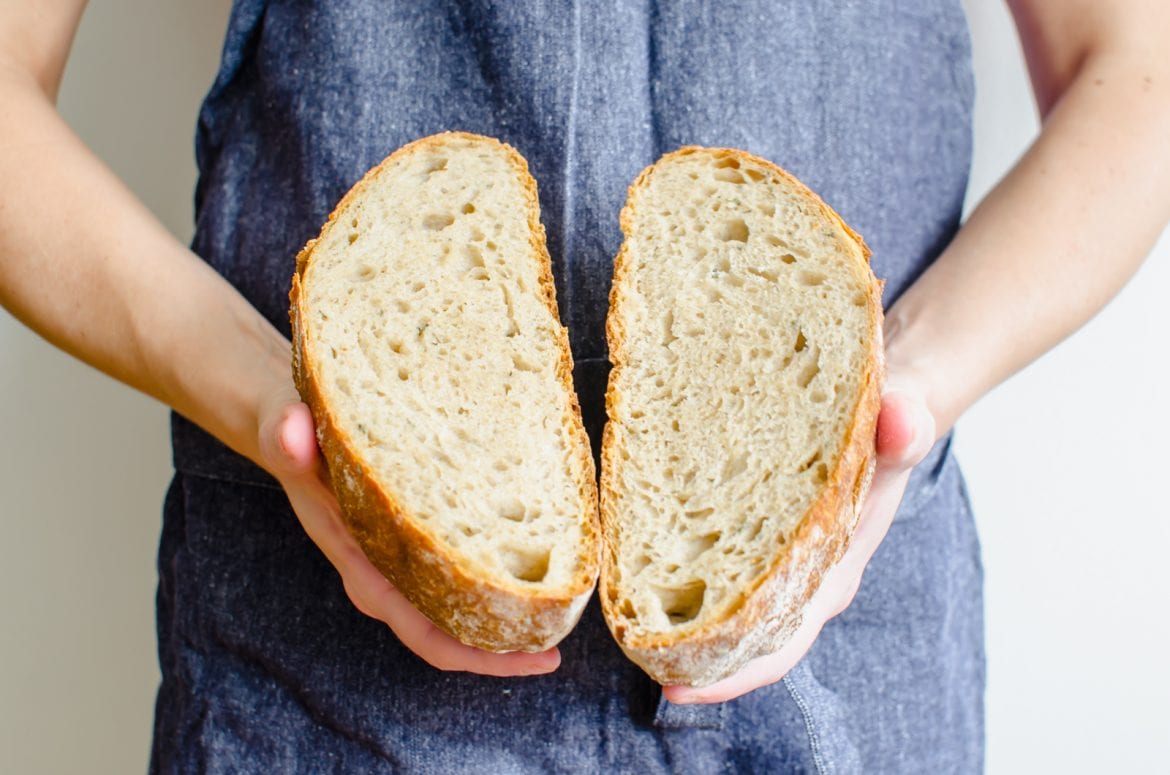
Another unique thing about this recipe is a long fermentation time. This recipe only uses ¼ teaspoon of yeast, a fraction of the amount in most homemade bread recipes. That tiny amount of yeast gets a LONG time - 12-18 hours - to do it's job fermenting and leavening the dough. The final product is a bread with a delicious tangy flavor.
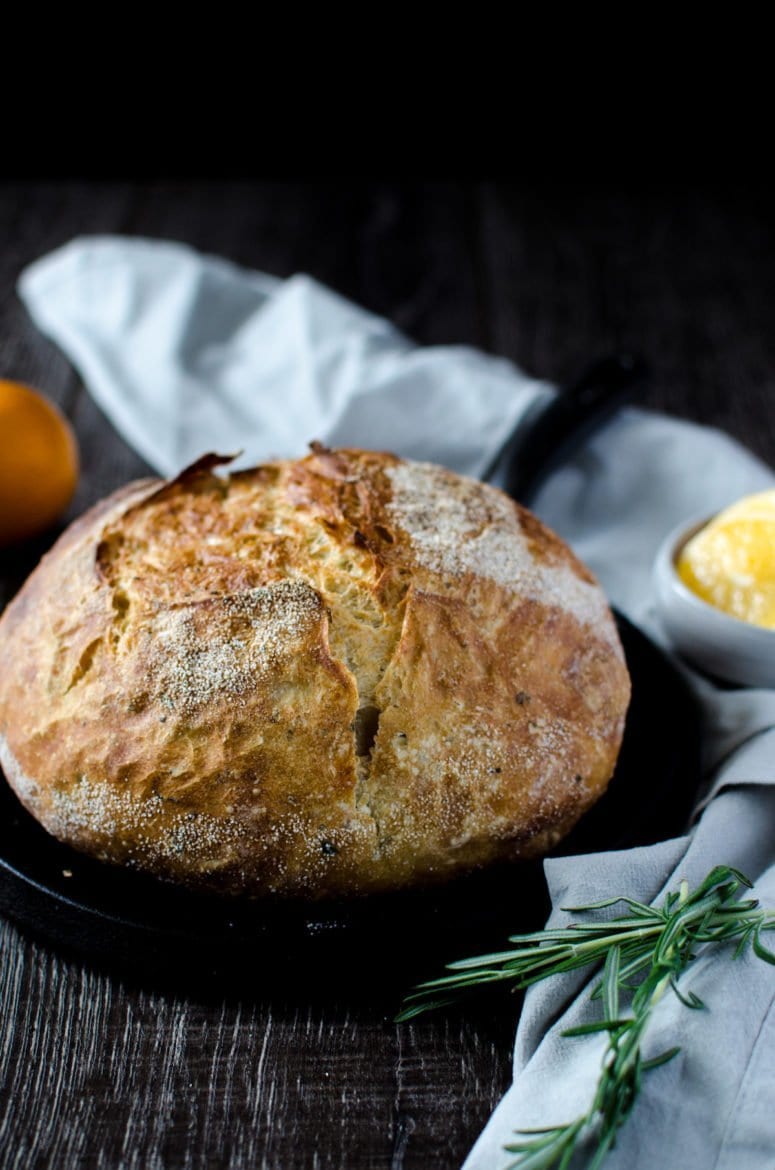
I adapted the recipe for this Meyer Lemon Rosemary Bread from Williams Sonoma and am proud to say it tastes VERY similar to the loaf I love from my favorite bakery: Village Baking Co in Dallas, TX.
The cheery notes of lemon and robust smell of rosemary flecked throughout the dough produces a glorious and intoxicating scent that will permeate your kitchen as the dough rises and bakes. And once you've finished your bread masterpiece, you will be overwhelmed with a sense of pride and accomplishment that that loaf of bread came from your kitchen!
Ingredients
- Flour - I recommend all-purpose flour OR a combination half all-purpose and half white whole wheat. I do not recommend using 100% whole wheat flour or bread flour.
- Yeast - active dry yeast is what I use for this type of bread. I have not tested with rapid/quick rise yeast.
- Fine sea salt - this will provide the best flavor and get evenly distributed in the bread.
- Fresh rosemary - you must use FRESH rosemary for the flavor to permeate through the dough.
- Meyer lemon zest (you will need 2-3 lemons) - this type of lemon has a savory and somewhat peppery flavor profile that is very different from regular lemons. You can substitute regular lemons in this recipe if needed.
- Water - use room temperature or lukewarm water for this recipe.
- Fine cornmeal - this will be used to dust the unbaked loaf to keep it from sticking to things. Flour can be substituted for this in a pinch.
Instructions
- Make your dough - stir together the flour, yeast, salt, lemon zest, rosemary and water in a large bowl.
- First rise - cover the bowl and let it sit at room temperature for 12-18 hours until it has doubled in size and formed small holes across the surface.
- Form a dough ball - scoop the dough from the bowl onto a floured surface. Use a bit of flour to gently knead the dough into a smooth ball.
- Second rise - place the dough in a cotton tea towel coated with some cornmeal, then dust the top of the dough with a bit more cornmeal. Loosely wrap the dough ball and place it in a large bowl to rise a second time for 1 ½ to 2 hours.
- Preheat the oven and Dutch oven - during the last 30 minutes of rise time, place your Dutch oven with the lid on in your cold oven. Preheat the oven to 450°F.
- Bake the bread - once the dough ball has doubled in size, carefully remove the Dutch oven from the preheated oven and take the lid off. Slide your hand under the towel with the dough ball and carefully flip it into the hot pot. Place the lid on top and transfer to the oven. Bake for 30 minutes, then uncover and bake an additional 15-30 minutes until the boule is golden brown all over.
Tip: if you have trouble with bread sticking in your Dutch oven, spray a bit of cooking spray in the bottom of the pot and then sprinkle a bit of cornmeal before placing the bread loaf inside. The cooking spray may smoke a bit in the hot pot.
Cooling, storing and freezing
Cooling - large crusty loaves like this Meyer Lemon Rosemary Bread need to cool for 1 ½ to 2 hours before slicing. The residual heat inside the loaf actually keeps cooking the center of the bread once it is out of the oven. Slicing prematurely can result in a mushy interior crumb and destroy the crust before it has time to set.
Storing - this bread will keep at room temperature for up to 3 days. The best way to store it is in a bread box, a linen bread bag, or in a plastic zip-top bag. The plastic will create a bit of moisture which can soften the crust, but the texture can be restored with toasting. Avoid refrigerating this bread, as it can actually speed up the staling process.
Freezing - if you can't enjoy your bread within 3 days, place completely cooled bread in a freezer zip-top bag. Press out as much air as you can, then freeze for up to 3 months.
I like to pre-slice my bread for toasting before I freeze it and sometimes cut the whole loaf into portions to avoid thawing and refreezing.
To thaw frozen bread, place a portion in the refrigerator overnight or microwave a portion at 40 percent power for 30-60 seconds before toasting it.
Essential tools
Dutch oven - the best size Dutch oven to bake bread in is a 5-quart, which is what I use. A 2 ¾-quart may also be used for small loaves. The lid is necessary to create steam and yield a shiny, crusty loaf.
Microplane - this handy tool is essential for getting finely-grated lemon zest that will evenly distribute through the loaf.
Cotton tea towel - this is what I use to let the bread rise a second time. It makes it easy to transfer the bread to the hot Dutch oven and does not stick to the loaf. Avoid using terry cloth towels, as they often stick to the dough.
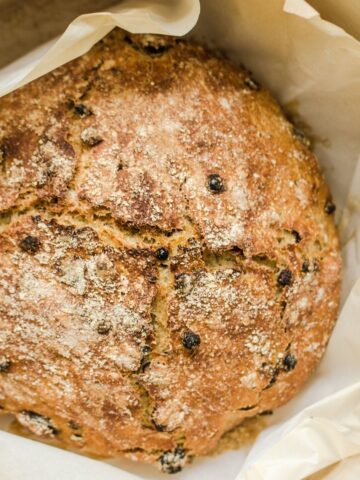
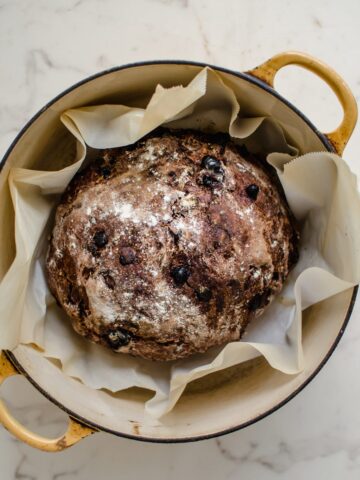
If you want to try more no-knead Dutch oven breads, be sure to check out my Dutch Oven Rosemary Raisin Bread and this Chocolate Rye Boule with Cherries and Walnuts.
Similar recipes

Recipe

Meyer Lemon Rosemary Bread
Ingredients
- 3 cups all-purpose flour (or a combination of half white whole wheat and half all-purpose)
- ¼ teaspoon active dry yeast (not quick-rise)
- 1 ½ teaspoon Kosher salt
- 2 teaspoons chopped fresh rosemary
- 2 teaspoons of Meyer lemon zest (you will need 2-3 lemons)
- 1 ⅓ cups room temperature or lukewarm water
- Cornmeal, as needed (white or yellow is fine)
Instructions
Day 1:
- Combine the flour, yeast, salt, rosemary and lemon zest in a by stirring with a wooden spoon. Add the water and stir until the dry ingredients are well-moistened and a shaggy, sticky dough has formed (I sometimes have to use my hands to lightly knead and work all the ingredients into a loose mass). Transfer the dough to a clean bowl coated with cooking spray. Cover the top of the bowl with plastic wrap. Let the dough sit at room temperature (about 70 degrees F) for 12-18 hours. After a minimum of 12 hours the surface will become dotted with bubbles - that’s a sign that ingredients are fermenting and flavor is developing!
Day 2:
- Transfer the dough to a lightly floured work surface. Sprinkle the top of the dough with a little flour and lightly knead it with you hands for about a minute. Cover the dough with plastic wrap on your counter and let it rest for 15 minutes.
- Generously coat a tea towel with cornmeal or flour. Gently and quickly shape the dough into a ball with floured hands and place seam-side-down onto the center of the towel. Dust the top of the dough with more cornmeal (or flour) and wrap the towel loosely around the dough. Place the towel with the dough in a large bowl and let it rise until the dough has doubled in size and does not quickly spring back when you poke at it. This should take 1 ½-2 hours.
- Thirty minutes before the dough is ready, place a 2 ¾-quart up to a 5 quart cast iron pot in the oven and preheat the oven to 450°F.
- Once your oven is preheated, carefully remove the pot from the oven. Open the towel and slide your hand underneath so that you can turn the dough mound seam-side-up into the pot. Give the pot a little shake to make sure the dough is even on the bottom and put the lid on top of the pot. Bake for 30 minutes, then uncover and bake an additional 15-30 minutes until the boule is golden brown all over and sounds hollow when you tap it with a wooden spoon.
- Remove the pot from the oven and transfer to a wire rack to cool for 15 minutes. Carefully remove the bread from the pot and let cool completely on a wire rack before slicing.


Beth Grashof says
This bread sounds delicious and I cannot wait to try it. What brand of Kosher salt do you use--Morton or Diamond Crystal?
Whitney Reist says
Great question - I use Morton because that's what's available in the grocery stores where I live!
Erin O'hagain says
Hi there,
is it OK to use parchment paper with your recipe when baking in the Dutch oven? my mother and I have been on the bread baking journey this week and your bread is our fourth loaf. Thank you so much!
Whitney Reist says
Yes - using parchment should be fine!
Monica Petruskavich says
This recipe was delicious. I did change it a bit and used 2 tsps of quick rising yeast because that is all I had on hand. I also failed at scheduling baking times so I popped it in my instant pot and let it rise for an hour using the yogurt feature. Served it with no mayo tuna and white bean spread and it was to die for!! Thank you for the recipe!
Whitney Reist says
Those serving options sound delicious! Thanks for trying the recipe 🙂
Trish says
This bread was delicious! Easy to make! I also added a tsp of olive oil. Smelled wonderful baking! I used half whole wheat and half all purpose. Very nice texture and so yummy! Thank you for this wonderful recipe! Also it looked so pretty! 🍋
Trish in Seattle
I have a photo but cannot see where I can add it.
Whitney Reist says
Hi Trish! Thank you so much for trying the bread recipe - I'm thrilled to see you enjoyed it! I'd love to see a photo - you can feel free to post on via Instagram or Facebook and tag @sweetcayenne 🙂
Luz says
I just wondered Can I add 1 T.spoon of Olive Oil?
Whitney Reist says
I think that would work just fine to add it in with the water - it will add a nice flavor!
Suzanne Ryan says
For the initial rise, is it okay to leave for 24 hours?
Whitney Reist says
Hi Suzanne, I think that would be ok. However, I can't say for sure as the maximum amount of time I have used is 18 hours. I would place it in the fridge perhaps if you'd like to try 24 hours.
Arlin Gold says
Looks amazing! Do you need to bake immediately after the final 1.5 hr rise? Thanks!
Whitney Reist says
Thank you! Yes - you should bake immediately after the final rise. Otherwise, the dough will overproof and deflate either before or during baking. Hope you enjoy!
SP says
What a great recipe! It was very easy to follow, and the bread turned out perfect! My family kept coming into the kitchen while the bread was baking because it just smelled so, so good. I will definitely make this again!
Whitney Reist says
That is so good to hear! It's one of my favorite recipes and I'm glad you enjoyed it 🙂
Susan Ellis says
Good morning. I just took my loaf of Myer Lemon Rosemary bread from the oven. Smells WONDERFUL and am patiently waiting for it to cool. HOWEVER.... the top of my loaf is smoother and doesnt have that golden maybe buttered look. Did you brush it with something before baking or after?
Whitney Reist says
Hi Susan! So happy you made the bread recipe - thank you for the comment! I did not brush my bread with anything before/after...it just got very brown because of the heat from the Dutch oven lid. I hope you enjoy your bread!
Heather Mason says
wow, this is amazing! I love the idea of baking bread in a dutch oven!
Whitney Reist says
Thank you, Heather! Dutch ovens are the best - so many delicious things you can make in them!