
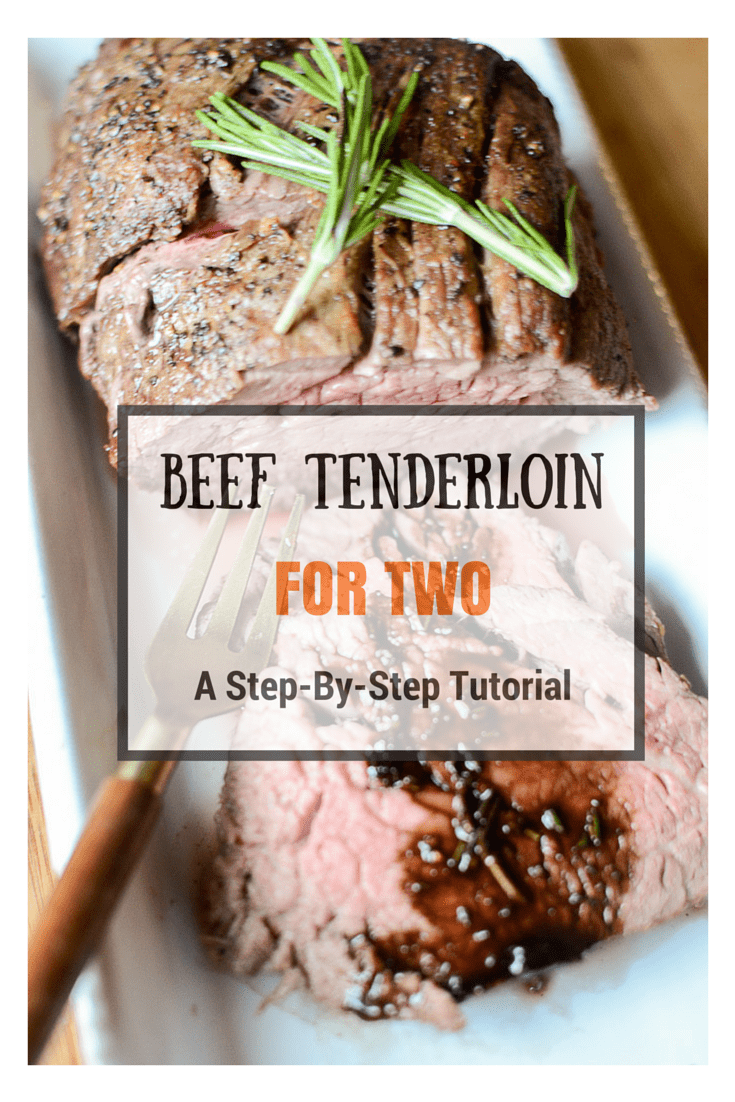
This step-by-step tutorial for making beef tenderloin for two will make for a perfect at-home date night.
Today we are talking cooking school, so put on your chef hats and get ready to cook! There's nothing I find more helpful than a step-by-step tutorial; whether it be about applying makeup, learning a new hair-do, making a craft, or learning a new cooking technique. I love bloggers like the Pioneer Woman who painstakingly take the time to show you every.single.step that's involved with making a dish. This takes a lot of time, energy, and effort to do on their end, but it goes such along way in boosting my confidence and making me more likely to succeed when I'm trying something for the first time.
Putting more step-by-step tutorials on the blog is a huge goal of mine for the coming year. However, it's not always convenient or easy to take step-by-step photos of a cooking process. For one thing, the light in my kitchen is terrible, and I have no access to natural light while I am cooking! That's the main reason my food photos are always of the finished product. I have to have a window/natural light to portray the food at it's best!
For a dish as divine as beef tenderloin, I think we need step-by-step photos. This is an expensive cut of meat that a lot of folks are intimidated by. However, in my opinion, it's an excellent choice when you want to prepare a delicious {and maybe romantic???} dinner for someone special. Once you know the basic steps, it's really simple to prepare and a sure-fire way to impress whomever you are cooking for; so read on for step-by-step instructions for cooking beef tenderloin #likeaboss !
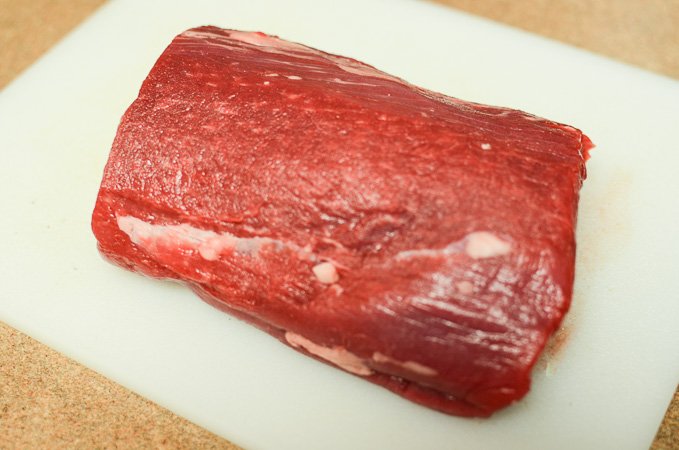
First things first: you're going to need a beef tenderloin! I asked my butcher to cut a 1 ½ pound center-cut piece of tenderloin for me. You'll want to cook it no later than the day after you purchase it for the freshest taste. As you may know, the tenderloin cut of beef is what they use to portion out filet mignon steaks. While it's very lean, it's also succulently tender and tastes best when simply prepared. All it needs is a little bit of love! Your tenderloin will be extra tender and juicy if you let it sit out at room temperature {covered, of course} for about 30 minutes before you season it for cooking. My 1 ½ pound tenderloin cost about $35; but it made 4 very hearty portions, so all in all you're walking away at about $8 per serving. Not bad for a special occasion dinner!

Once your tenderloin is nice and relaxed from it's time out from the fridge, you'll need to liberally season it with coarse ground Kosher salt and freshly cracked black pepper. This is a thick cut of beef, so you want to season the outside generously. Using coarse salt and pepper for seasonings will create a beautiful, flavorful crust when you sear the meat and result in really flavorful pan drippings. #themoreyouknow right?
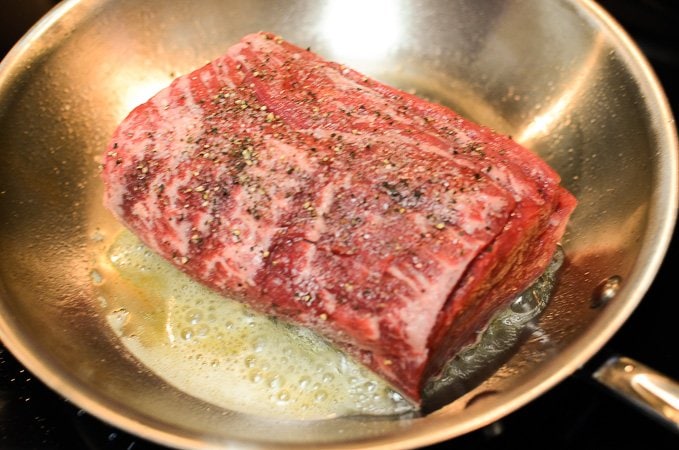
For the best golden-brown sear, you'll want to get your pan nice and hot over medium-high heat. You'll know the pan is ready when you drop a bit of water on it and it sizzles. That's when you'll want to add some butter and a good drizzle of oil with a high smoke point - my favorite oil for high heat cooking is grapeseed oil.
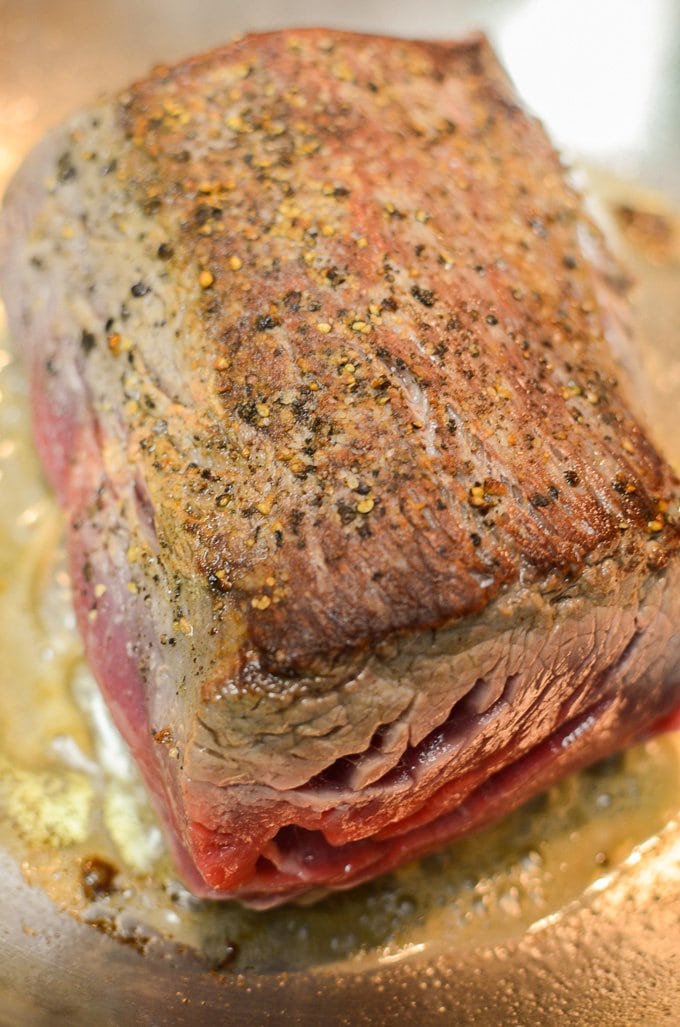
Look at all of that beautiful, brown color! Makes me think of the time when my meat prep instructor at culinary school told me to always aim for "GBD" when cooking meat - golden, brown, and deeeee-lish-shus!
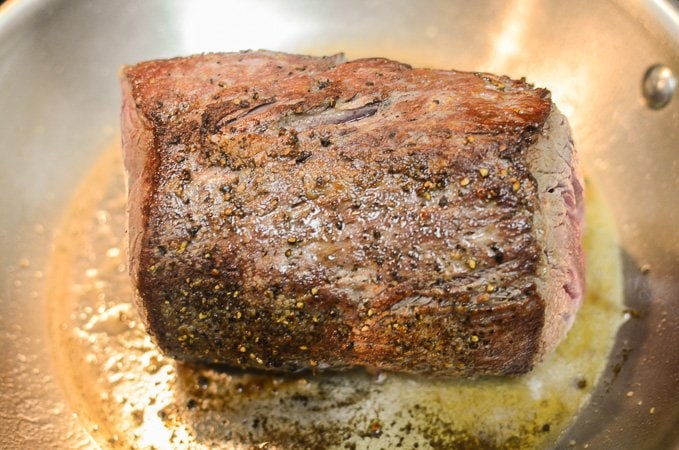
We'll want to give our tenderloin a nice sear on ALL sides so that every inch is covered in that gorgeous crust. Don't rush this process - just let the meat chill out and do it's thing for 1 ½ - 2 minutes per side. Once all sides have been browned, we'll transfer it to a pan and let the oven finish cooking it while we make a pan sauce!

Once your meat is in the oven, you'll add some pre-chopped aromatic veggies to the meat drippings and saute them until golden brown and soft. I like to have my veggies chopped and ready to go before I start cooking the meat. This allows me to enjoy the cooking process more and focus on cooking the meat correctly. For this particular pan sauce, I chose mushroom stems (the caps were used for another dish), shallots, and garlic. I also added a bit of fresh thyme because I love the way it pairs with beef. You change up the veggie combo according to your taste - this guide to aromatics is a great resource!

Once your veggies have gotten a nice color on them, you'll do what's called deglazing the pan. This involves adding some wine and/or beef stock to lift up all the sticky brown bits on the bottom of your pan, which will in turn add mucho flavoro to your sauce.
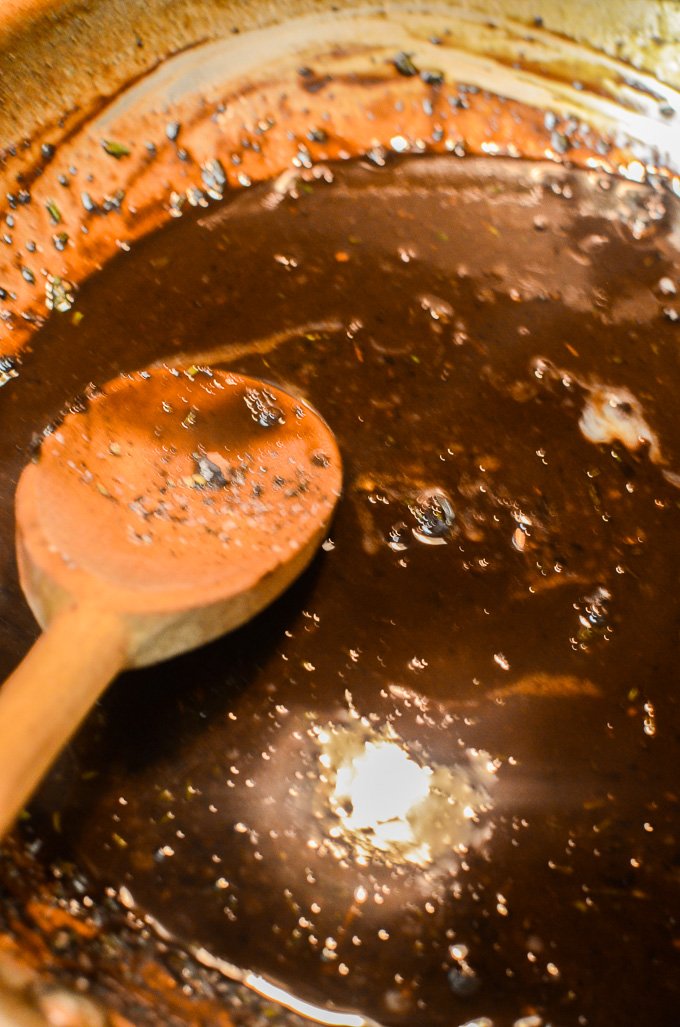
Once the pan is deglazed, I like to add extra beef stock so that I can reduce it. A reduction concentrates the flavor of a liquid, and involves simmering it for a good while so that moisture evaporates and a thick, sticky sauce forms. You'll know that your sauce has reduced enough when it coats the back of your spoon that you stir it with. This is what the French call nappe; fancy, huh? While your meat will only be in the oven for around 15 minutes, your sauce will likely take 30 minutes to reduce. That's ok though, because after your meat comes out of the oven, you'll want to let it rest for a while. All that searing and cooking is hard work for your tenderloin; so this resting time allows all the juices inside to redistribute, and will result in your meat being extra tender when you slice it.
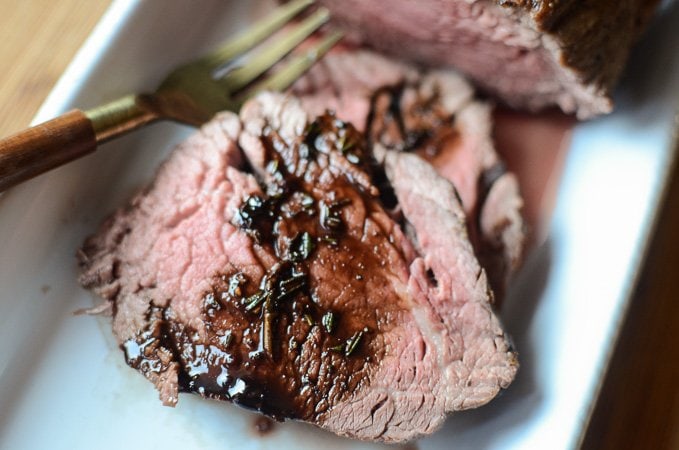
Once you slice your meat, you''ll drizzle that velvety thick sauce over the top and your mouth will water like crazy. Light the candles, plate it up, grab your fork, and eat up! A dish like this is too good to let it get cold while you snap a dozen photos...unless you plan to blog about it!
Note: I chose to serve my tenderloin over wild mushroom risotto with some roasted green beans. Other options would be twice baked potatoes or some wilted spinach. Keep the sides simple and let the tenderloin be the star of the show for this particular menu!
Delish!!!! If you like what you saw, you can sign up for my weekly email list here (get a free cookbook for signing up). Also, you can check out a few of my other posts: Back Pocket Chocolate Fudge Cake, Peach BBQ Kabobs, Signature Nail System Manicure.
Most of my posts are related to food, however, I do lifestyle, beauty, and travel posts from time to time. Connect with us through the newsletter or on Twitter, Facebook, Pinterest, and Instagram!
Recipe
Beef Tenderloin for Two – A Step-By-Step Tutorial
Ingredients
- One 1 ½ pound center cut beef tenderloin
- Coarse ground Kosher salt
- Freshly cracked black pepper
- 1 tablespoon butter + 1 tablespoon grapeseed canola, or safflower oil
- 1 cup chopped mushroom stems caps, or both!
- 1 small shallot minced
- 2 cloves garlic minced
- 2 teaspoons fresh thyme
- ½ cup full-bodied red wine such as Cabernet Sauvignon or a Zinfandel
- 2 cups Kitchen Basics Unsalted Beef Stock
- 1 teaspoon Dijon mustard + ½ teaspoon brown sugar
- 2 teaspoons butter
Instructions
- Remove tenderloin from refrigeration and allow it to sit out at room temperature for 30 minutes. It's a good idea to get all of your veggies chopped and liquids measured during this time so that everything is ready to go when you cook the meat!
- Preheat your oven to 425 and have a pan ready to go into the oven. Then heat a medium heavy-bottomed skillet over medium-high heat.
- Season all sides of the tenderloin liberally with salt and pepper. Add the tablespoon of butter and oil to your heated skillet. Sear the meat on all sides (including the ends), for 1 ½-2 minutes per side until an even golden-brown crust forms.
- Transfer the meat your baking pan and roast for 15-17 minutes for medium-rare. If you're nervous about whether or not your meat is done after 15 minutes, take the temperature by inserting a kitchen thermometer in the center of the tenderloin. It should read 140 degrees when the meat is done. Cover the meat loosely with foil and let it rest for 15-20 minutes before slicing against the grain.
- While your meat cooks and rests, make the pan sauce. Add the mushrooms and shallot to the meat drippings in the pan over medium-low heat. Saute until golden; about 3 minutes. Add the minced garlic and thyme and saute until fragrant, about 30 seconds more. Add the wine to your pan to deglaze; being sure to scrape up the brown bits from the bottom of your pan with a wooden spoon.
- Add the beef stock to the pan and stir in the Dijon mustard and brown sugar. Bring the liquid to a simmer over medium heat. Reduce the liquid over medium to medium-low heat, stirring frequently, until it is thick and coats the back of your spoon. You should end up with about ½ cup of sauce when it has reduced enough. Strain the sauce over a medium bowl and return it back to the skillet to keep warm while you slice the meat. Season to taste with salt and pepper, and stir in 2 teaspoons of butter just before you spoon the sauce over the sliced tenderloin. Enjoy!
Sharon Magaliff says
This was a great step by step guide Haven't made this in a while and my tenderloin came out great Good recommendations on searing and roast times
Emily @ Zen & Spice says
Awesome tutorial! I've wanted to get better at cooking red meat. Love the step by step process.
Whitney Reist says
Thanks, Emily! You can do it - I know you are a wonderful cook!!
Melanie says
This looks delicious! What a great tutorial for two! I often make way too much, so this will be very helpful! 🙂
Whitney Reist says
Thank you, Melanie!