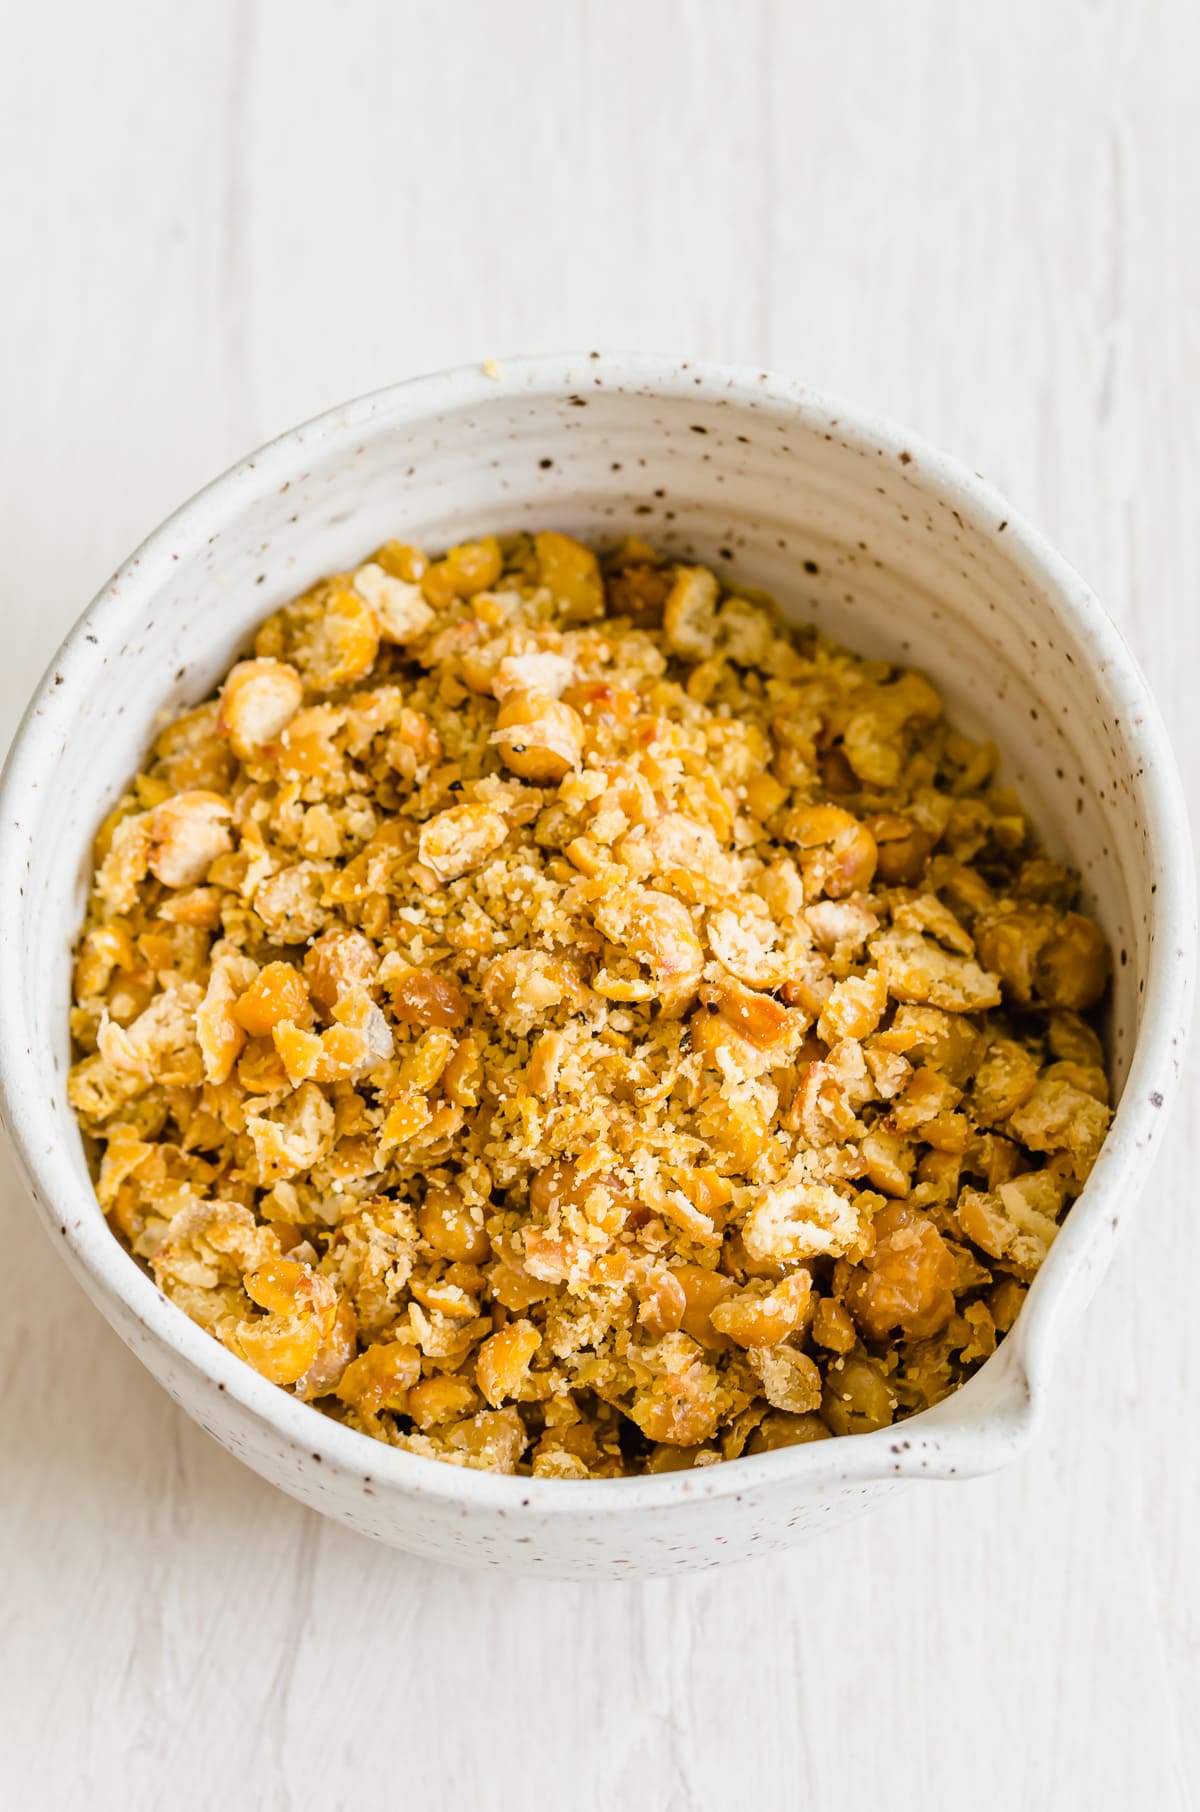
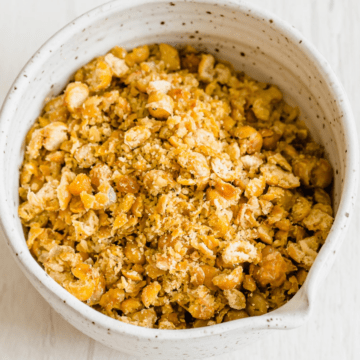
These chickpea breadcrumbs are one of my favorite roasted chickpea recipes that I love to use for sprinkling a bit of crunch onto salads, pasta, soups, and more! They are so easy to make and can be seasoned in a variety of ways.
About the recipe
If you find yourself with a well-stocked pantry and are wondering what you can do with lots of chickpeas, then look no further than this chickpea breadcrumbs recipe!
I always try to keep a good supply of canned beans in my pantry - they are just SO affordable and nutrient-dense that I try to use them whenever possible! While we tend to eat more beans in the fall and winter, I've recently tried to incorporate pulses into summer salads, dips, and snacks so that we eat them consistently throughout the year.
This recipe was inspired by the "Sprinkling Crumbs" recipe in the cookbook Salt, Fat, Acid, Heat, which I've been reading as part of my cookbook club this summer.
The "sprinkling crumbs" recipe is basically an encouragement to make your own breadcrumbs when possible, as it adds a gourmet element to any dish an ensures leftover bread is used up.
It recently occurred to me that I should try making my own version of sprinkling crumbs with chickpeas and base it off of my recipe for roasted chickpeas, like in these Roasted Chickpea Pitas. I was thrilled at how flavorful and crisp they turned out, and now I'm adding them on top of anything where I want an element of crunch. Let's make some!
Ingredients
- Canned chickpeas
- Olive oil
- Salt
- Coarse ground pepper
- Italian seasoning
Instructions
Step 1: Drain and rinse the chickpeas in a strainer. There may be some foam as you are rinsing them, and this is normal! Just rinse until the water runs clear.
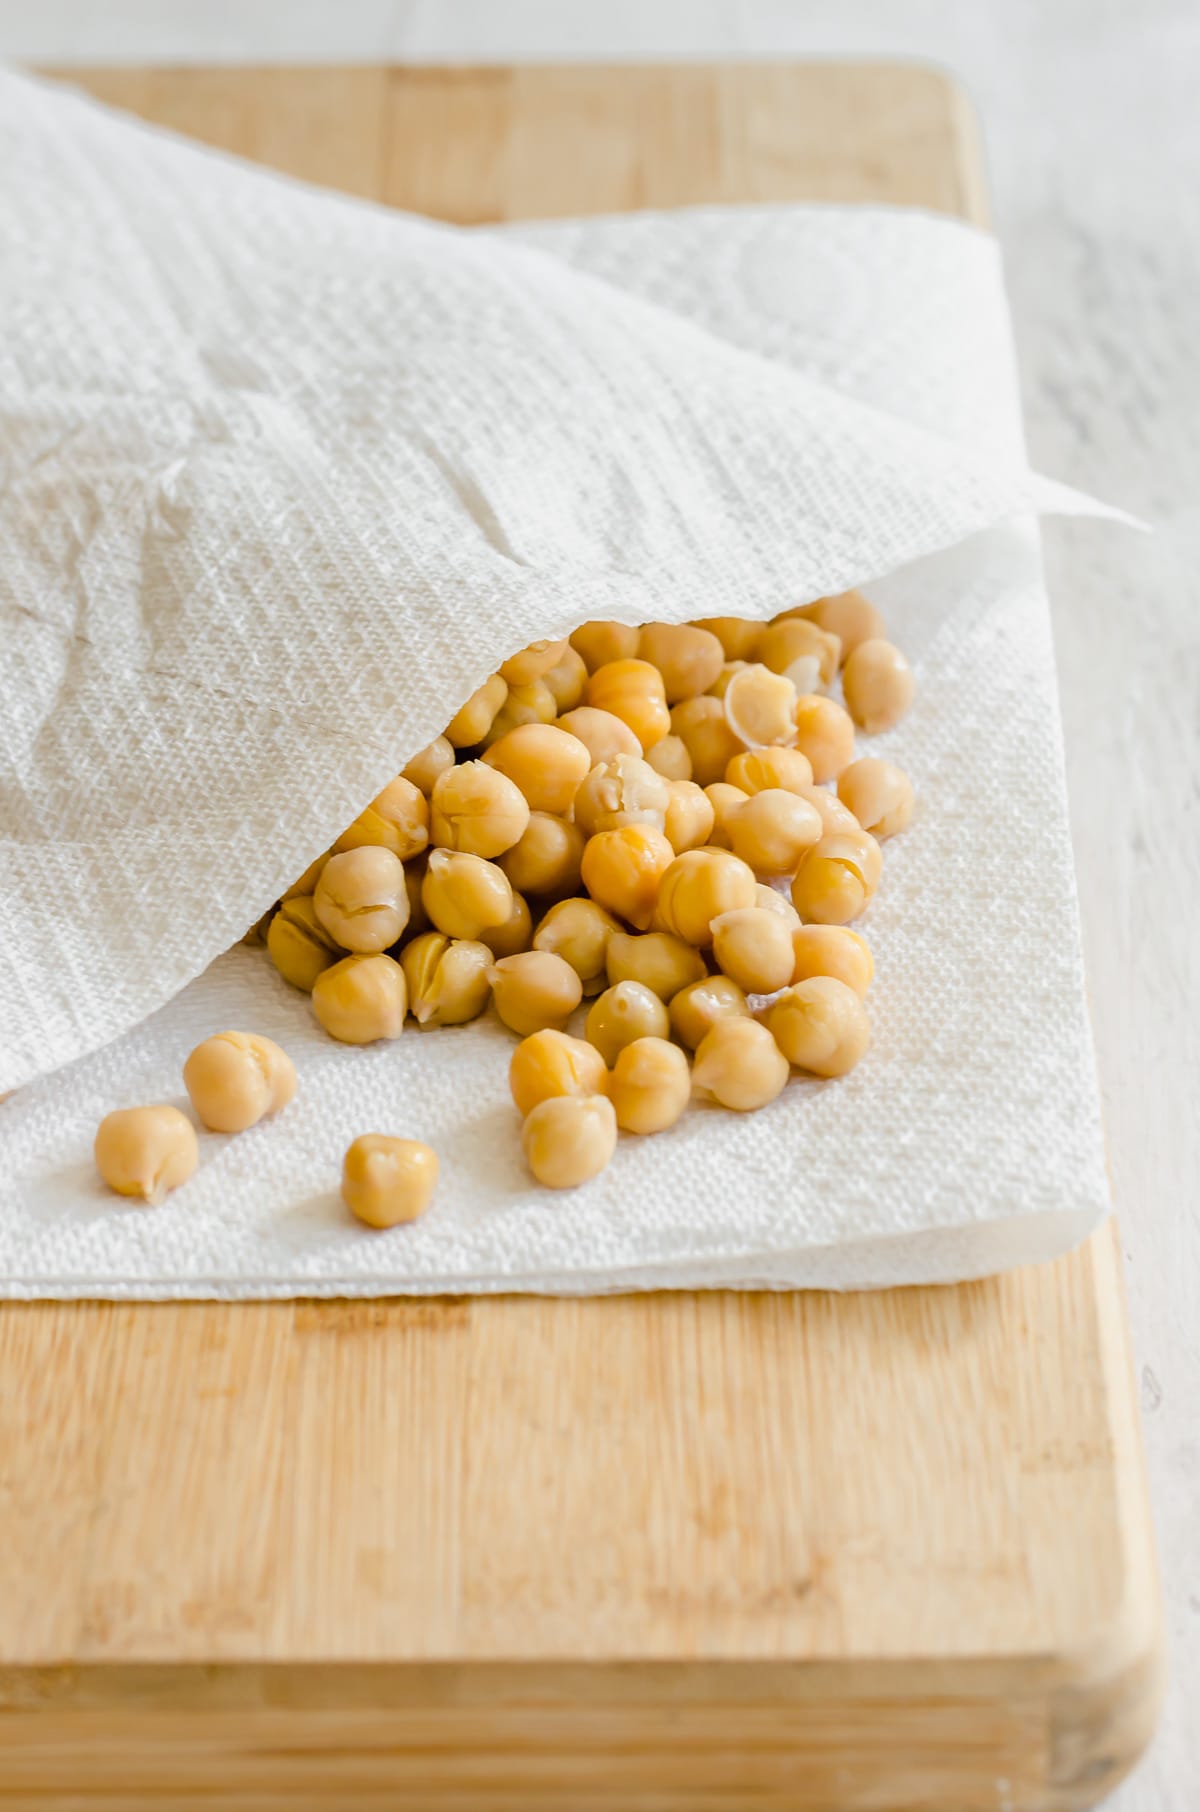
Step 2: Pat the chickpeas as dry as possible with paper towels. Some of the skins may come off as you are doing this, and you can just discard those.
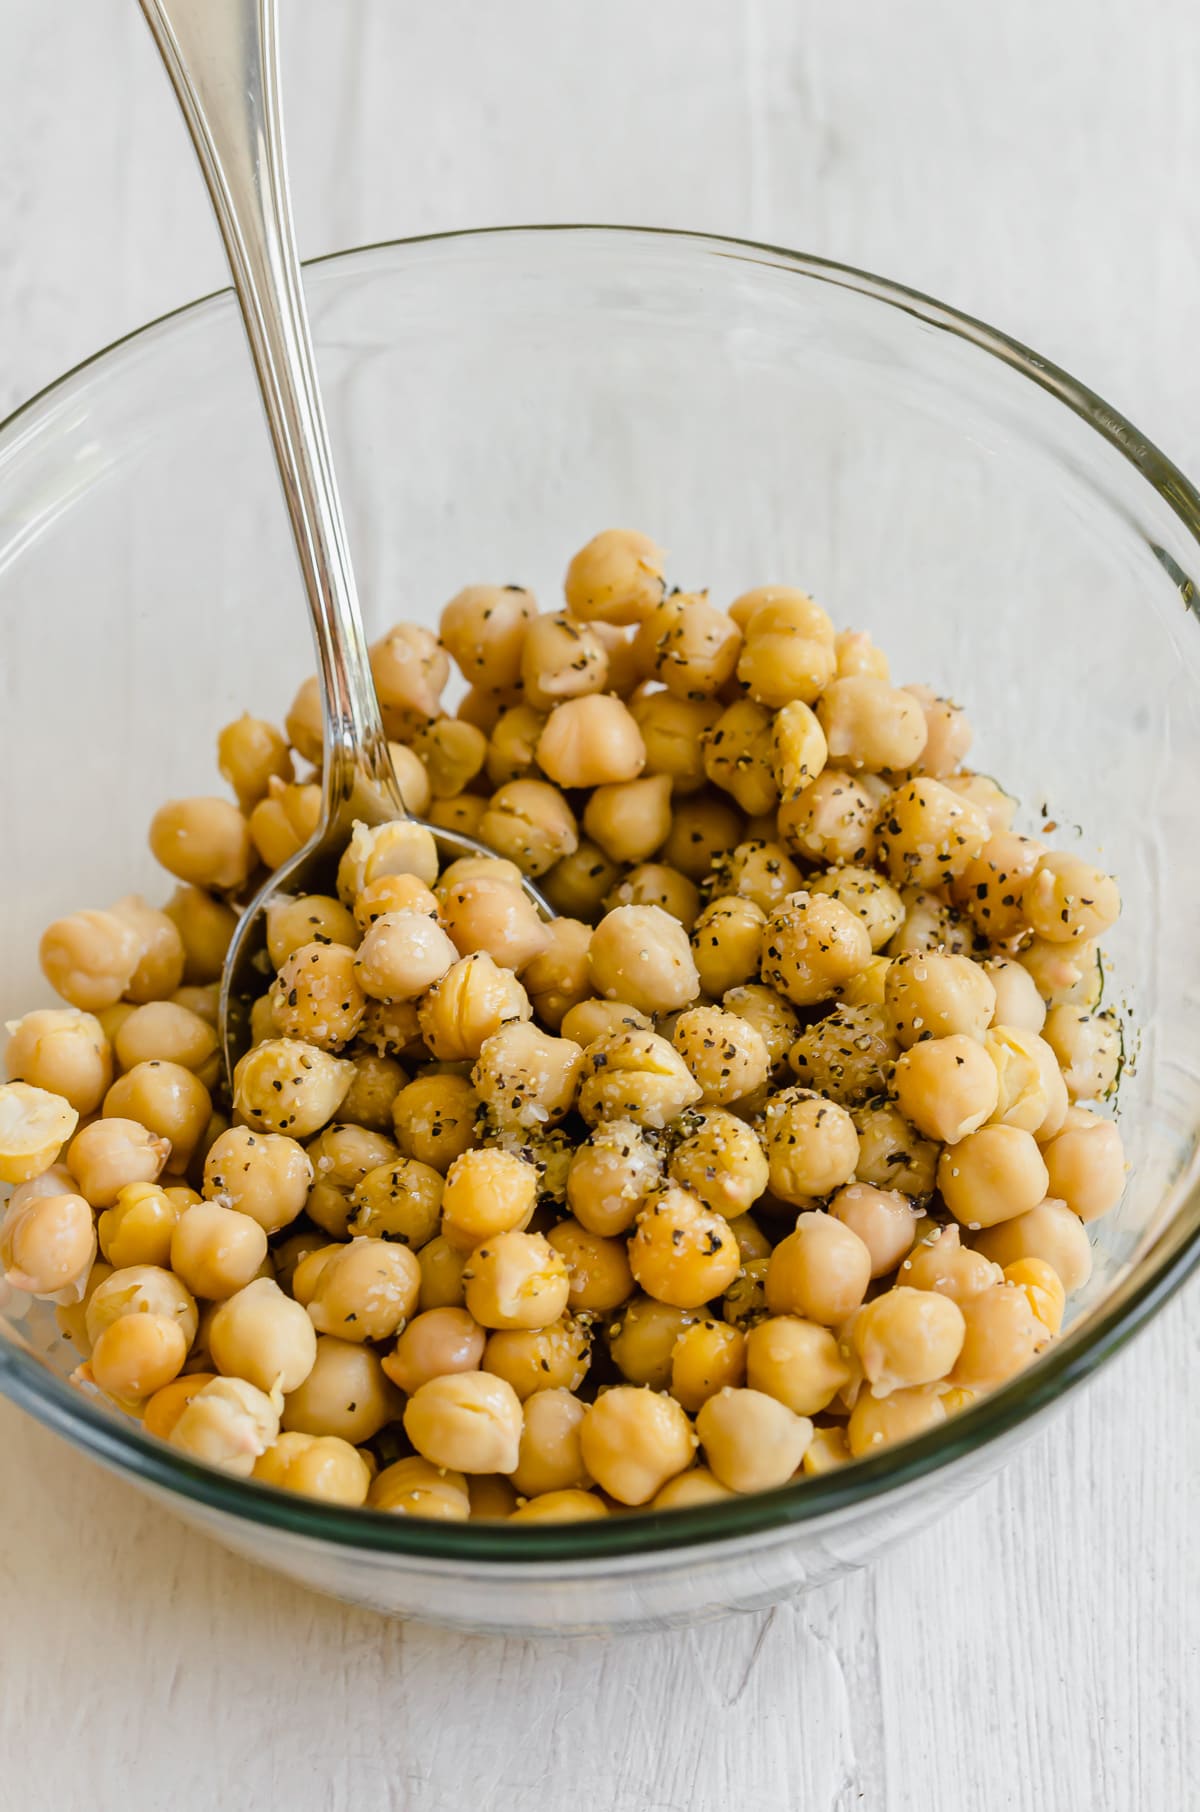
Step 3: Place the chickpeas on a baking sheet lined with parchment paper. Drizzle with olive oil, salt, pepper, and any desired seasonings, tossing to coat them thoroughly. You can also do this in a bowl if you prefer.
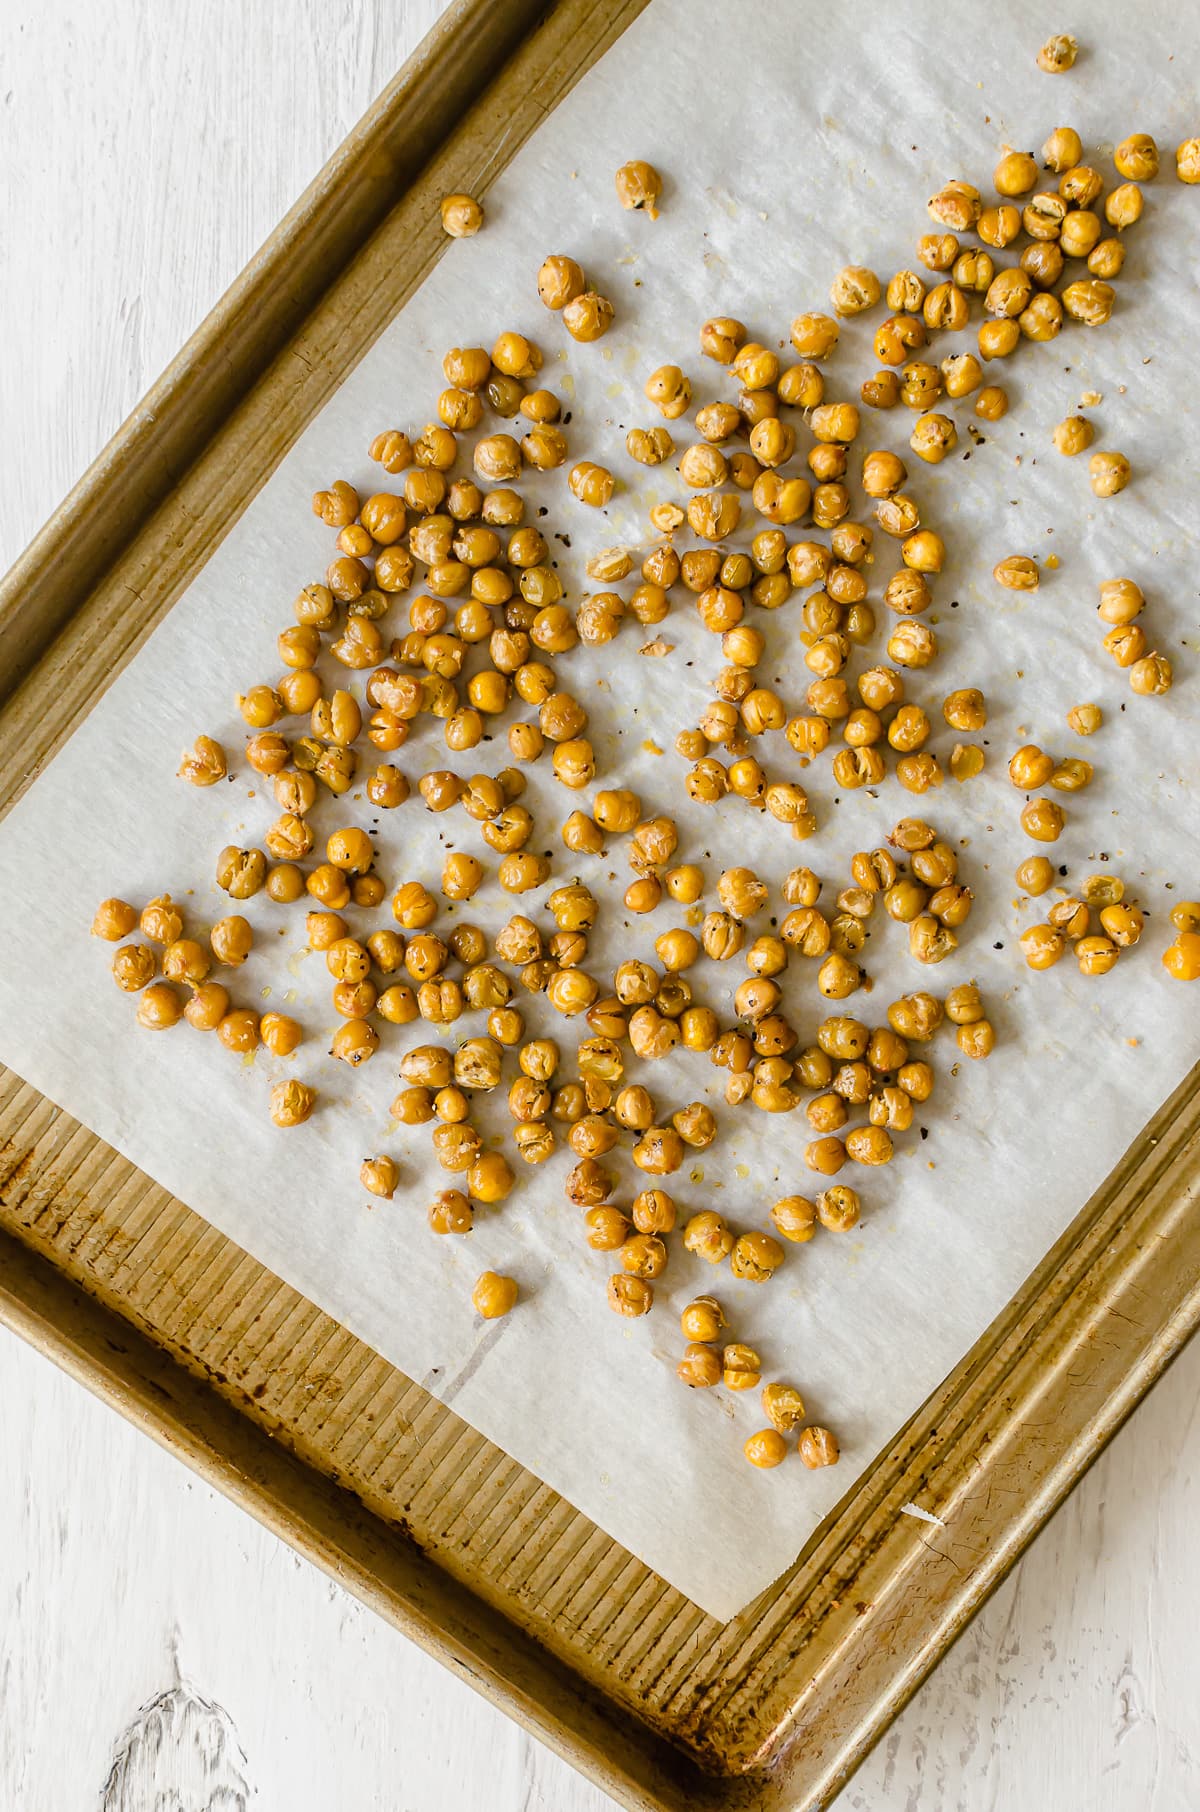
Step 4: Roast the chickpeas at 400°F for 20-30 minutes until they are golden and crisp. Toss them halfway through cooking to ensure even browning.
Step 5: Let the chickpeas cool slightly to crisp up, then chop them coarsely before serving on salads, pasta dishes, soups, or a bowl of simmered beans.
Top tips
Below are some of my best tips for making chickpea breadcrumbs, as well as some answers to commonly asked questions about them!
Are canned chickpeas healthy?
Chickpeas - or garbanzo beans - are a very nutrient-dense member of the legume family. They are rich in protein and fiber, which can keep you full for longer after a meal. The high fiber content also helps support a healthy digestive system.
While chickpeas do contain some carbs, they have a low glycemic index and will be digested slowly, making them a great carb option for diabetics when eaten in moderate amounts.
However, canned items can be high in sodium, so try to choose no salt added canned chickpeas when possible. You can also rinse the canning juices off of the chickpeas before using them to reduce sodium.
How long do chickpea breadcrumbs last?
Chickpea breadcrumbs can be stored in an airtight container in the fridge for up to 1 week, or frozen in a freezer-safe bag for up to 6 months. Thaw the portion you need at room temperature for 15 minutes or so before reheating and serving.
How do I make the chickpea breadcrumbs crispy again?
Chickpea breadcrumbs will lose their crispiness when stored, but it is very simple to make them crispy again!
To reheat, place a skillet over medium heat. Add a light coating of olive oil to the skillet. Place the breadcrumbs on top in a thin layer, then toast for 5-6 minutes, stirring occasionally, until they are fragrant, golden and crisp. Serve right away.

Similar recipes
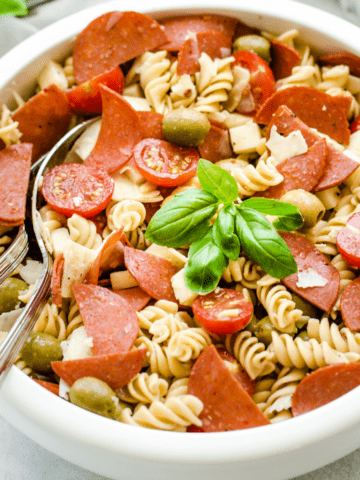
For more chickpea goodness, check out some of my chickpea pasta recipes, like Easy Lasagna Soup, Baked Chicken Rotini, and Pizza Pasta Salad.
Are you ready to make these Chickpea Breadcrumbs? I’m so excited for you to try this recipe. Once you get the chance to make it, please let me know how it turns out for you!
Leave a comment and rate the recipe below. This will help me with the creation of future recipes!
I’d also love to feature your creation in my weekly newsletter, so you can upload a photo to Instagram with the tag @sweetcayenne5 to be featured! Quick and easy recipe videos are available on my YouTube channel, and lots of menu inspiration on my Pinterest boards.
Recipe
Chickpea Breadcrumbs
Ingredients
- 1 (15 ounce) can chickpeas
- 2 tablespoons olive oil
- ¼ teaspoon coarse Kosher salt
- ¼ teaspoon freshly cracked black pepper
- 1 teaspoon Italian seasoning (if desired)
Instructions
- Preheat the oven to 400° F. Line a large baking sheet with parchment paper and set aside.
- Drain and rinse the chickpeas in a strainer. There may be some foam as you are rinsing them, and this is normal! Just rinse until the water runs clear.
- Pat the chickpeas as dry as possible with paper towels. Some of the skins may come off as you are doing this, and you can just discard those.
- Add them to the lined baking sheet. Drizzle with olive oil, pepper, and Italian seasoning. Toss to coat them thoroughly.
- Roast the chickpeas for 20-30 minutes, tossing them halfway through with a spatula to ensure even browning. Remove from the oven when they are golden and crisp.
- Let the chickpeas cool slightly for 5 minutes, then chop on a cutting board into a coarse crumb. Serve immediately on salads, pasta dishes, or beans.
- Store any remaining breadcrumbs in an airtight container in the fridge for up to 1 week.
- To reheat, place a skillet over medium heat. Add a light coating of olive oil to the skillet. Place the breadcrumbs on top in a thin layer, then toast for 5-6 minutes, stirring occasionally, until they are fragrant, golden and crisp again.




Ryan says
As a sports performance dietitian, I love when I can find new and easy recipes that I can give my clients to help them get more legumes in their diet. So good for fullness and a great fuel source! These look like a great option for salads. Thanks for posting this!