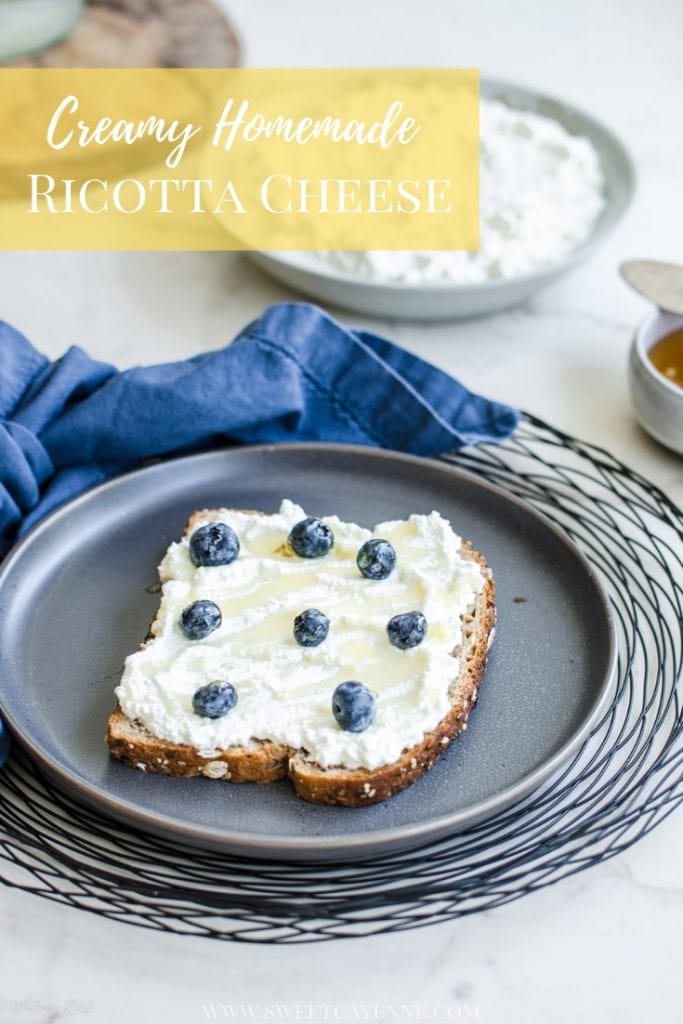
If you are new to cheesemaking at home and want to start with the easiest, creamiest, dreamiest of homemade cheeses, look no further than this fresh ricotta cheese!

Ever wanted to make cheese at home but think the idea sounds a little too extreme? That was me a couple of months ago. There are already so many things I prefer to make from scratch - bread, salad dressings, sauces, jams, spreads, granola, etc. that I couldn't possibly add another item to the list!
But then on a whim, I began to research how to make ricotta cheese at home and decided to give it a try. And you know what? It's easier to make than ALL of those things I mentioned above. It's so simple that you will probably chuckle when you make it and see what I'm talking about. But before we get into all the details, let's get a few things straight...
First of all, ricotta cheese that you make in a home kitchen with everyday ingredients is NOT true ricotta. TRUE ricotta has it's origins in Italy and is made from the liquid whey that is leftover from making other cheeses, like Parmesan or fresh mozzarella. The Italians are a resourceful people, so ricotta is their efficient and delicious use of leftovers!
The "ricotta" I'm sharing with you today is a simple mixture of everyday dairy milk and cream. This process uses the similar ingredients and technique to making homemade Indian paneer, which involves more straining and shaping the final curds into a semi-firm disk. Both are excellent forays intom making your own cheese and are perfect for beginner cooks!
Ingredients
- Whole milk - you will want to use the freshest, most delicious-tasting milk you can find for this cheese. I like to buy organic whole milk in a carton for this cheese, as it extends the shelf life of the cheese a bit longer than regular whole milk. You could use a high-protein whole milk as well!
- Heavy cream - this is necessary for the overall texture and richness of your finished cheese. Do not skip the cream! This recipe is definitely a "sometimes" food, meant for indulgence, celebration, or the joy of a new culinary experience. So appreciate it as is for those reasons and enjoy it every now and then!
- Salt - I prefer to use Kosher salt or sea salt for this cheese for the best flavor. Feel free to use half of the required amount for a low-sodium version.
- Acid - many recipes you will see online for homemade ricotta call for fresh lemon juice. And while I prefer the flavor of lemon juice in cheese to vinegars, I haven't had much luck getting my milk and cream to curdle when I use lemon juice. The acidity of lemons can vary greatly, and I don't like the taste of bottled lemon juice in fresh cheese. So apple cider vinegar is what I use to curdle the dairy, and I've had much more success with it.
Instructions
- Bring milk and cream to a slow boil - this is a rather hands-off process. Do it over medium heat, and stir every now and then to prevent scorching.
- Add acid to curdle the dairy - do this off of the heat, and be patient! If it doesn't curdle right away when you stir the vinegar into the milk, let it sit for 5 mintues. If it doesn't look curdled enough, heat the milk again for a few minutes before adding another tablespoon of vinegar. It will curdle eventually!
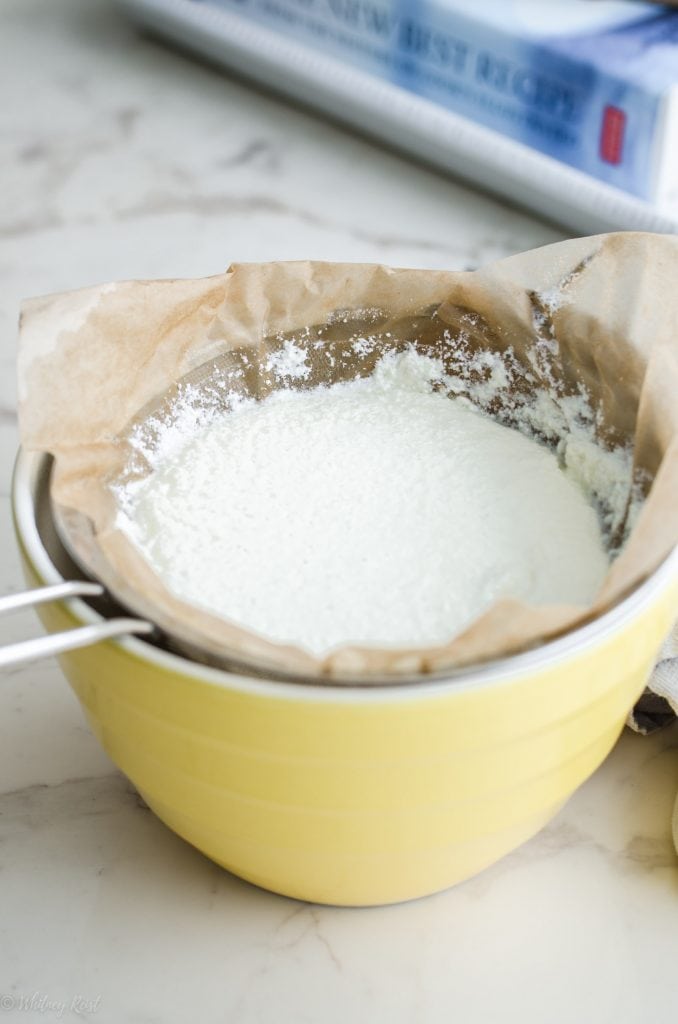
- Strain the curds from the liquid - this is simple and doesn't require cheesecloth! All you will need is coffee filters and a fine mesh strainer. I find that 20 minutes of straining gives me the perfect of balance of creaminess and body for the cheese. However, strain for less time if you want a softer, more loose ricotta (good for baking and cheese boards) and strain for longer than 20 minutes if you want a stiffer, more dry ricotta (good for making fillings to stuff in noodles or cannoli shells).
Pairings
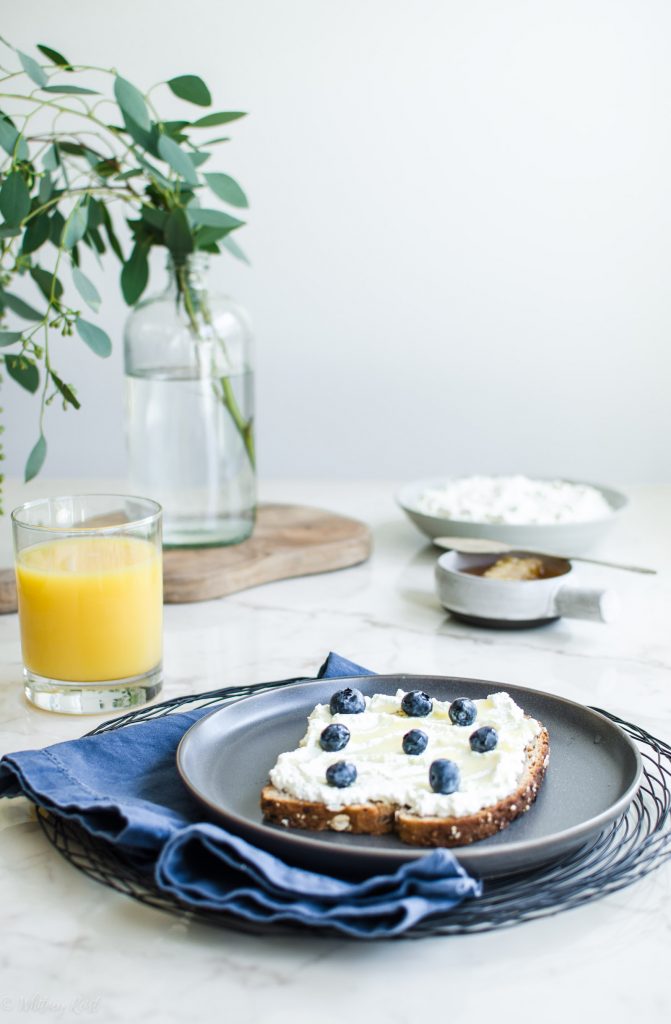
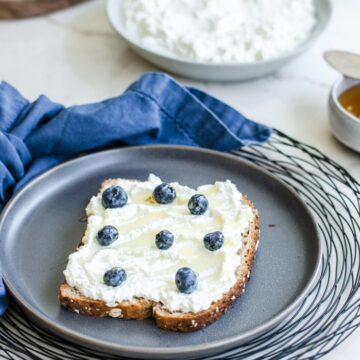
- Spread on toast
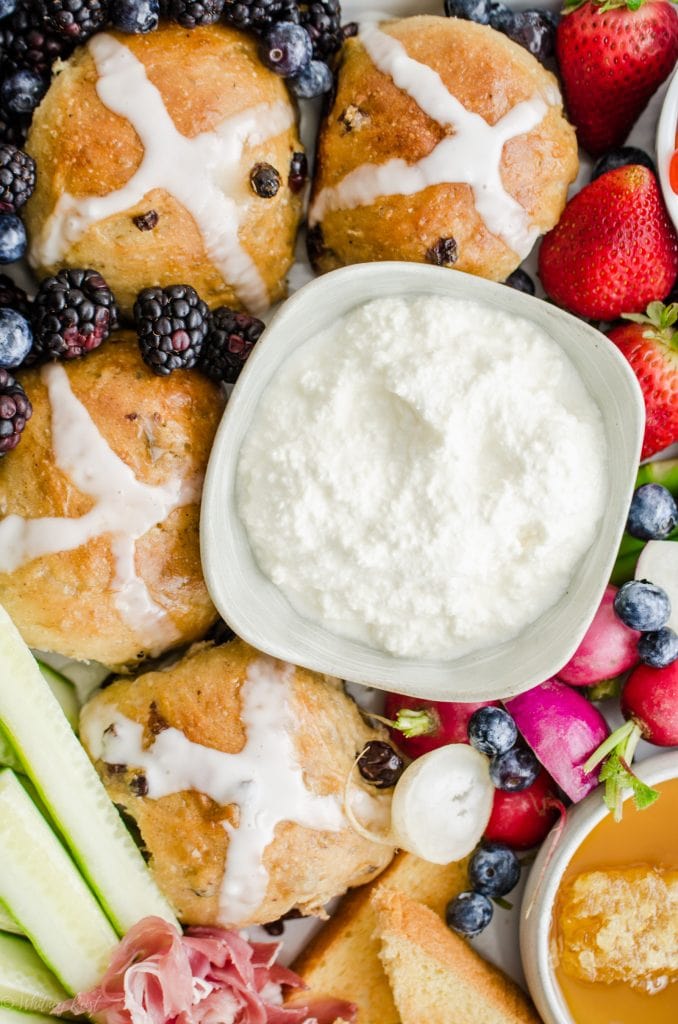
- As the soft cheese option on a cheese board - this Easter brunch board is perfect for it!
- Filling fresh, homemade cannoli (YASSS!)
- In homemade pancakes or French Toast
- As a filling for stuffed shells, manicotti, ravioli, or lasagna
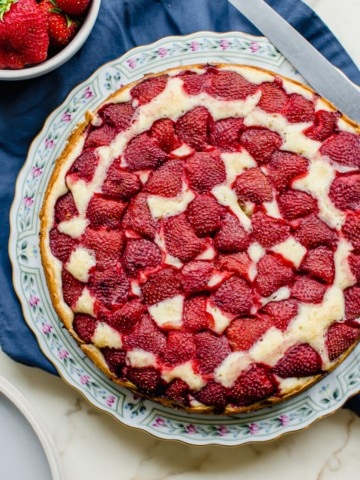
- In cheesecake (this honey version looks amazing!)
Similar recipes


Are you ready to try this Homemade Fresh Ricotta? I’m so excited for you to try this recipe. Once you get the chance to make it, please let me know how it turns out for you!
Leave a comment and rate the recipe below. This will help me with the creation of future recipes!
I’d also love to feature your creation in my weekly newsletter, so you can upload a photo to Instagram with the tag @sweetcayenne5 to be featured! Quick and easy recipe videos are available on my YouTube channel, and lots of menu inspiration on my Pinterest boards.
Recipe
Homemade Ricotta
Ingredients
- 3 ½ cups whole milk
- ½ cup heavy cream
- ½ teaspoon Kosher salt
- 3 tablespoons apple cider vinegar
Instructions
- Prepare a fine mesh sieve by lining it with 2-3 coffee filters (to cover all of the mesh) and placing over a large bowl.
- Whisk together the milk, cream, and salt in a large, heavy-bottomed saucepan. Bring to a slow boil over medium heat, stirring occassionally to prevent scorching. Once it comes to a boil, remove from heat. Slowly stir in the apple cider vinegar and let the mixture sit for 5 minutes. The mixture should curdle (see notes).
- Gently strain the curds from the liquid by pouring the contents through the prepared strainer. Allow to drain for 20-30 minutes, depending on desired consistency, being careful not to let the curds touch the liquid (or it will not drain). Transfer to a glass storage container and chill until ready to use. Store leftovers for up to 5 days. Some of the liquid will separate from the curds in storage - simply stir it back in before serving!
Notes
Pin this, pretty please!