Hiiiiiiii. Please don't hate me for posting another baked goodie. I can't help myself! Christmas is NEXT WEEK and we will be spending it (and pretty much the entire week) in a hotel (thank you, Holiday Bowl and the Unviersity of Nebraska), so I just had to make decorated cutout cookies before we left. I blame this urge entirely on my sister-in-law, Lainey, who works tirelessly every year to make the ultimate cookie decorating experience happen for Reist family Christmas gathering.
I've spent 2 Christmas's with Ryan's family thus far, and each year Lainey has had the best cookie making set up I've ever seen. If you've ever made cutout cookies before from scratch, you probably know that it can be stressful at times. The dough is sticky and can be tricky to roll out and cut. Once you've cut shapes with your cookie cutters, limbs will inevitably fall off as you tediously release them from surrounding dough and transfer them to a cookie sheet. It's a process that requires the patience of Job, and up till 2 years ago, I wouldn't have touched the process that is made-from-scratch Christmas cookie cutouts with a 10-foot pole.
Fast forward to 2014, and I'm making cookie cutouts every chance I can get....and each occasion needs it's own special flavor of cookie dough. Remember the maple spiced cutouts Ryan and I did for Halloween? Christmas cutouts, for me anyway, need to be made of gingerbread cookie dough. Valentine's should be chocolate. And Easter gets to be the traditional sugar cookies - maybe with some lemon zest added to the frosting? I'm thinking so.
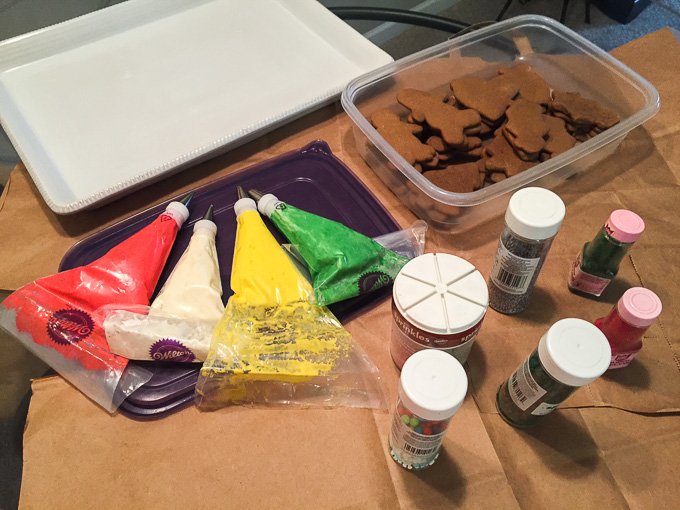
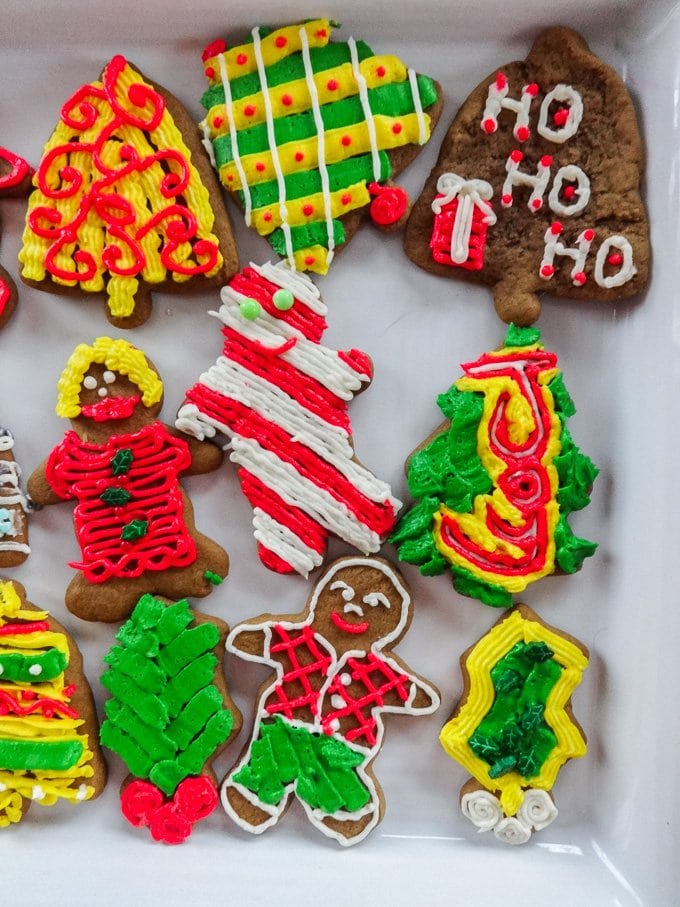
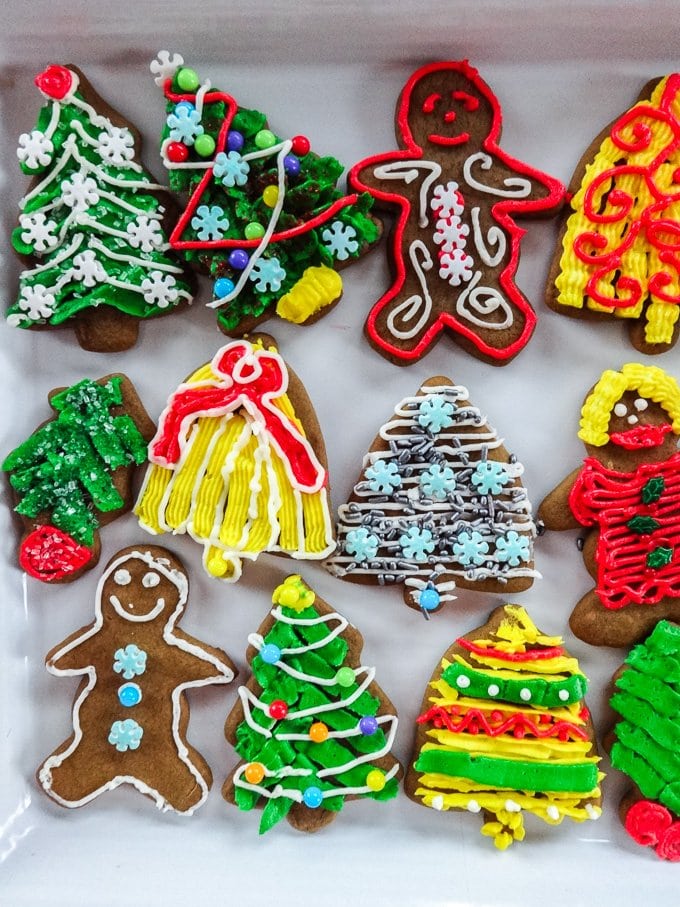
So what gives? What is the secret behind my new-found cutout cookie confidence? Well, thanks to Lainey, I have discovered the key to a stress-free cookie decorating experience lies in completing the project in stages. She usually makes her cookie dough at least a day ahead of time, chills it, rolls it, cuts it, and has all the cookies baked and cooled before guests arrive to decorate. Icing has been mixed, colored, and transferred to pastry bags or squeeze bottles so that everyone can get right to decorating. An assortment of festive sprinkles is ready. Everyone decorates until their hearts are content and has a great time....and a lot of frosting/cookie scraps are consumed along the way!
Side note - another thing I love about Lainey's cookies is that they are frosted with buttercream icing as opposed to the royal icing that cutouts are traditionally decorated with. To me, royal icing has no flavor and I don't care for the texture once it dries. This buttercream dries on the outside so that you can stack the cookies, but remains soft and delicious on the inside. Yummmeeeeeeee.
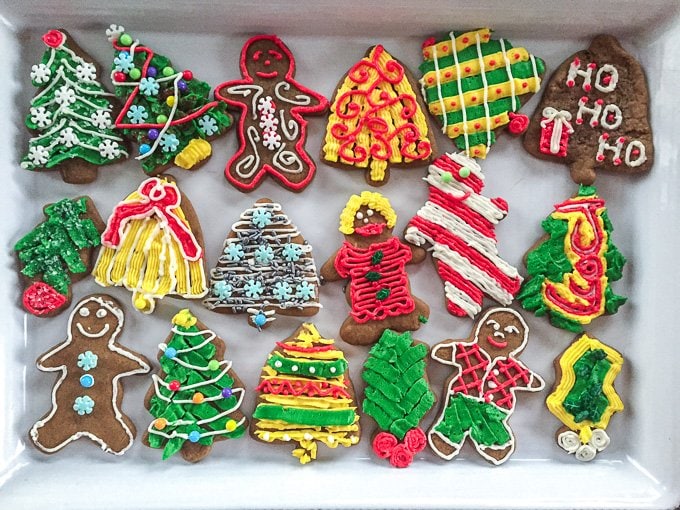
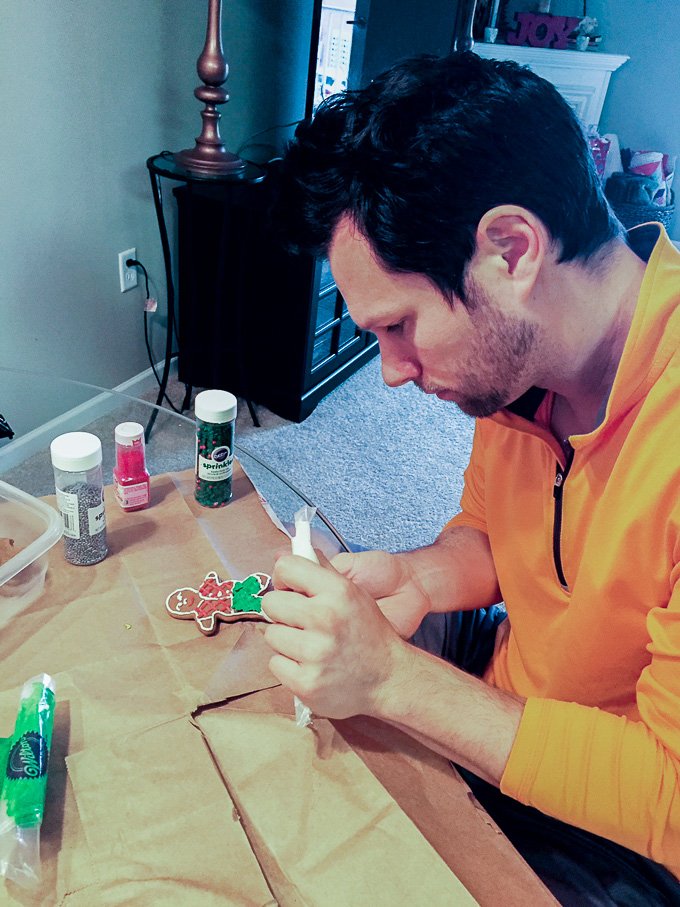
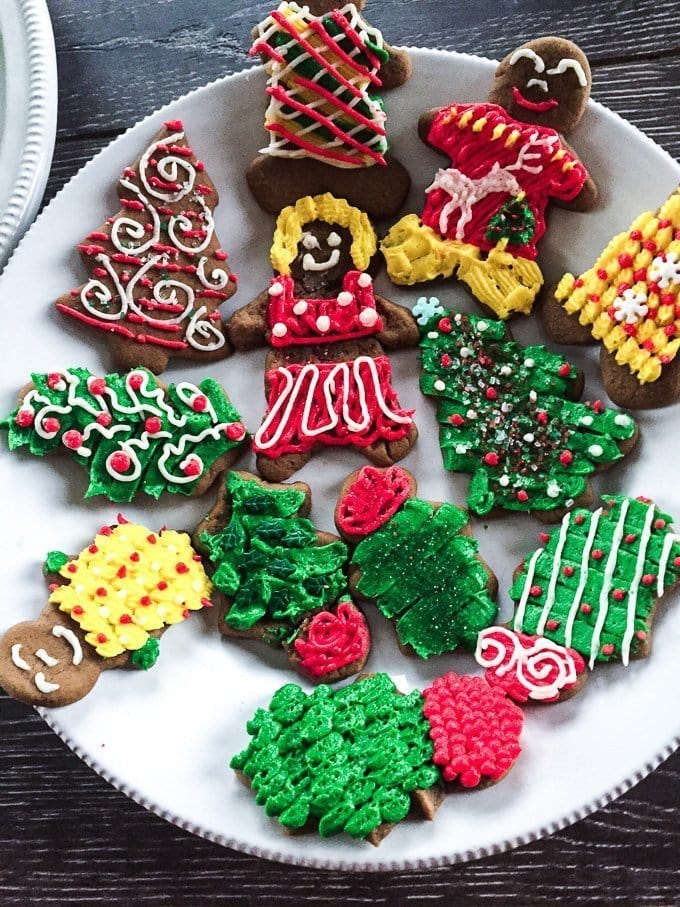
So there you have it. Cookie cutouts and decorating parties can be fun and stress-free. And it's a holiday tradition I want to carry out in my own house every year now. I may not be the most artistic decorator but Ryan sure loves it (and he's much better than me) - plus it's a great activity that brings everyone's creativity to the table. Maybe have a contest and have everyone vote on their favorite cookie?
If you'd like to try this fun and festive cookie cutout decorating - and I really think you should - I've carefully outlined each step so that your experience can be smooth and stress-free. I've also included links in the recipe to all the little tools I use that make decorating a breeze. Make your dough on day 1, roll and bake your cookies on day 2, mix your frosting and decorate with loved ones on day 3. Don't forget to set a few out for Santa on Christmas Eve!
A few things you will need:
Tipless Icing Bags - these will save you all kinds of time since you won't have to clean all the icing hardware after you are done. If you prefer to have all to fun shapes that tips can provide, you may use traditional Icing Bags and Tips.
And if you just love cookies, you can find more of what interests you below:
Cookie Butter Stuffed Butterscotch Cookies
Cinco De Mayo Mexican Chocolate Cookies
Hungry for more? Be sure to follow the blog and you can find Sweet Cayenne on YouTube, Twitter, Facebook, Pinterest, and Instagram!
Recipe

Gingerbread Cookie Cutouts With Buttercream Frosting
Ingredients
For the cookies:
- ½ cup unsalted butter softened
- ¾ cup packed dark brown sugar
- ⅓ cup molasses
- 1 egg
- 2 tablespoons water
- 2-⅔ cups all-purpose flour
- 2 teaspoons ground ginger
- 1 teaspoon cinnamon
- ½ teaspoon nutmeg
- ¼ teaspoon ground cloves
- 1 teaspoon baking soda
- ½ teaspoon salt
For the frosting:
- 2 sticks unsalted butter at room temperature
- 3 cups powdered sugar
- 1 teaspoon vanilla
- Special equipment:
- Parchment paper
- Holiday cookie cutters
- Wilton Food Coloring Gels
- Small pastry bags with couplers and various tips
- Assorted holiday sprinkles
Instructions
Day 1:
- In a mixing bowl, cream the butter and sugar until fluffy. Add the molasses, egg, and water. Beat on low speed for 3 minutes.
- In a separate bowl, combine the flour, spices, baking soda, and salt.
- Gradually add the dry ingredients to the wet, mixing until a sticky dough ball forms. Transfer the dough to sheet of plastic wrap. Cover and refrigerate overnight and up to 1 week.
Day 2:
- Set the butter for the frosting out to soften at room temperature while you roll and bake the cutout cookies.
- Preheat the oven to 350.
- Place half of your gingerbread dough on a sheet of parchment paper dusted with flour. Dust the top of your dough lightly with flour, and place a second piece of paper over the dough (your dough will essentially be sandwiched between two sheets of paper and light dustings of flour. Use a rolling pin to gently roll the dough out to ⅛'' thick.
- Use cookie cutters to cut dough into desired shapes. Place the cutouts about 1'' apart on a baking sheet lined with parchment paper. Bake for 7-8 minutes. Let cool for 5 minutes on your baking sheet before using a spatula to transfer cookies to a wire rack to cool completely. Cookies need to cool for 1 hour prior to frosting.
- While your cookies are cooling, make your frosting. Place butter in a mixing bowl and beat on medium speed for 90 seconds. Add 3 cups of powdered sugar and vanilla and beat on low speed for 1 minute. Increase speed to high and beat for 2-3 minutes until thick and fluffy.
- Divide frosting into the amount of bowls needed to make your desired number of colors. Add food coloring gels in ⅛ teaspoon increments, stirring with each addition, until desired colors are achieved.
- Transfer each frosting to its own pastry bag fitted with a coupler and piping tips.
- Frost each cookie as desired, adding sprinkles immediately after cookie is frosted. Let the cookie dry in open air for about 2 hours before transferring them to an airtight container. Cookies will keep for up to 5 days at room temperature.


Rebecca @ Strength and Sunshine says
This makes me really want to have a cookie baking party! Haha!